Frugal, Frugal, Frugal Friday! Good morning! Just like the summer, Fridays are slipping away. School has started and the Fall Equinox is here, so the Fun or Frugal Friday Challenge is going to be done! I’ve had fun this summer sharing frugal food, frugal tips and fun projects; but summer is definitely over. Since this summer challenge was lots of fun, maybe I will think of another one for next year!
Even though this Frugal Friday post is late, we were able to work on this Frugal Friday project: Auction Chairs, last weekend. Can you believe it was too hot to camp? Campfires in mid-90 degree temperatures are not fun. I can’t wait for the cooler weather this coming weekend!
The auction chairs for the Frugal Friday project have been sitting in the dining room, patiently waiting to be re-upholstered for over a month. The last auction we went to was in July, and it was so much fun! We did come home with more than we needed, though!
Auctions can be fun and frugal.
Especially, if you set price limits on the things you want and watch for other bargains. When garage sale-ing, I have been very good at following my ‘To buy list’ and my new garage sale habits. My new guidelines help me to not over buy, but I have a hard time at auctions. Thankfully, we don’t go to toooo many auctions each year.
Usually, we arrive to an auction early and make a list of items we want and a second list of items we would like, if they are really cheap. Really, I would like to think both lists are ‘ours’-but the second list is mainly mine. We also try to decide on price limits and if we will go over our limit.
Unfortunately, we decided to go to the July auction at the last minute. It was an outside estate auction, which are fun, hotter, and (I think) cheaper. We had seen the auction listing, but decided not to go since it was over an hour drive away.
Then, we went any way. We got there just as the auction started! No time for nice lists!
In fact, auctions can be fun and frugal, but dangerous.
Since we arrived as the bidding started, the husband started looking as I signed in and showed my drivers license. He came back as I was finishing.
‘I bought a table and chairs’
‘No, you didn’t’, I said smiling- he loves to tease me.
‘Really, I bought a dining room table and 6 chairs.’
‘No. You didn’t.’
‘Yes, come look!’
He had! In less than 5 minutes, the husband had bought almost enough to fill the back of the truck – a dining room table, leaves and 6 chairs! The wood was too pale for our house, but since it was in great condition, sturdy and only cost $10, we would find someone who needed it.
Auctions can be fun, frugal and entertaining.
I love people watching at auctions. It is interesting to see how much people will spend on certain items. Like a huge inside clothes drying rack that sold for over $25. I also wanted it, but already have 2 smaller ones,like these, that work great.
I also like to guess which item will be taken 1st when the auctioneer piles stuff and auctions it as ‘choice’. Sometimes, like with antique dishes or vases, the auctioneer will sell single choice from one box.
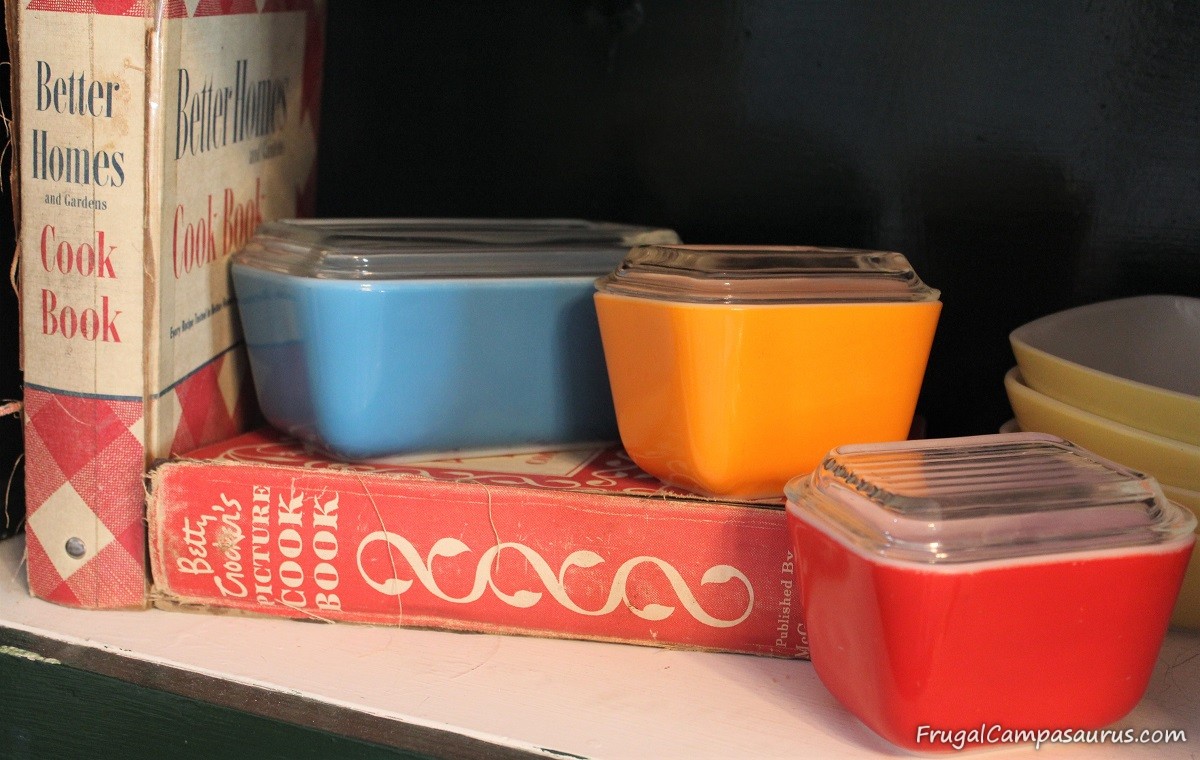
At the July auction, I guessed wrong. I would have chosen the covered Pyrex dishes before the green glassware, but people are drawn to different things. Even though they weren’t picked first, all the Pyrex on tables in the garage still went for more than I wanted to spend.
Other times, usually with books or household items, it is a choice of a whole box in a row of boxes. I find it amazing to see the price differences between the 1st few boxes and the last few. I was happy to buy a $3 box with more covered Pyrex in it. Though later, I discovered why the lady bought the more expensive auction box with the empty Pyrex box in it- they are still worth money. When I looked it up at home on Ebay, the empty box that Pyrex came in at the store was worth more than my covered containers.
Auctions can be a fun, frugal way to save money.
We needed a tamper to level the new patio dirt and sand. A new tamper costs $25, and it will probably only get used once. At the July auction, we bought one for $3! What a great bargain! We also purchased some covered glass dishes in a $1 and a $3 box. The price was great and I use them often. Thankfully, I donated the rest of the items in the boxes, so they did not pile up in my cupboards or sewing room.
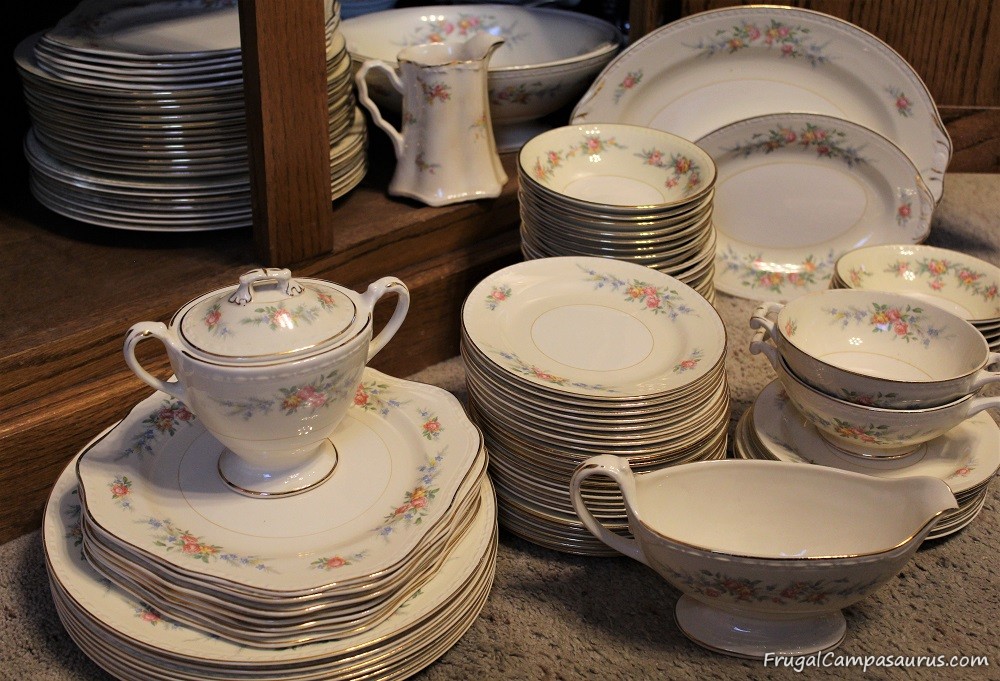
Of course, the cheap prices can still add up to extra money spent. The July auction also had a beautiful set of china- 3 boxes full that no one else wanted. Now, I have a 32+ place setting (with many serving pieces) that only cost $20. It’s pretty, but I have to find a place to store it and need to use it some.
At least the other items we bought saved us money and have been on my ‘to buy list’ for a few years-dining room chairs!
They are expensive to purchase new, so we have been watching garage sales and auctions. Last summer’s auction, where we found the grandfather clock, had a beautiful dining room table and chair set. Unfortunately, lots of other people thought the same thing. It sold for over $500!

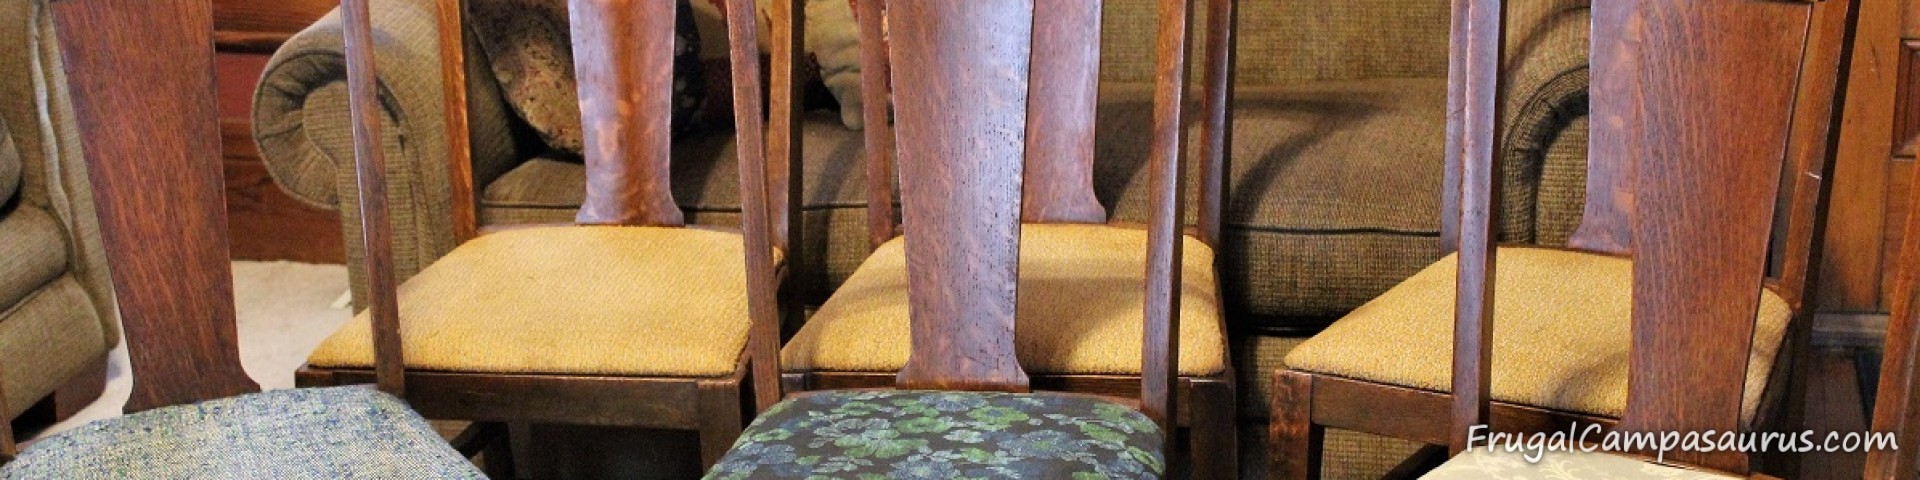
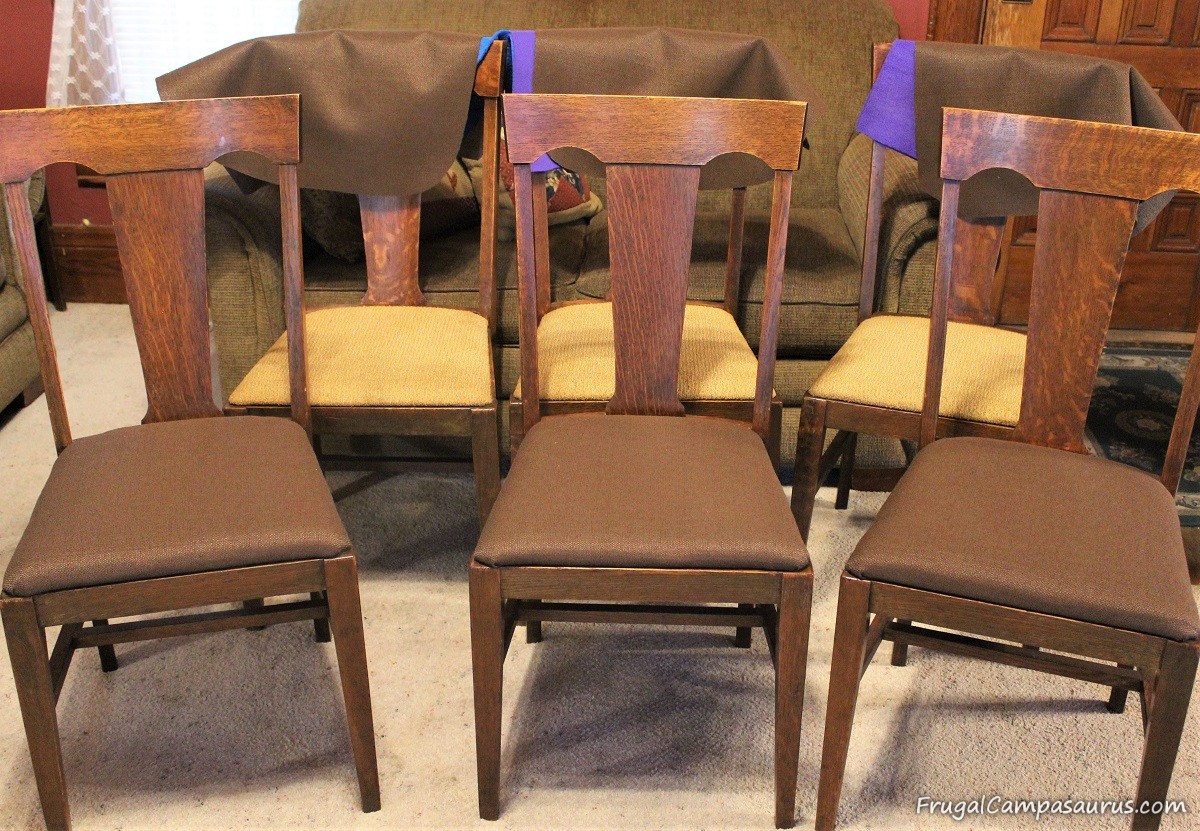
The July auction had an assortment of random chairs, but 6 of them matched and were sturdy! Thankfully, no one else wanted the chairs. We bought them for only $2 each! I was sooo excited! Fitting the chairs into the truck was interesting though.
Once we were home, cleaning and polishing the chairs was easy. I used a mixture of 1/2 lemon juice and 1/2 olive oil. Just like with our auction dresser, rubbing the mixture onto the dining room chairs really rejuvenated and shined up the wood. It goes a long way, so I only mix 2 Tablespoons of each together and then applied it with a corner of a rag.
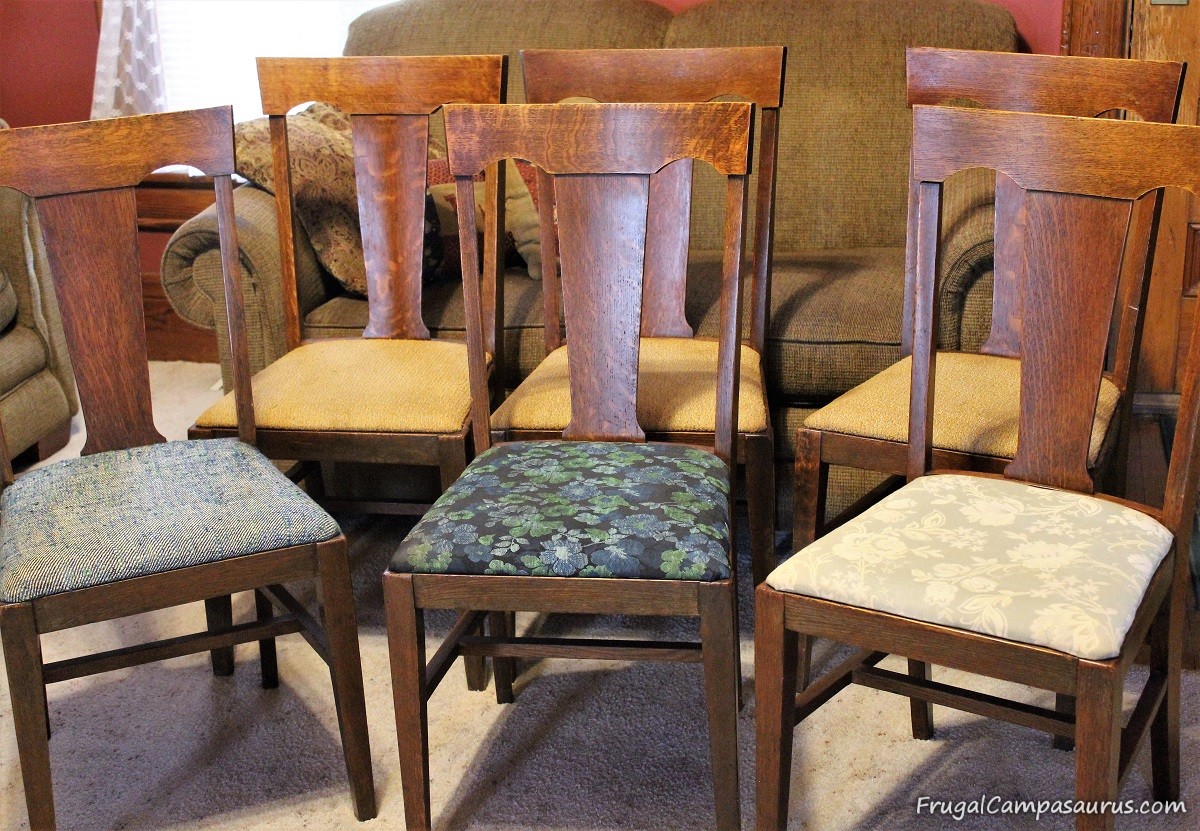
Recovering the Seats
Finding fabric and changing the seats took way longer than cleaning and polishing the chairs. We wanted sturdy upholstery fabric. It should last and not need redone in a few years. We also needed to agree on the fabric, so all the flowery prints were out.
And we didn’t want to spend a lot to cover $2 chairs. So, we kept watching the clearance section of the fabric store. We finally found a textured brown fabric- on clearance and at a further reduced price from a sale!
I think it cost less than $4 for fabric for each chair. Woo-Hoo!
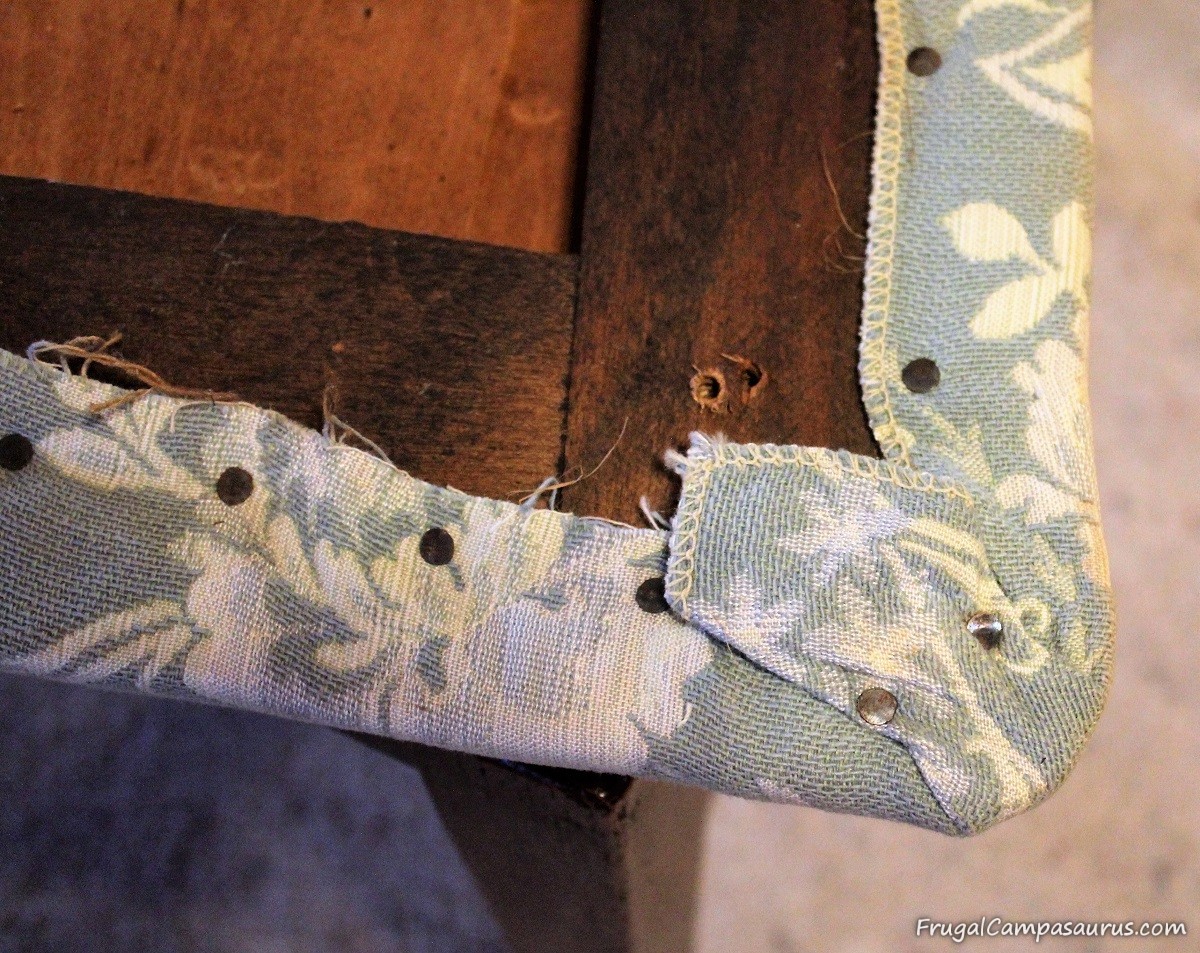
I thought it would be easy to remove the seats and staple on some new fabric. It was easy to remove the seats, just a few screws to take out. But, the husband thought the old fabric should be removed first.
I couldn’t believe how many nails there were! And when we started taking them out- the heads would break off! This left a little stubby sharp part that we had to hammer down. Only 2 of the nails came out completely.
When we looked under the fabric after a few nails where out, there were more nails!
The padding was nailed on the sides of the seat, too. With so many nails, we decided to not remove the old fabric.
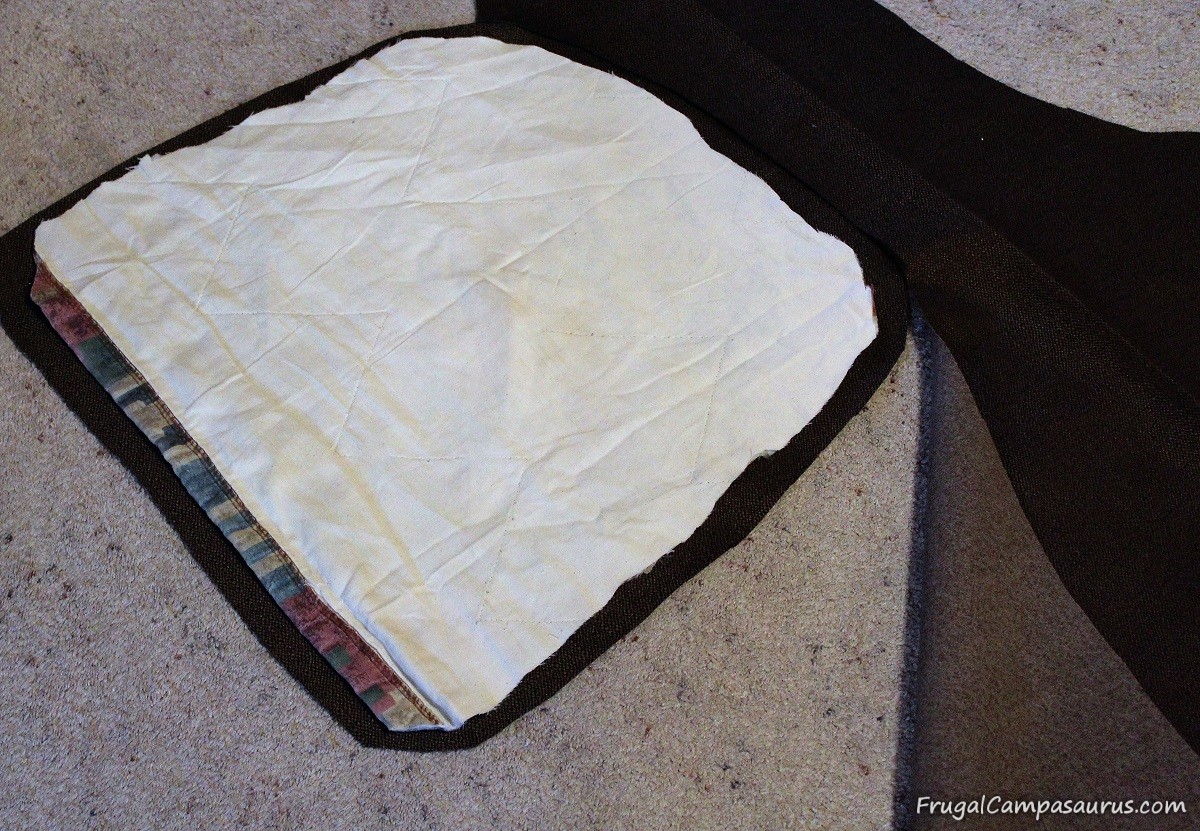
I didn’t want to waste the upholstery fabric, so I actually took the time and made a template for the seats. I even made a template for the 2 layers of fleece I used for the padding. The template did make it easier and quicker to cut everything out for the 6 chairs.
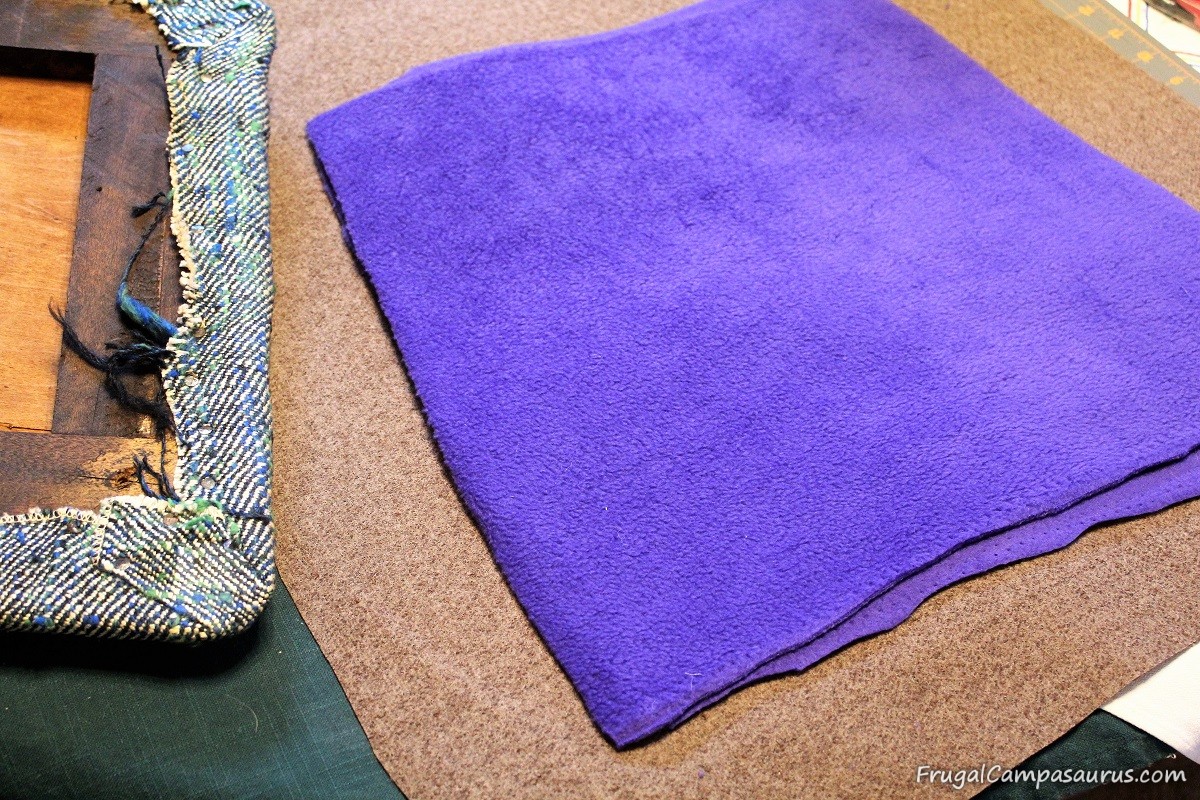
We used 2 layers of fleece to add a little padding. It was leftover from other projects and laid nicer than the batting I had.
We centered the fleece padding on the top of the chair seat. It added too much bulk when we tried to wrap it around the whole seat and staple it like the top upholstery fabric. Hopefully it doesn’t move around under the top layer.
It was easy to staple the upholstery fabric to the seat, but 2 pairs of hands really helped. Pulling it even and snug, but not overly tight, worked well. We stapled two opposite sides first, just 5-6 in the center of each side.
Next, we stapled the other 2 sides, again 5-6 in the center. Then, still pulling snugly, we finished stapling just the sides, leaving the corners until last.
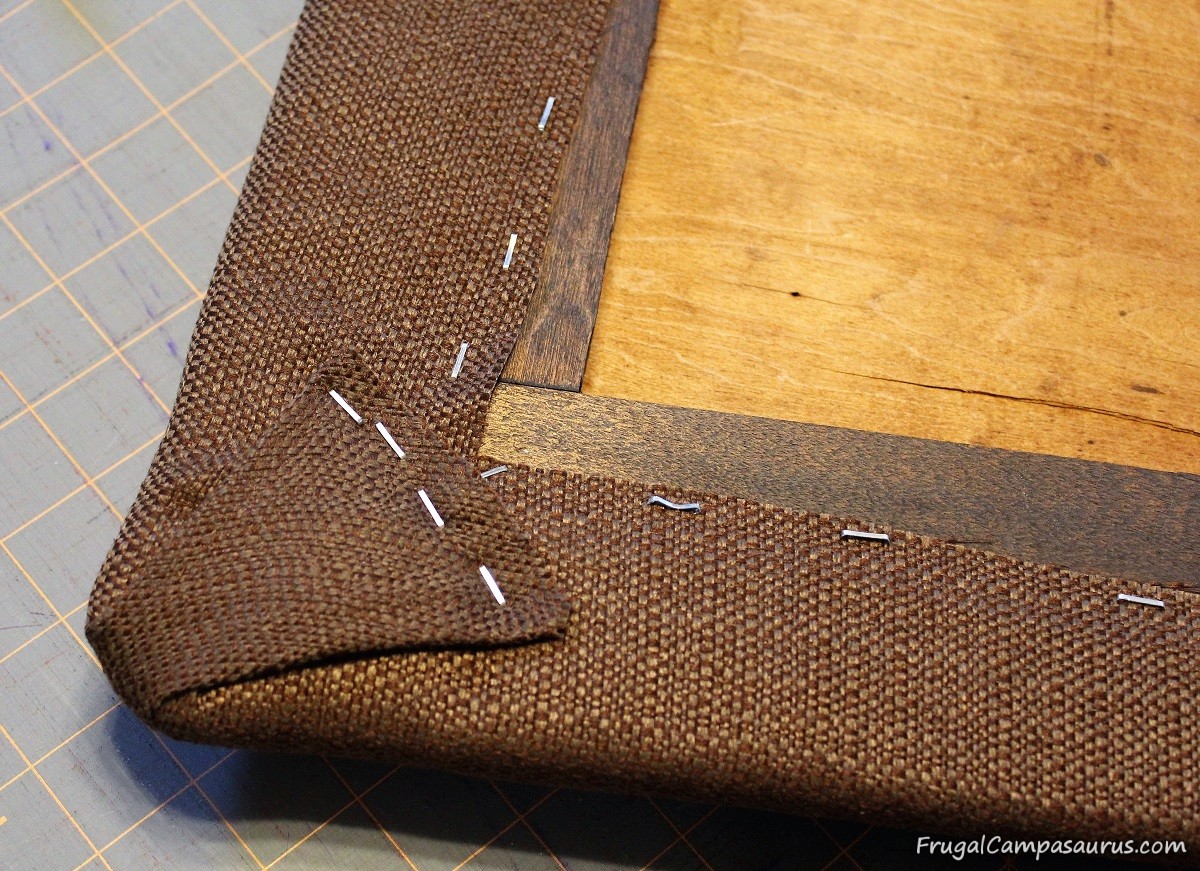
Stapling the corners was interesting, but at least they end up under the chair! We did fold them and staple under the fold, just like the previous people had.
It took a few tries for each corner, to get the fabric somewhat smooth. And we always turned the seat over, to see how the corner looked, before stapling.
Once the stapling was done, it was easy to re-attach the seats with screws. Some of the screws went through the fabric, but it was still easy.
Auctions can be fun, frugal and exciting!
Auctions are a great way to spend a day. They can be a fun place to people watch. It is interesting to see what items sell for, and who will buy them. They can also be dangerous, with all the extras to bring home. Thankfully, we found a home for the neat 1970’s dining room set.
But, they are also a great place to save money and find projects to do with the family. I am so happy to have the new auction chairs, even if they did take a few years to find.
I hope you can find some treasures and projects to work on with your family, or maybe you can find an auction and people watch this weekend!
 Happy Camping (or stapling, stapling, stapling)
Frugal Campasaurus