Good morning! I’m so excited to share my camping stool to jewelry display makeover, but I lied. I’m sorry, but the title is wrong. In my defense, who would read ‘Jewelry Display: Grandpa and Grandma’s Hand-Me-Down Camp Stool Makeover’? And it sounds sooo long!
Technically, it did come from a garage sale (my in-laws) and garage sales are almost thrift stores. This one is better though, the camping stools have sentimental value.
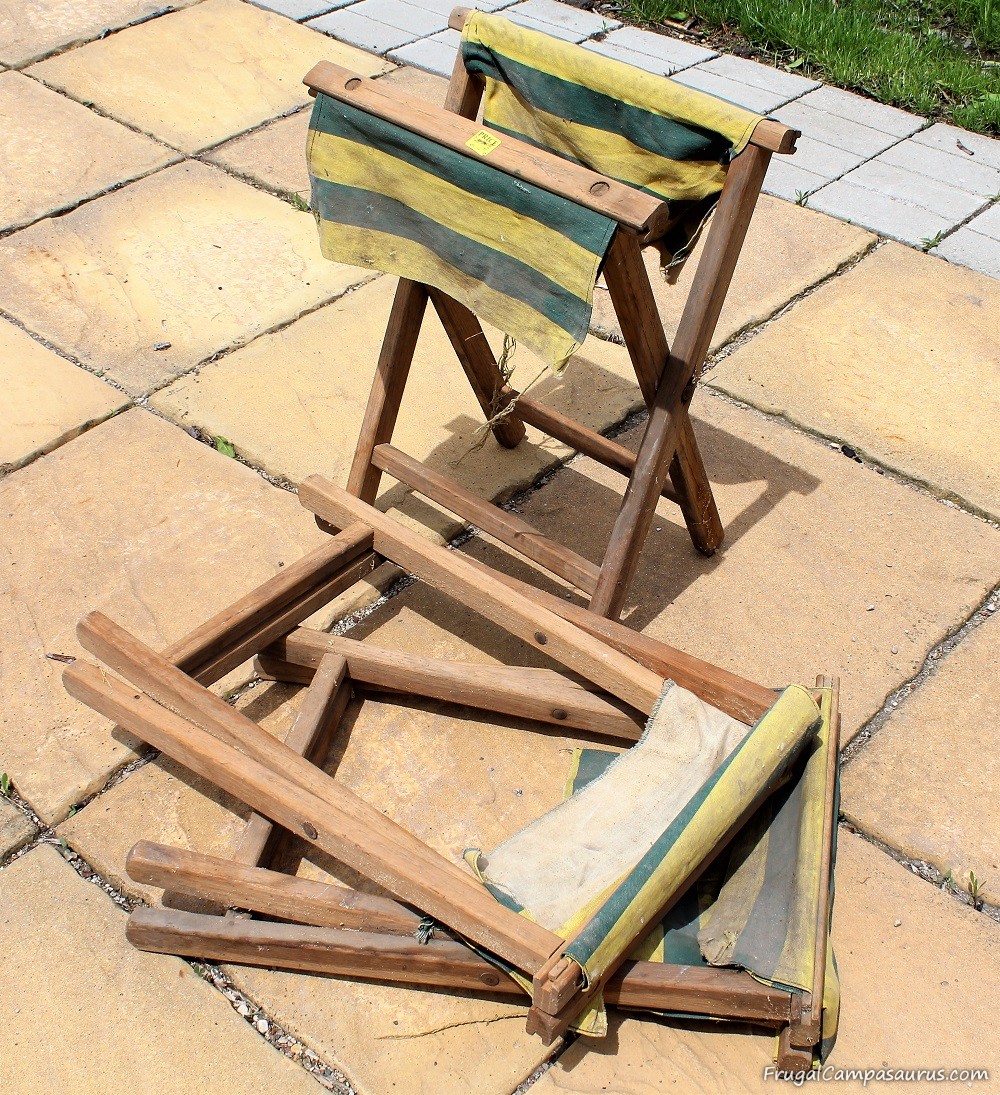
After I got the 4 camping stools a few years ago, they waited patiently in the garage while I procrastinated. The camp stools desperately needed new fabric. I did buy some (from a real store! Not frugal!), but then I used it for the husband’s wood hauler.
In the meantime, I needed a jewelry display anything. I was having fun making necklaces and earrings by re-using garage sale treasures to make new jewelry. But piling the earrings in a china saucer (love presents from little kids) and hanging all the necklaces from one nail was messy.
Picture frame jewelry holders looked easy and frugal, but I didn’t have a frame that I liked. I also didn’t want to buy one. My sewing room is so full; I am trying not to buy any more craft supplies!

Finally, I decided to use the camp stools. They are sentimental and I really wanted to use them for something! Flipping the legs of a camp stool apart and adding screen made it almost like the picture frame jewelry holders.
Scrounging the supplies was easy- there weren’t many supplies needed.
Jewelry Display Supplies
Wood camp stool (or possibly wood picture frame, wood serving tray…..)
Small nails
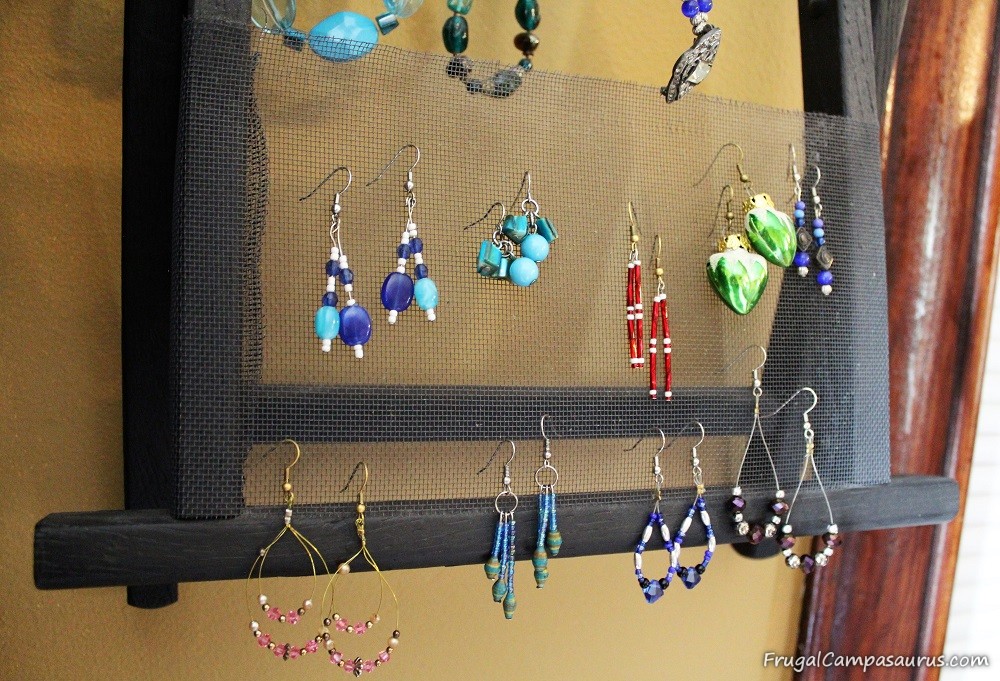
Screen (mine is about 4 inches high)
Screws or staples to attach screen
Paint
Cut the screen so you have enough to stretch across the front and wrap behind the legs. We (ok, really the husband) used 2 screws for each side to attach the screen. He did predrill the holes for the screws, so the wood didn’t split. I thought we would need more screws, but it is still secure and not fraying.

The hardest part was being brave enough to pound in the nails. Just like cutting fabric, I don’t want to try in case I goofed something up. But, we weren’t using the other camp stools-so I had spares if I needed them!
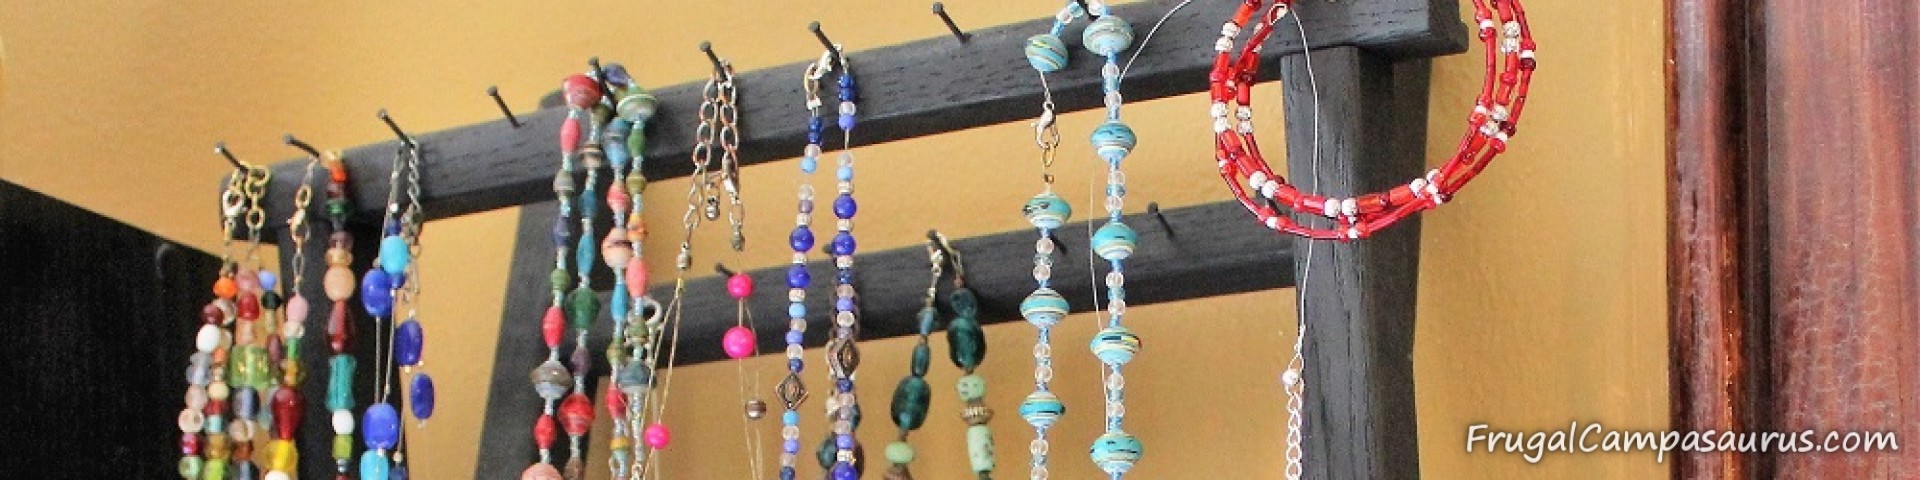
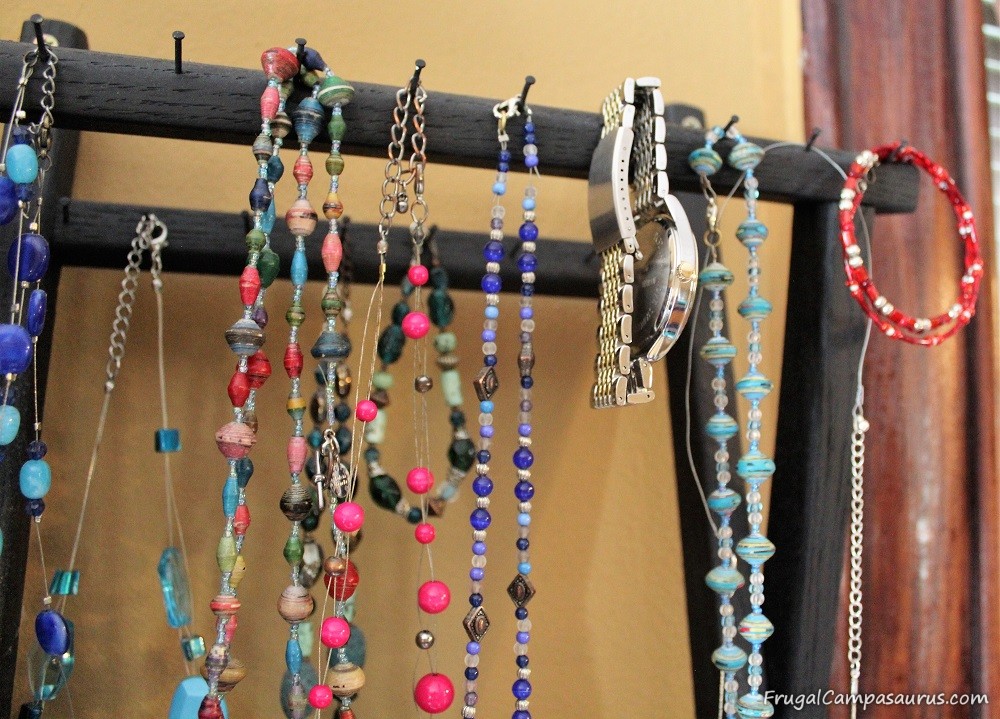
Thankfully, I did not need them. Some of the nails are crooked (yes, that is the part I did), but the wood did not split and they hold plenty of necklaces. They also hold bracelets. The nails even hold the husband’s watch, to keep it out of grandbaby’s reach.
Spray painting the whole project a flat black when it was finished gave it a uniform look. I sprayed lightly over the screen, so it would not fill with paint. It even matches the bedroom shelves. Woo-hoo!
Unlike the picture frame jewelry holders, the camp stools did not have a wall hanger or wire. So, attaching the jewelry display holder to the wall was interesting. I am definitely not moving it; the husband screwed it to the wall right through the legs.
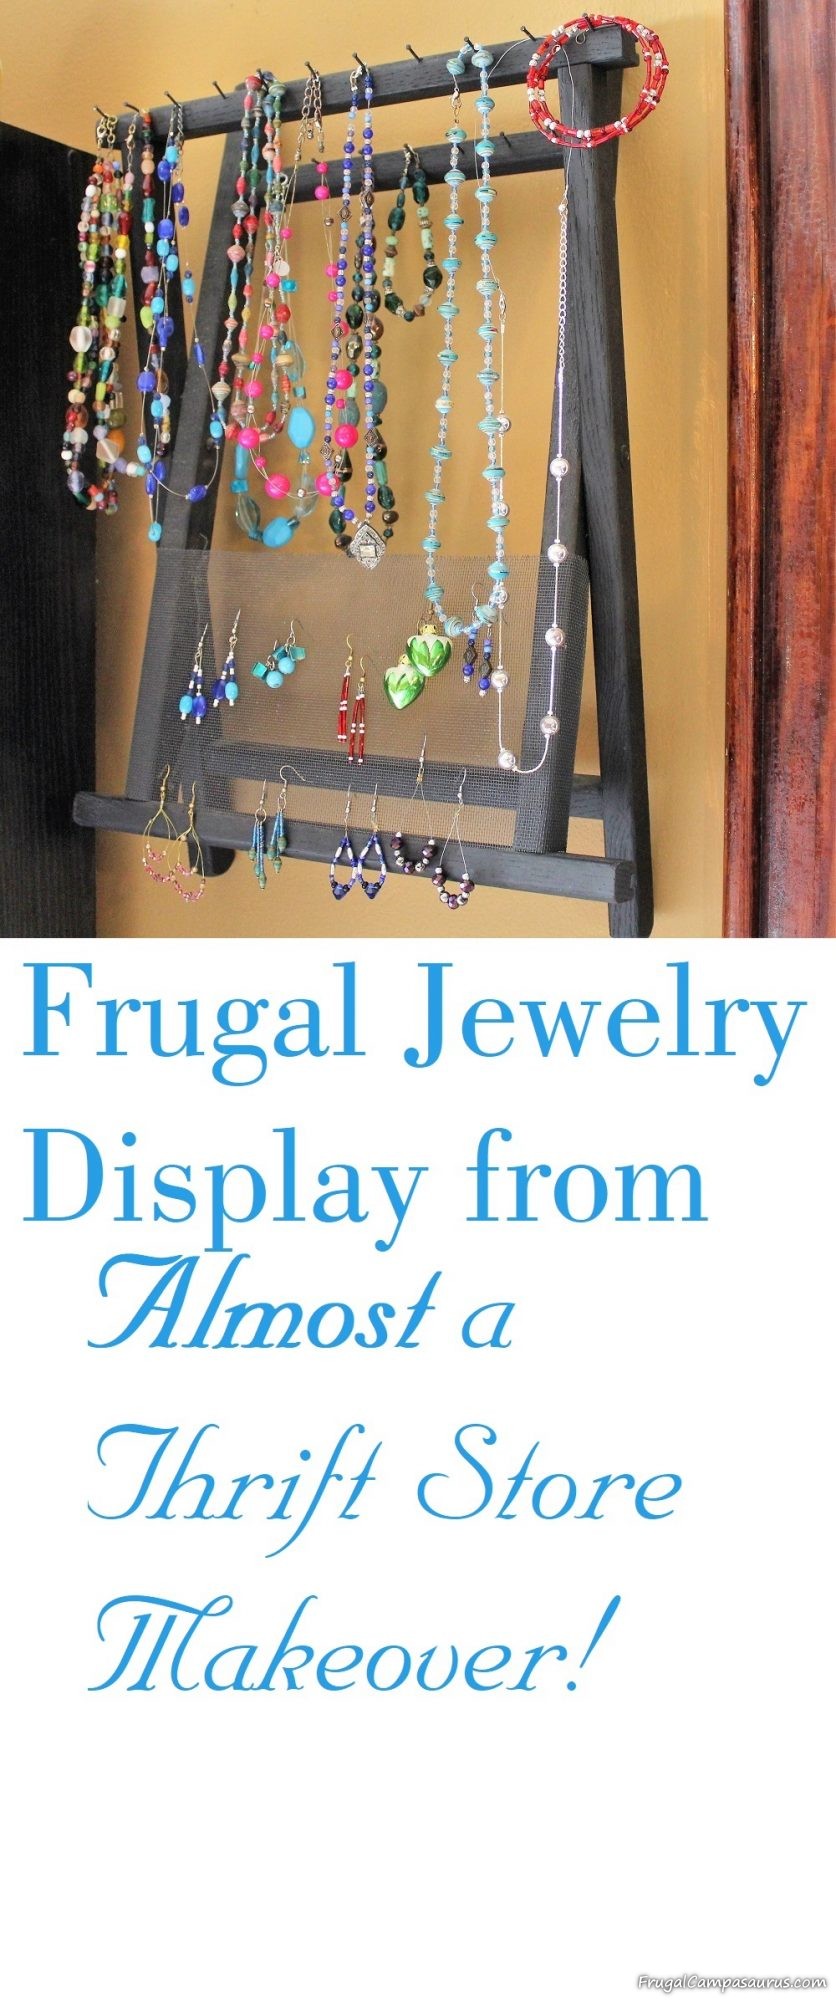
I’m so glad to have a jewelry display holder. I love that it is sentimental and (almost) a thrift store makeover! I still use the pretty china saucer from the kids for a few earrings, but it is great to have a place to hang other earrings, necklaces and bracelets. I hope you are able to find a practical use for something sentimental or even do an almost thrift store makeover!
Happy Camping ( or scrounging frugal craft supplies!)
Frugal Campasaurus