Fun, Fun, Fun- but not Friday! Good morning! I am so glad to finally be able to post this Fun Friday project- Ice Candles! Last weekend was all about being frugal (and working hard).
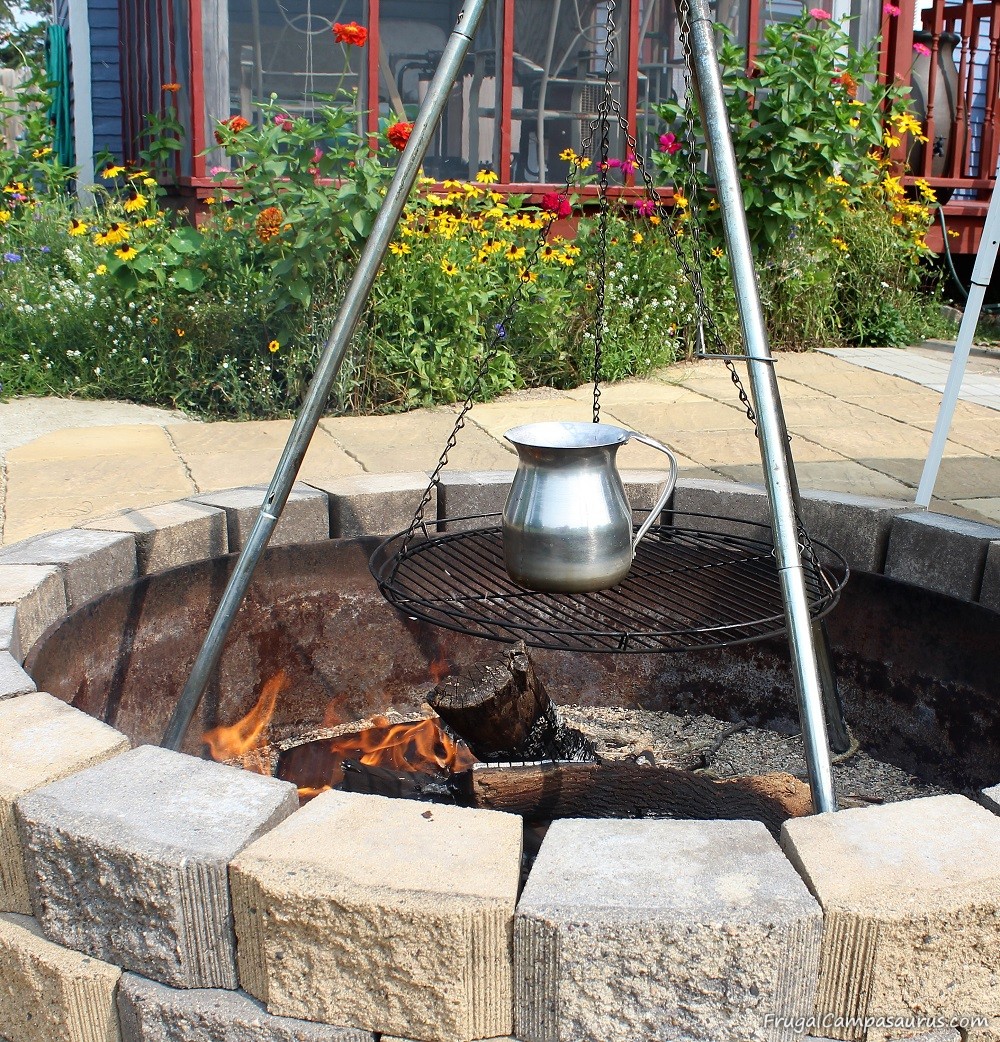
I canned tomatoes and finished a paver stone patio with the husband. There was a lot of dirt, sand and stones to move, but I’m excited to have the patio and fire pit done. Maybe I can cook over a fire in the back yard now!
This week’s Fun Friday project is ice candles. I was very excited for this project, because the youngest agreed to help me!
Last summer, we had lots of fun doing ‘Finish it Friday’ projects together. But the youngest is getting older, and as the kids get older, they are less interested in helping me with fun projects. I’m glad they are growing and have their own projects to work on, but sometimes I miss working with them.
Thankfully, the youngest enjoyed making sand candles last year and wanted to help with the ice candles!
A garage sale find, many years ago, of a 1970’s candle making book inspired both the sand candles and the ice candles. Both candles were so easy to make, I wish I hadn’t waited so long to try making them. In addition to being easy, they are also fun and frugal to make.
Supplies:

Wax
A wick, also a small weight and a pencil/stick to hold wick straight
A mold
Ice
Large tin can or metal pan/pitcher for melting wax
Large, heavy potholders!
For the wax, I used leftover candle stubs and candles I have bought at garage sales. I enjoy burning candles and I also use them to make camping fire starters, so candles are always on my ‘to buy’ list for garage sales.
We also added old crayons to melt with the wax and color it. Since I continually buy cheap candles, I usually have many color choices. This time, though, I had a lot of white or cream colored candles. We wanted to make ice candles with colored layers, so the crayons worked well.
Be cautious with used candles though. I have bought a few at garage sales only to realize later, that they are heavily perfumed. Melting an old candle and even adding more wax didn’t change the smell much. Now, we have a pretty ice candle that is too strong smelling for the kitchen (but its ok for the bathroom).
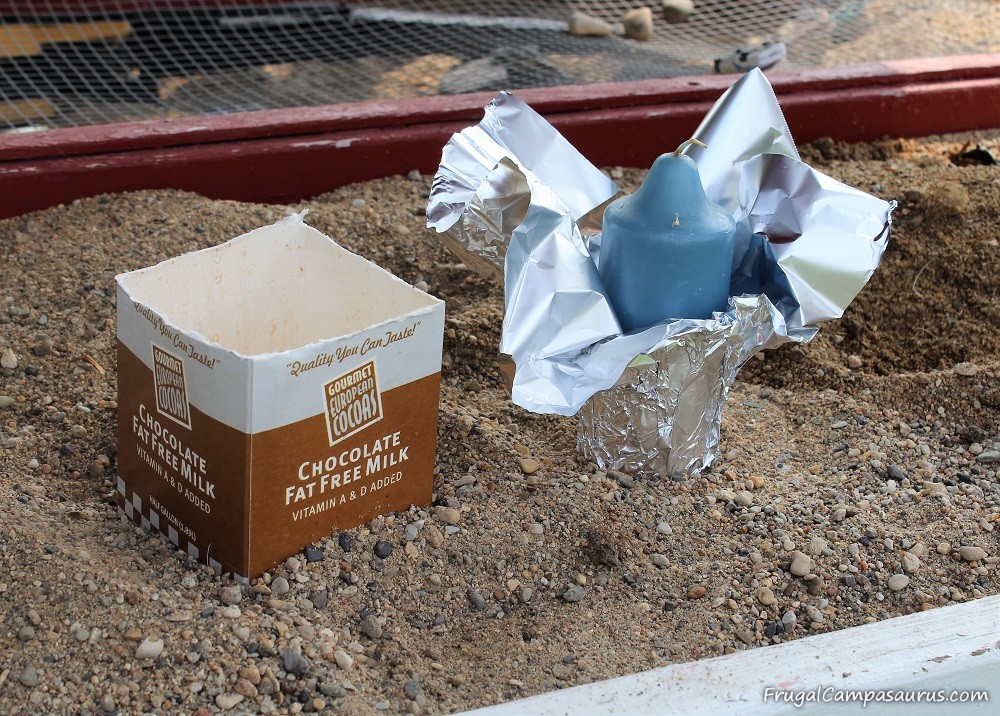
Molds for the candles can be fun, frugal and creative. The youngest simply wrapped aluminum foil tightly around a candle, buried it partially in the sand and then pulled out the candle. This worked pretty good, though it did leak a little. Pushing some damp sand against the mold stopped the leak (mostly). It probably squished in the side of the mold, but it still looks really neat!
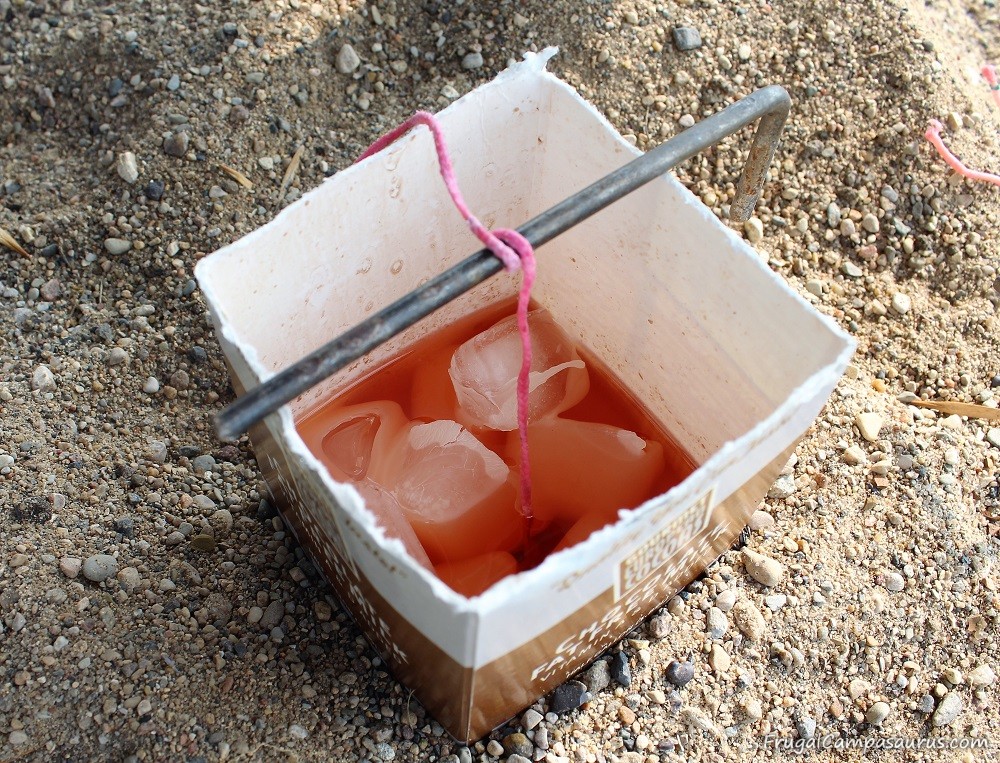
I used a half gallon milk container and a cardboard coffee cup. We also squished aluminum foil up and around a smaller candle, without a seam. These all worked really well for molds.

The wicks were very frugal as well. I didn’t buy wicks, I used old ones. When we break taper candles to use the wax for melting, I keep the long wicks. This is what I used for the ice candle wicks.
They worked really well, except for one candle. It sparkles and goes out, I almost remember some tapers doing that, too. Maybe they were really old? or cheap? or a bad batch? Oh well, the candle is still pretty.
An old washer, tied to the end of the wick, weighed down the wick. We also used a twig to hold the wick straight in the mold. Since the wicks had some wax on them, I didn’t need to knot them. I could just fold and wrap the wick and it would stick to itself.

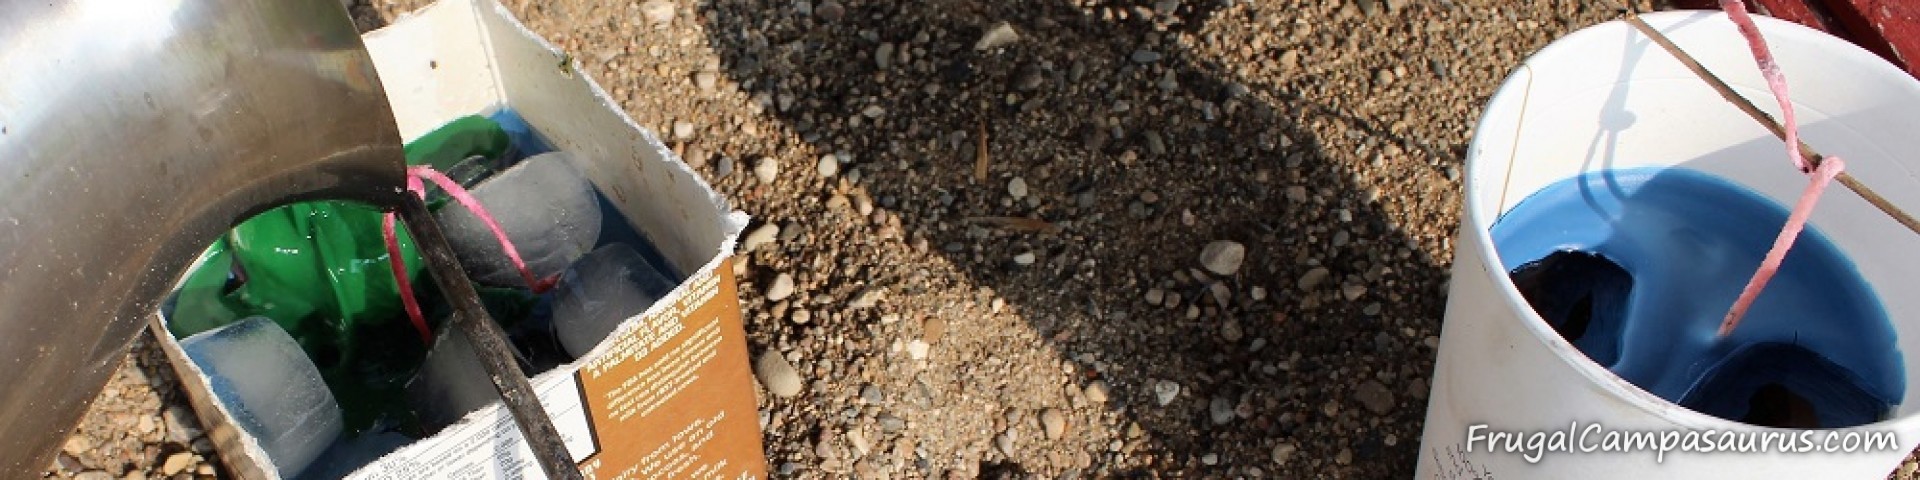
Since we have fun making fire starters, we have a metal pitcher for melting wax now. Before, we used a large tin can. With the tin can, we squished one side to have a pour spout. I usually melt wax outside, since it is dangerous. Be sure to use heavy potholders and keep kids away from the melting wax.
Thankfully, the youngest is old enough to help make candles now. He could pour, while I took pictures. It was so fun to see the wax harden around the ice cubes.

When making the solid cream colored candle, we filled the mold with ice and then with one color of (smelly) wax. The ice cubes go evenly around the wick, so the wick stays straight.
The rest of the candles were layered, ice candles. So, we put in a small layer of ice and poured a layer of colored wax on top of the ice. We let the layer harden. Then, we added more ice and another layer of wax.
I like the layers, but next time, I might not wait as long in between layers. The layers turned out very separate and distinct. Having the colors blend would be fun!
Even though it was a hot day, and we were melting wax around an outside fire, I think waiting to unmold the candles was the hardest part. (Or the hardest part could have been that the youngest got the last fudge bar as we waited!)

It was very easy to unmold the candles. Though, the youngest tried pushing the candle from the coffee cup and caused a few cracks. We did notice that in some places, the wax was thin and delicate. I suppose it depends upon how much ice you add.

I am glad we unmolded the candles outside, because the ice does melt. Water was pouring from the molds as we tore them open to find the hidden candles.
There were some holes at the base of the candles from the first layer of ice. I will just make sure to burn them on a candle holder or plate.
Next time we might try a small layer of wax first, before adding any ice.

I had so much fun with this Fun Friday project! I am so glad that the youngest enjoyed making the sand candles and the ice candles with me.
Even though it was a hot 86 degrees outside, the youngest stayed out all afternoon- melting wax and candles and pouring the hot wax into the molds with me.
It was fun, uncovering the candles when they were cool, we didn’t know what to expect. Every candles was different and a surprise!
Some of the candles had large caverns from the ice cubes and others had empty layers, possibly from melted water?
My favorite part, though, was when the youngest said ‘let’s try this again, but in the fall when it is cooler.’ Maybe my older kids will still work on new projects with me!
I hope you will try the Fun Friday Project: Ice Candles. They are so fun, frugal and easy to make. Its great being surprised by the finished candles! I love how different they all are!
Happy Camping (or working on projects-together!)
Frugal Campasaurus