Good morning! I am so excited for the February Year Round Christmas Challenge! First, it’s done on time (whoo-hoo!), second- it was a Christmas thrift store item and third- it solves a longtime decorating problem with liquid starch. I love liquid starch. It’s easy to use, not permanent and frugal!

This nativity picture was a great thrift store addition to my collection. I love nativities, especially my only outside one, and I watch for unique ones at auctions, garage sales and on vacation. It is fun having a permanent item on my ‘to buy list’ and a great reason to garage sale!
The nativity was a $3 find at a local thrift store. I was so excited about it: it is different than my other nativities and it was cheap!
At home, I really didn’t have a place to hang it. I also didn’t want to set it outside by the front door. It would look great on the porch, but the snow would probably ruin it.
Thankfully, it fit perfectly by the tv!
I was so happy it fit there! I have wanted something there for a long time!
The tv is across from our front door and (in my mind) it is the first thing everyone sees when they enter- the tv and the pile of wires. The big, ugly pile of wires.
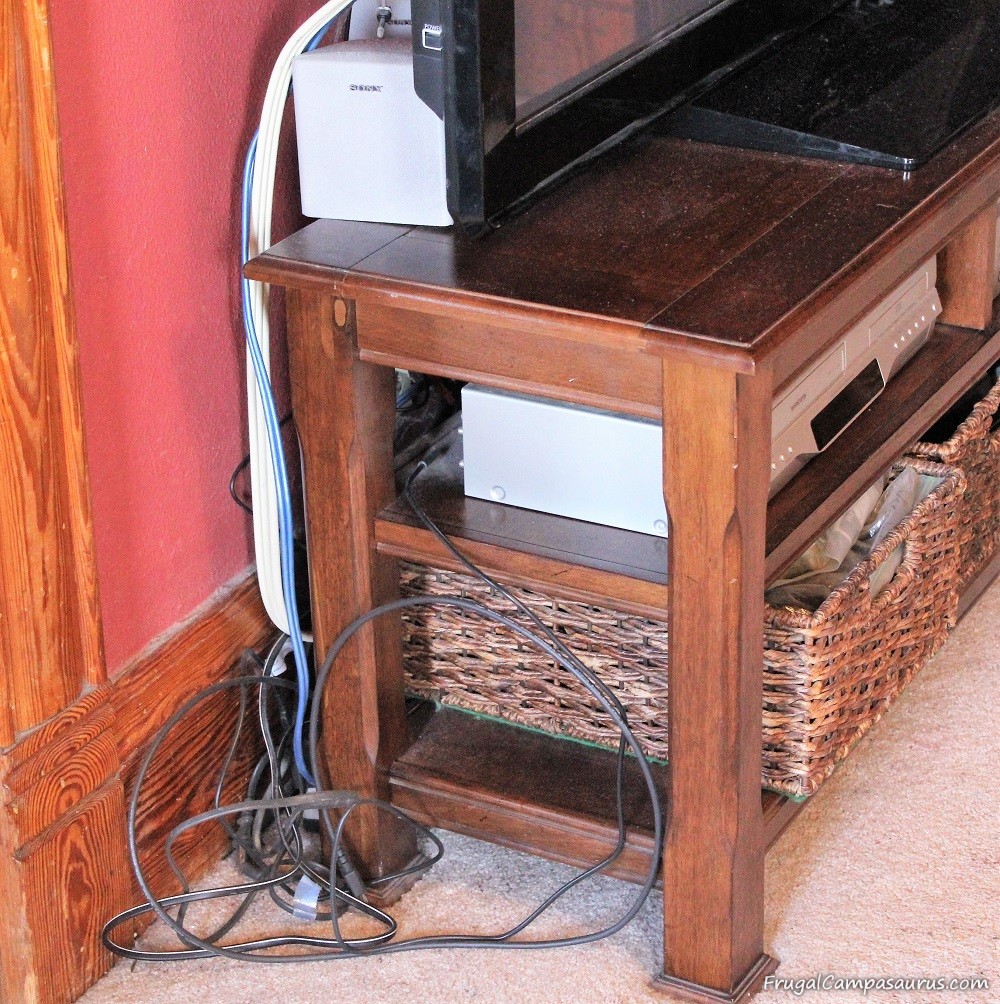
I’m sure it is not what everyone sees, but I do. And so does the grandbaby.
It’s a constant battle to manage the wires…to tuck in the wires… to straighten the wires… to distract the grandbaby from the wires…to even hide them in the wicker baskets. And they never stay put for long.
So, I’ve been searching for a shelf, a basket, a plant…anything to fill the small area and to hide the wires. Unfortunately, the tv and wires are also next to the double doorway leading to the rest of the house. So it is a small, busy area.
Almost a perfect solution
Once upon a time, a 3 foot tall, but skinny, glittery nativity scene fit there almost perfectly.
Almost. Then, the glittery figures got bumped, fell and broke. Thankfully, the husband bought me another matching nativity. Now, it lives in a safer spot at Christmas.
The $3 wooden nativity picture, though, was a perfect fit for the tall, skinny space. It is not breakable and it hides the wires!
Unfortunately, my family did not want nativities up all year long.
Sometimes, the easiest solution is the best
I looked, without luck, for more signs. Then, I wanted to get another board to paint on. Then, I wanted old architectural trim, and maybe a decoupage picture or a verse? The project was getting very complicated- and not finished. Like most of my projects.
Finally, the husband suggested using the back of the same board. Amazing!
One less thing to have and to store! It could be out all year, hiding the wires, and at Christmas- I could just turn it around!
Paint? Decouage? Calligraphy? All these ideas were out again- too hard and too permanent. What if I ruined the picture?
Liquid starch? Definitely! It is not permanent, so I can redo it, but it is long lasting. 18 (plus) years ago, I attached fabric to our tub with liquid starch- and it is still there!
Liquid starch to the rescue
Liquid starch is sooo easy! It is a great way to attach fabric, and be able to remove it later. I have used it to decorate our pedestal tub, stair treads, the kid’s bedroom walls and even to make a window into a bulletin board. I am hoping to try using it in the camper this summer.
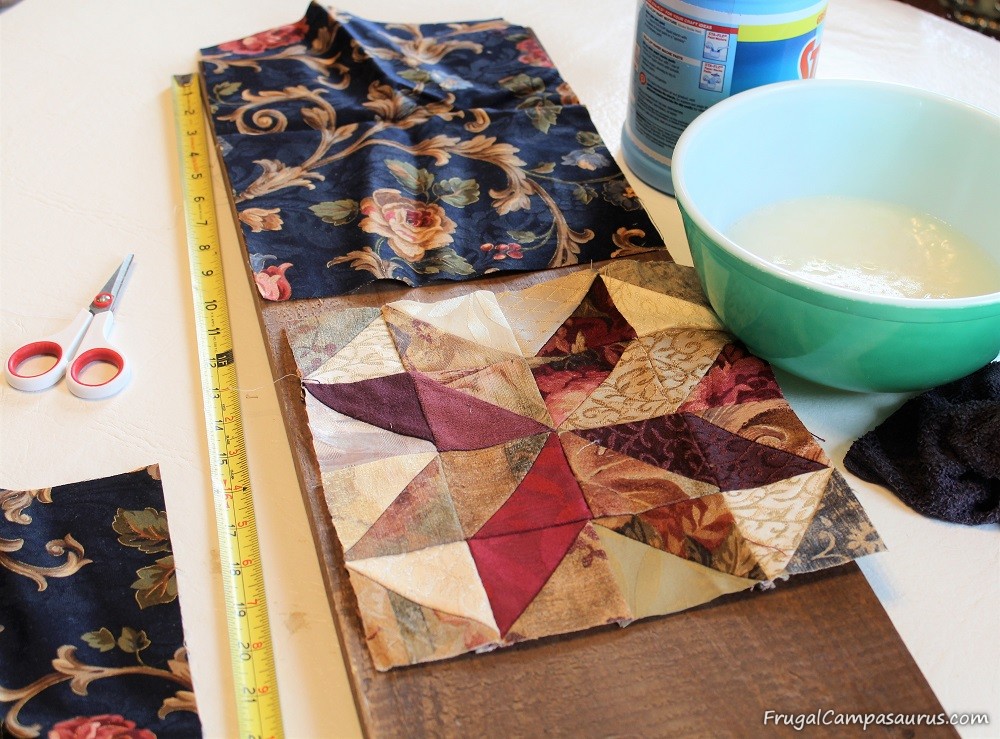
I poured some liquid starch into a bowl, an ice cream bucket also works great. Not much starch is actually used when the project is done, but it is easier to totally immerse and soak the fabric with a larger amount of starch. I pour the extra back into the bottle when I’m done.
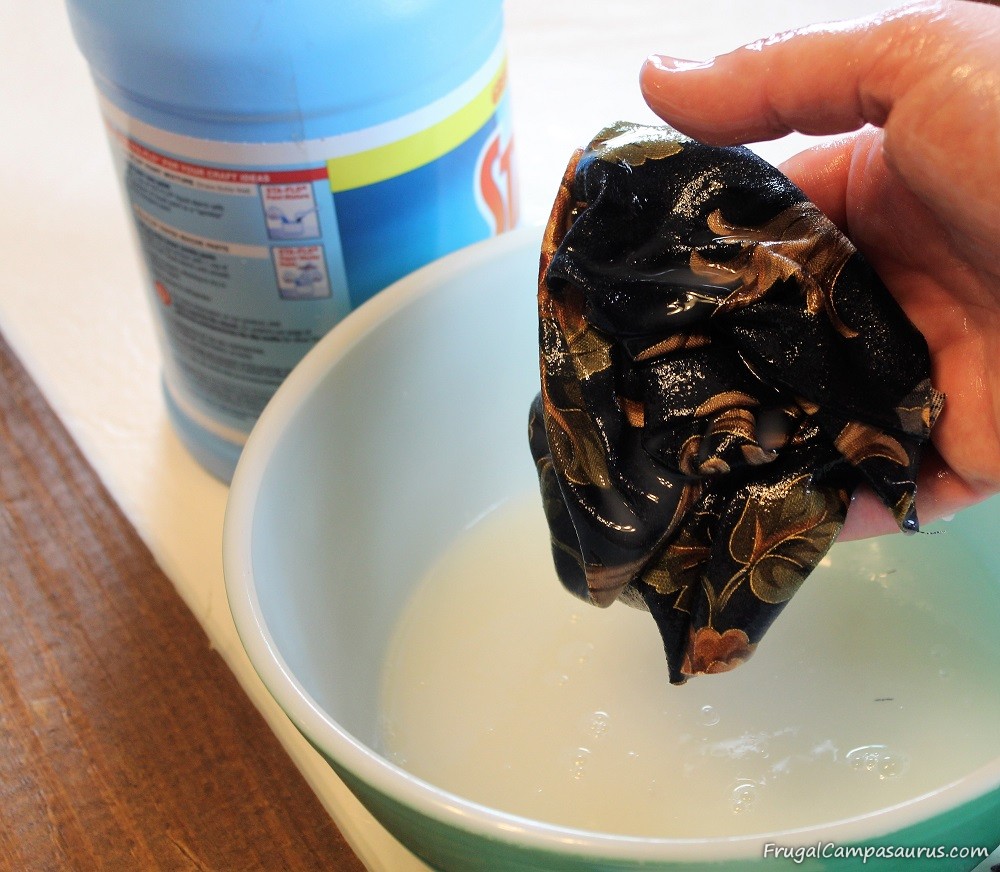
Totally soak the fabric with liquid starch and squeeze it out, but don’t squeeze it all out. A little drippy is ok, you need it wet to stick the fabric to the project. Then smooth it onto the project, trying to get out any air bubbles.
Sometimes on vertical surfaces, like walls or stair treads, the fabric is too dry. It will try to fall off or curl down, then I re-wet it with more liquid starch or smear more on with my fingers as I am smoothing the fabric onto the project. I have even lifted a corner of the fabric and smeared the liquid starch under the fabric to help it stick.
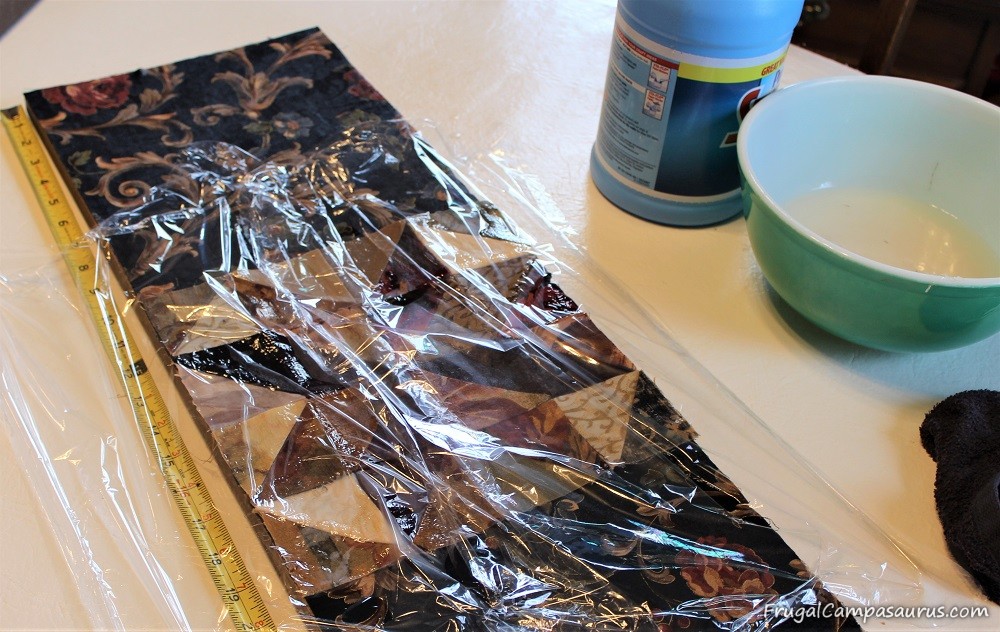
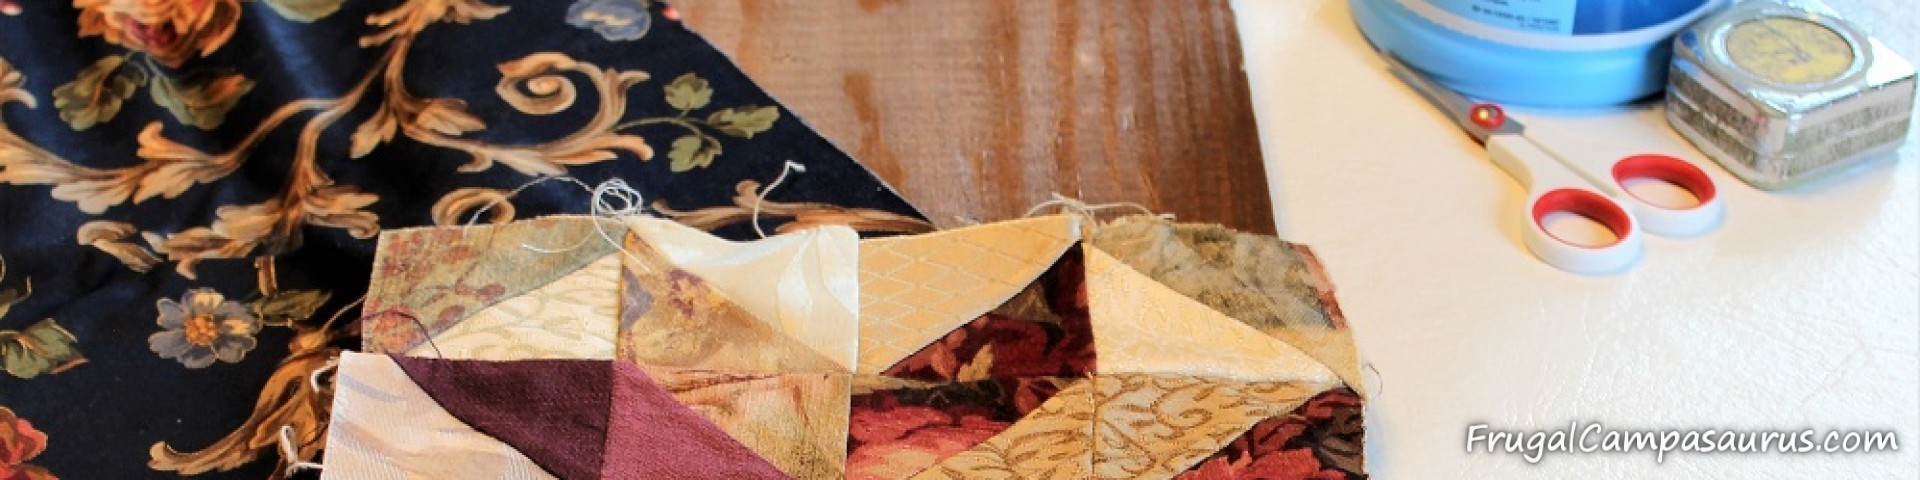
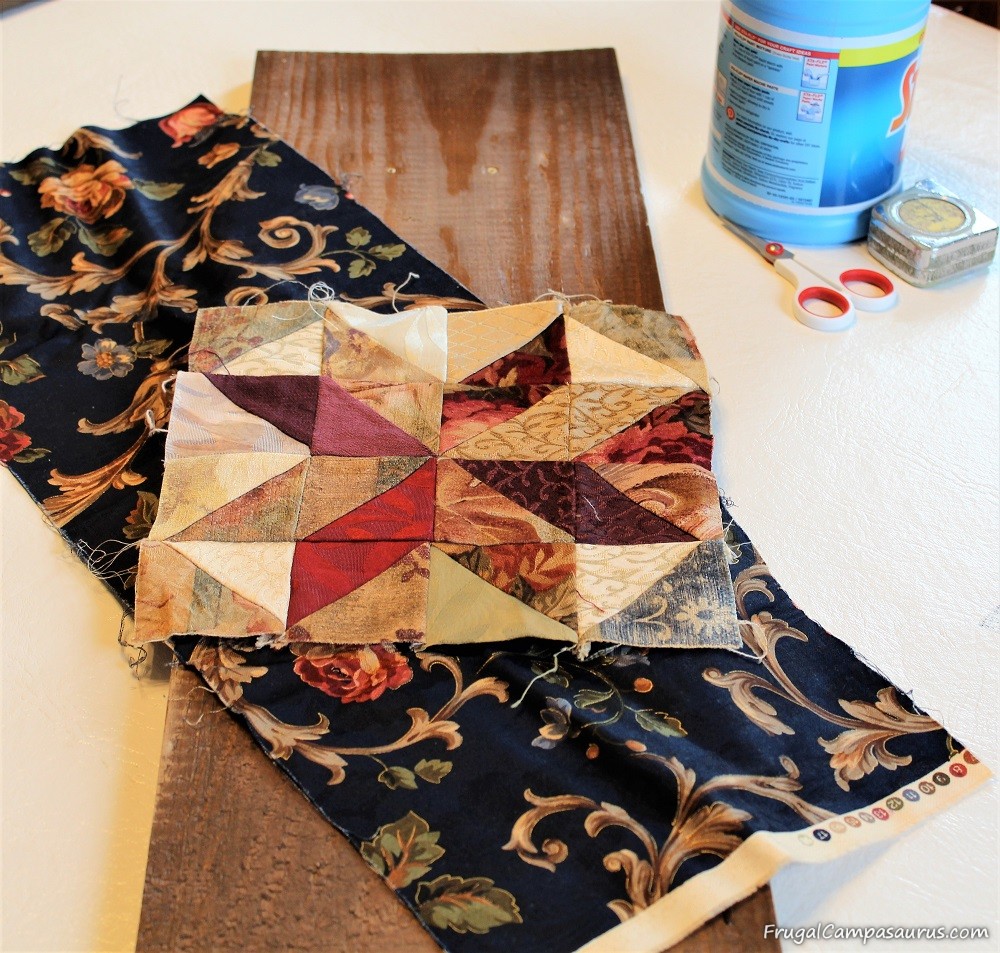
I thought this project would be easy, since I could lay it flat. It would have been, except for the quilt square I used as the center. I have never starched anything with seams. The seams did not want to lay flat and stick to the wood sign.
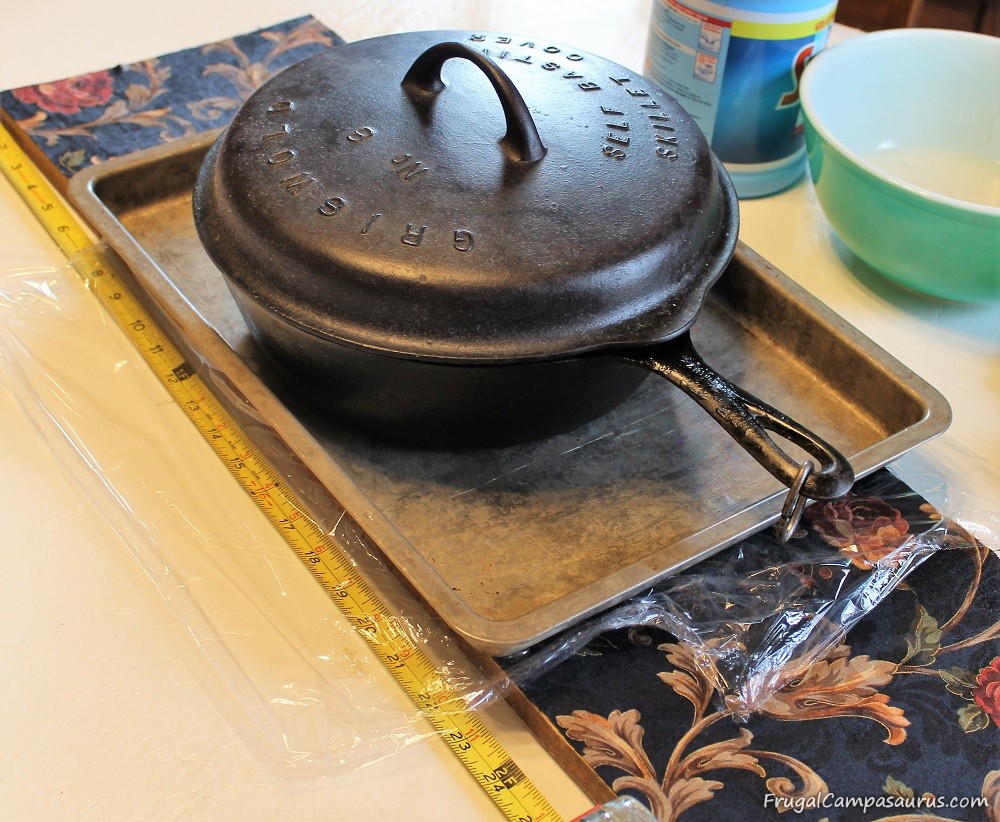
So, we covered the quilt square with plastic wrap and weighted it down. What a fun use for cast iron- though not as tasty as bacon. I let it dry all afternoon and took off the pans. Then, I let it dry overnight before I trimmed it.
The seams did not flatten all the way out, but the fabric in between them stuck to the board. I think the pans really helped. The top and bottom fabric (that matches my curtains) is stuck really well. As long as no one (mainly me or the grandbaby) picks at the bumpy seams, it should stay attached to the board.
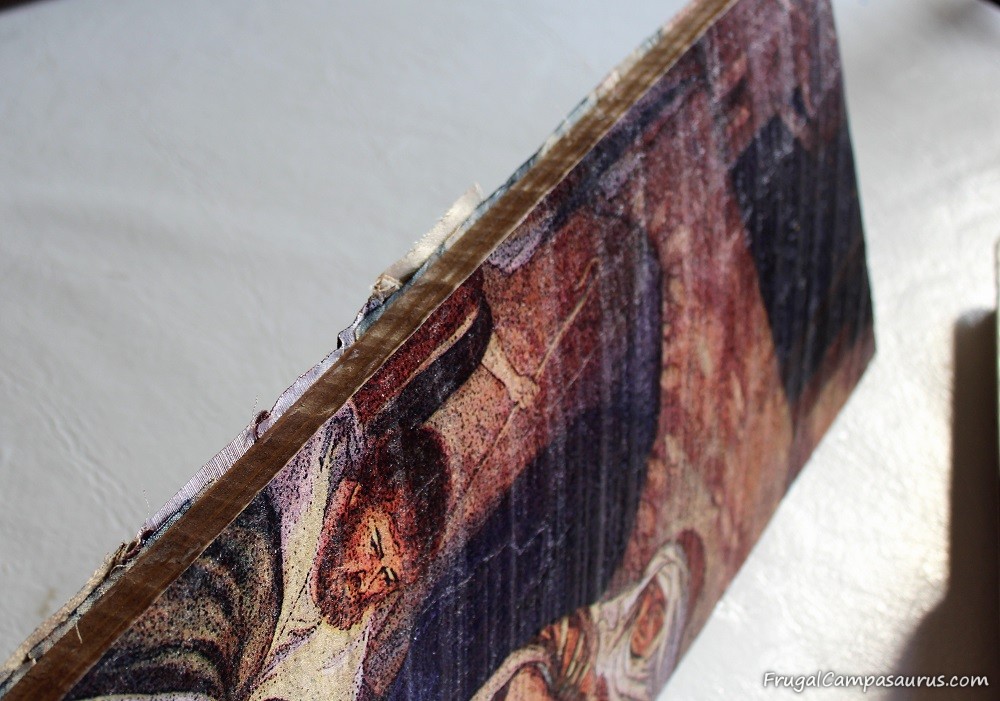
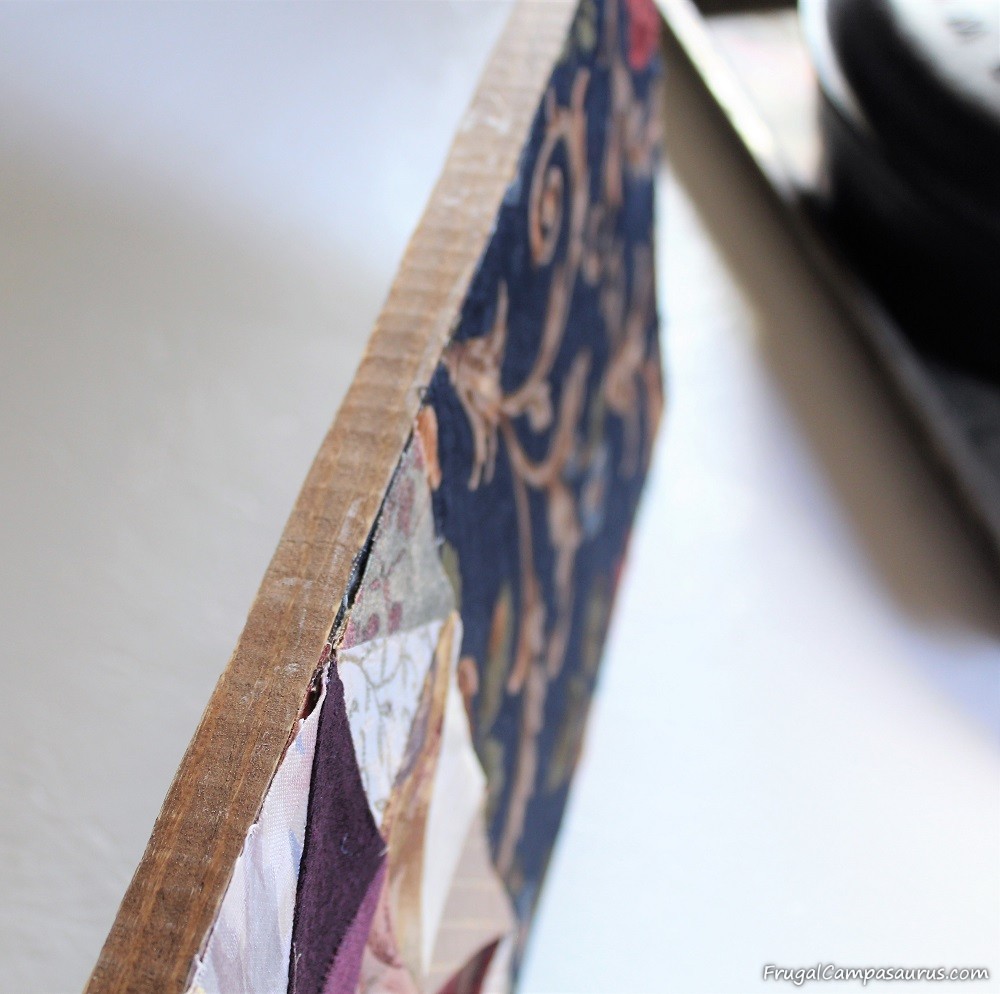
I tried cutting the fabric the right size and very straight, so I wouldn’t have to trim. Adding ‘just a bit extra, just in case’ is not a good idea. Even I can see the extra fabric from the nativity side.
I did get 3 of the sides lined up nicely. When it was dry, I only needed to trim a few stray threads from those 3 sides.
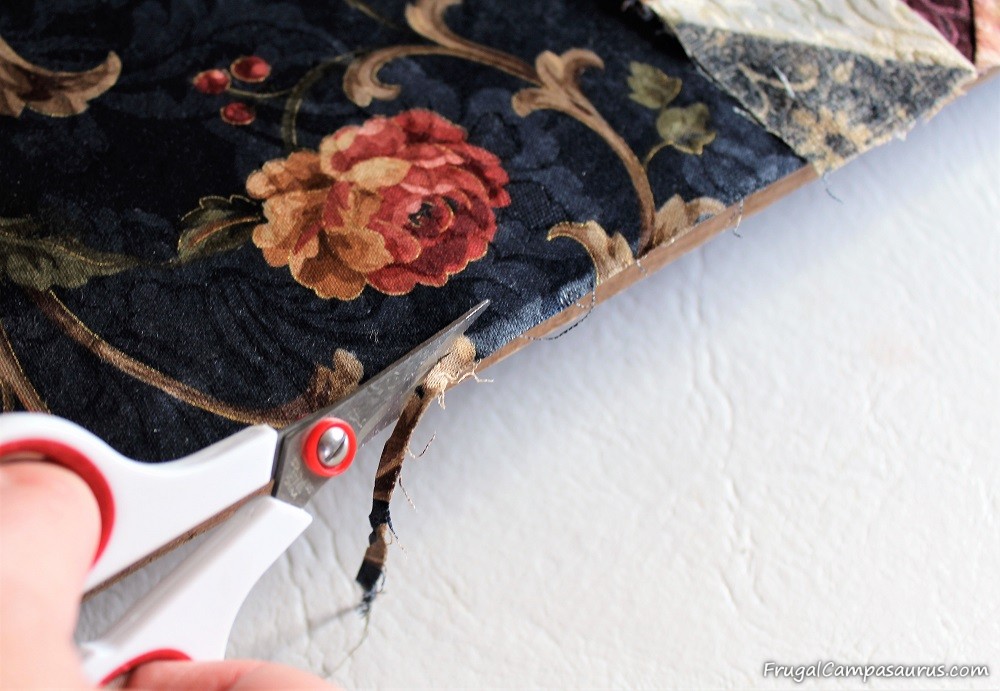
The last side wasn’t even hard to trim up- I just used small sewing scissors after it was dry and took my time. I was careful to not pull on the edges and accidentally loosen them, when I was cutting. But it is easy to fix-just add a some liquid starch underneath the fabric with your finger and smooth it back down.

I love how the back of the nativity picture turned out. Thanks to liquid starch,it was quick and easy to decorate the board. I can change it if I want- or leave it for many years, like the tub. Now, my thrift store nativity can stay up all year and help hide the big pile of wires!

Hopefully, you can find solutions to your decorating problems- maybe even at a thrift store!
Happy Camping (or liquid starching everything!)
Frugal Campasaurus