Good morning! I love cooking and experimenting over a campfire, but sometimes I just want an easy campfire snack. I want a ooey-gooey, simple snack that I can cook camping. Pie Iron Baked Cheese is a great ooey-gooey campfire snack!
Pie Iron Baked Cheese is also a frugal, easy snack. It only has 3 ingredients and one is salt!
It is also a perfectly controlled, Pie Iron sized, portion. This is very important. At home, I want to eat the whole plate of baked cheese by myself. Thankfully, we don’t make it often and I (usually) share with the husband.
When the husband told me about baked cheese, I wasn’t convinced it would be good. Yeah, I like cheese, but you bake it-so?
The husband was a farmhand back then and the farm wife was a wonderful cook. When she served baked cheese, I started to wonder. Then, I tried it.
Oh my gersh!!
Baked cheese was amazing and amazingly easy!!
To make it at home, thin slices of cheddar, Colby or co-jack cheese are put in a single layer on an oven proof plate.
Then about 1 teaspoon of milk is added. Tilt the plate so the milk moves around the cheese and sprinkle lightly with salt.
The plate of cheese is baked for 5-10 minutes at 350 degrees, until it is melted, bubble and toasty brown around the edges.
Serve with crackers, crusty bread or just twirled around a fork-it is sooo yummy!
It is also soo hot, so if you can, try to wait a few minutes for it to cool before enjoying this easy snack.
Pie Iron Baked Cheese is just as amazing and easy!
Pie Iron Baked Cheese Directions
(It’s too easy to be a recipe!)
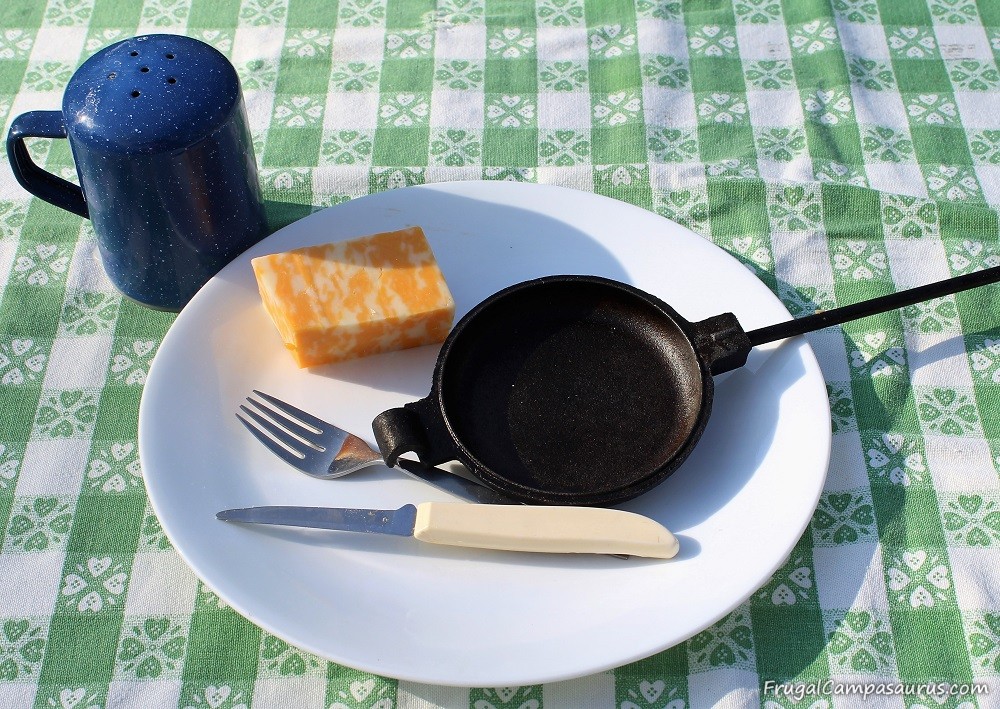
Cheddar, Colby or Co-Jack Cheese
Milk, ½ teaspoon for each pie iron
Salt
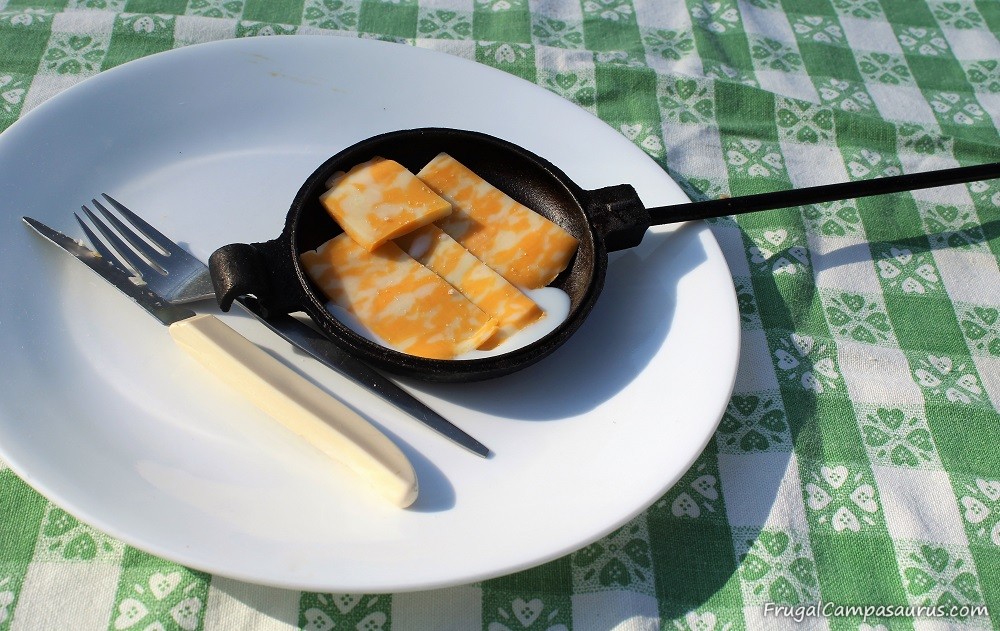
Thinly slice cheese and place in 1 layer in a Pie Iron. Add about ½ teaspoon of milk and tilt the pan to cover the bottom. Sprinkle very lightly with salt.
I did not grease the pie iron before making these. I wondered about greasing it, but the cheese has fat and my pie iron is seasoned cast iron.
The baked cheese came out of the pie iron fine and none of it stuck! Yay!
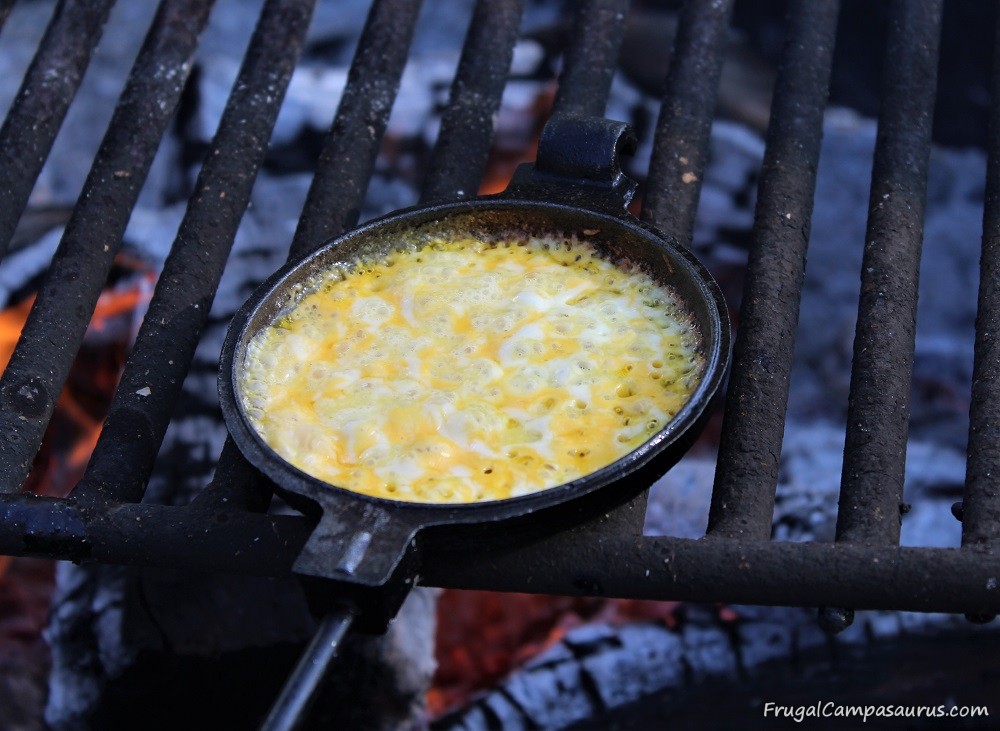
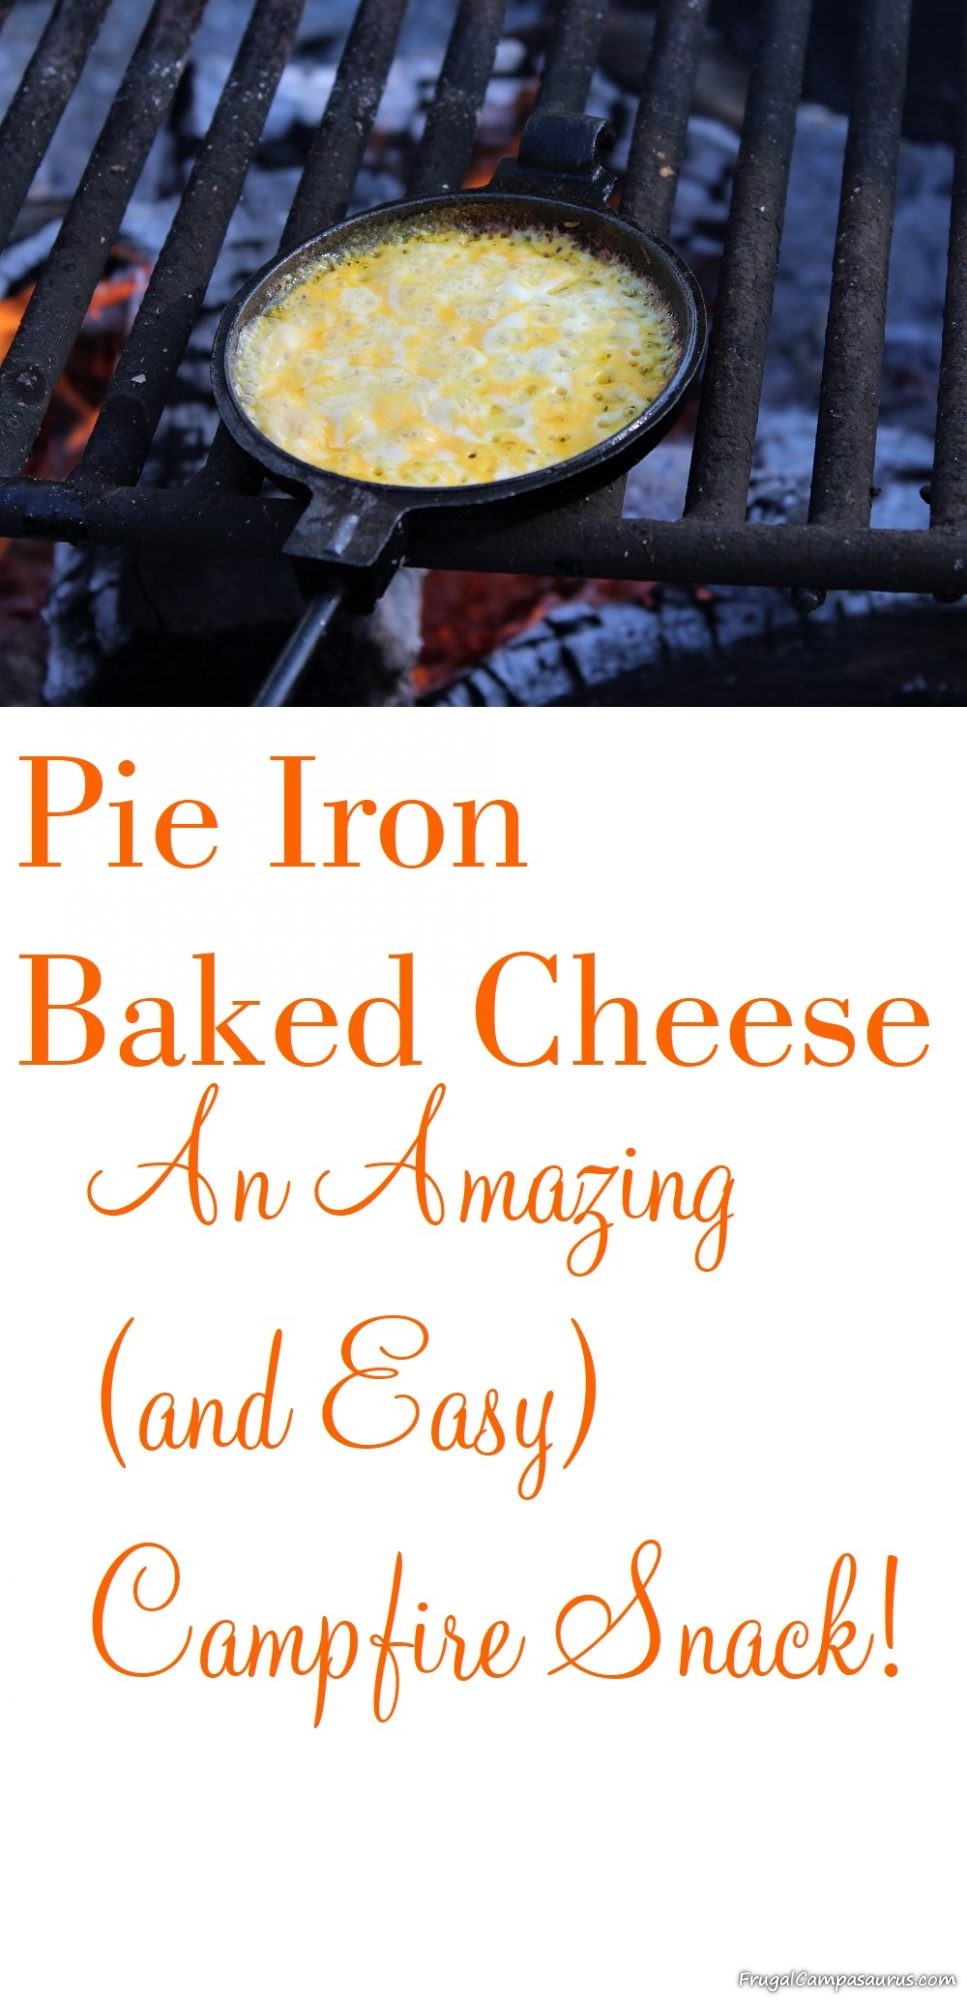
Put the top ½ of the pie iron on so it can ‘bake’ over the campfire. Cook, checking the cheese often, ours (yes, I shared) was melted and bubbly very quickly. It had toasty, brown edges in less than 5 minutes.
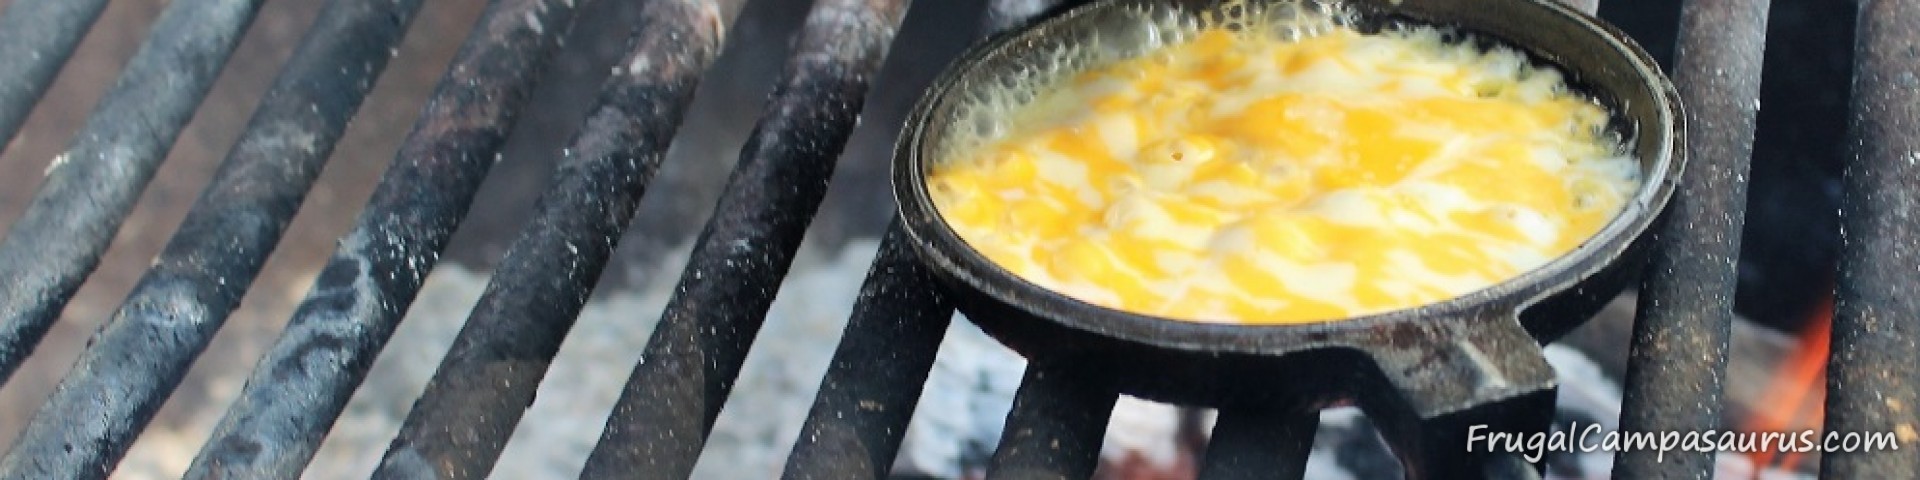
Of course, I was impatient when cooking the Baked Cheese for the 1st time camping: I put the pie irons right in the flames.
This is why we use cast iron pie irons. They can handle the higher heat, unlike all the Teflon pie irons that I have ruined. Cast iron ones are heavier, but we rest them on the grate or fire ring when cooking.

Getting bubbly on the campfire 
All toasty brown and ready to twirl on a fork!
Like all pie irons, the Baked Cheese is smoking hot when it’s done cooking- so try to wait before eating. Or twirl the ooey-gooey cheese around a fork to help it cool.
Then enjoy your ooey-gooey, but easy, campfire snack with crackers, crusty bread or just on your fork!
Pie Iron Baked Cheese is an easy, yummy campfire snack, with just a few ingredients-it is a perfect camping snack.
Even though we’ve enjoyed it for over 20 years at home, I can’t believe I waited until this year to try it when camping.
Even if you wonder, like I did, I hope you don’t wait to try Pie Iron Baked Cheese-it is amazing and amazingly easy!
Happy Camping (or driving to the grocery store for cheese!)
Frugal Campasaurus