Good morning! It’s Frugal Friday today! The garage sale makeover, A Dressing Table with Frugal Skirt, was so fun to work on and I’m excited with how it turned out! It is, though, another fighting procrastination project.
The dressing table was a garage sale find over 7 years ago. My father–in-law fixed the table and I painted it, but I always wanted to finish it with a pretty gathered skirt.
But just like the camp stools, the dressing table waited patiently to get finished. It was a serviceable table. But since it was covered with a tablecloth, it was just not finished like I wanted.
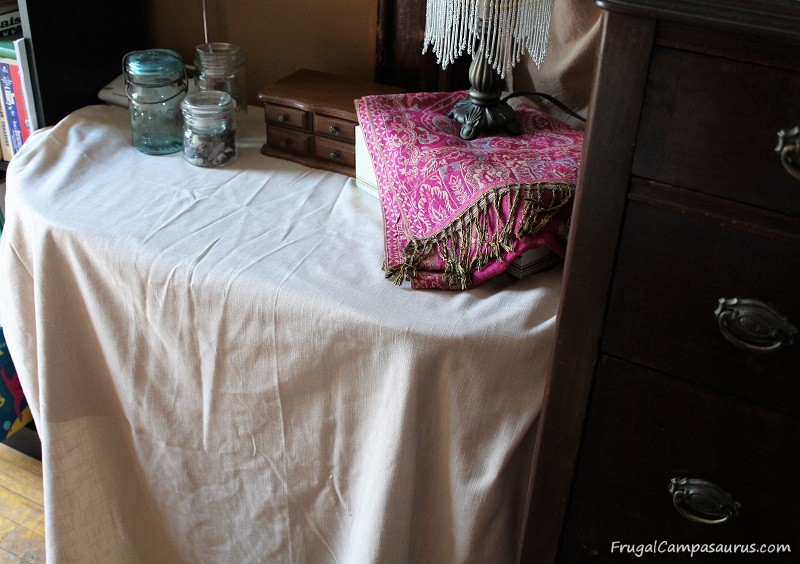
It works, covered with a tablecloth 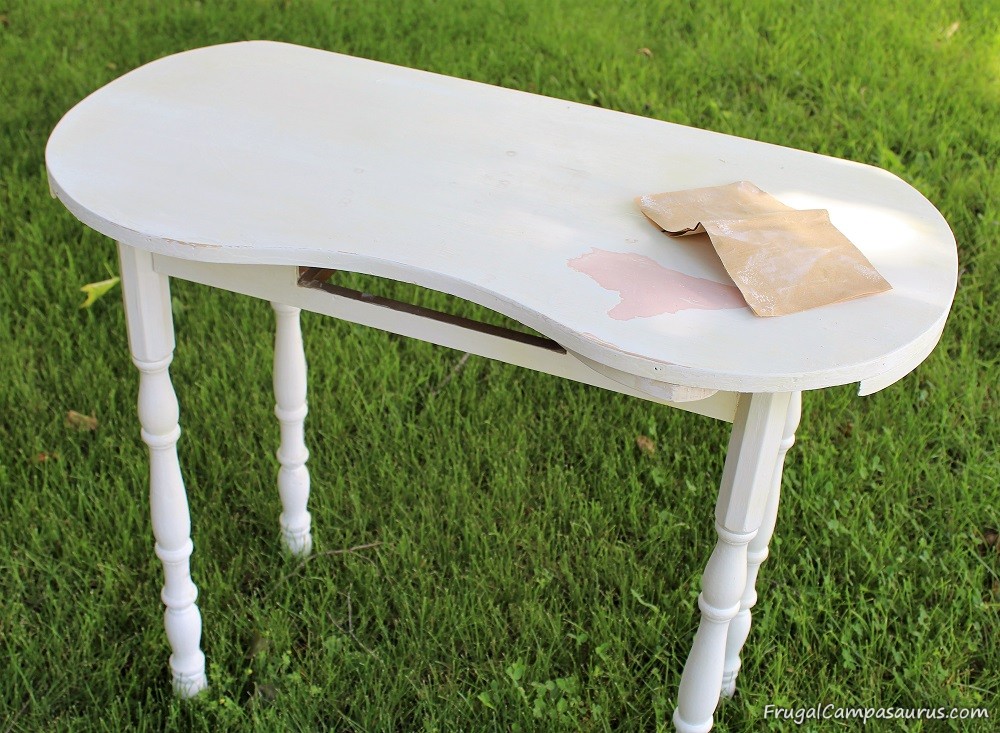
Sanding and painting will help 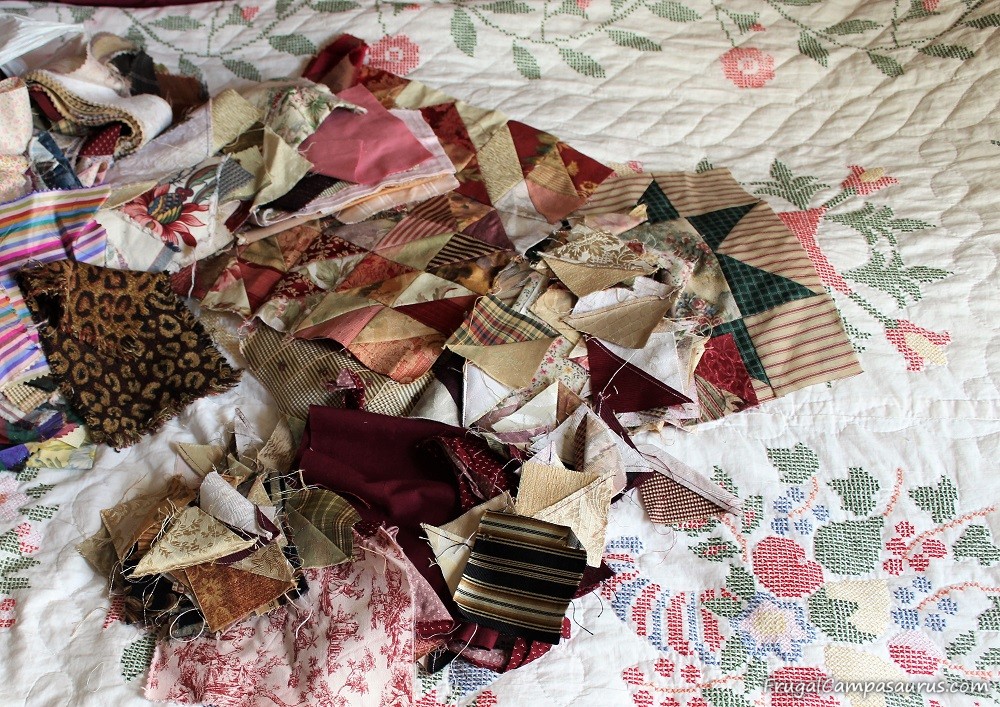
Soooo many fabric scrap options! 
Could even use some garage sale embroidery!
Thankfully, I was thinking about frugal projects as I dusted this week. As I cleaned off the dressing table to wash the tablecloth, I decided to finally finish it!
Since I didn’t want to buy anything (I have a buying ban until the sewing room is cleaned out) and I didn’t have a large solid color that went with our bedroom quilt, I thought I could use fabric scraps. A dresser skirt pieced out of pretty fabrics, just like a crazy quilt. What a great use for the scraps!
Even the scraps were originally frugal. Years ago, I made a quilt for Christmas for my niece using fabric samples. Wallpaper books were free (or under $5) and filled with fun fabric scraps.
Frugal fabric scraps- lots of variety
Though if you use wallpaper book samples– I washed and dried all of them with old towels, because some of the samples bleed. I also emptied the dryer lint trap many times- it got so full.
It was fun sorting through fabric scraps. Along with the sample fabric, there were some quilt squares that I had not used and some garage sale embroidery pieces. Some fabrics easily went in a NO pile, like apples, Winnie the Pooh and the monkey with the hat!
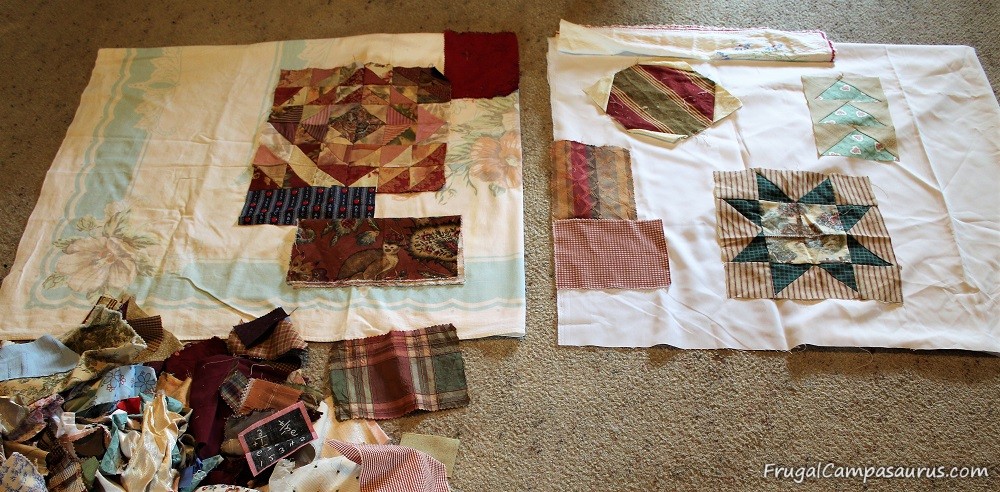
Easy to lay out fabric with a correct sized template 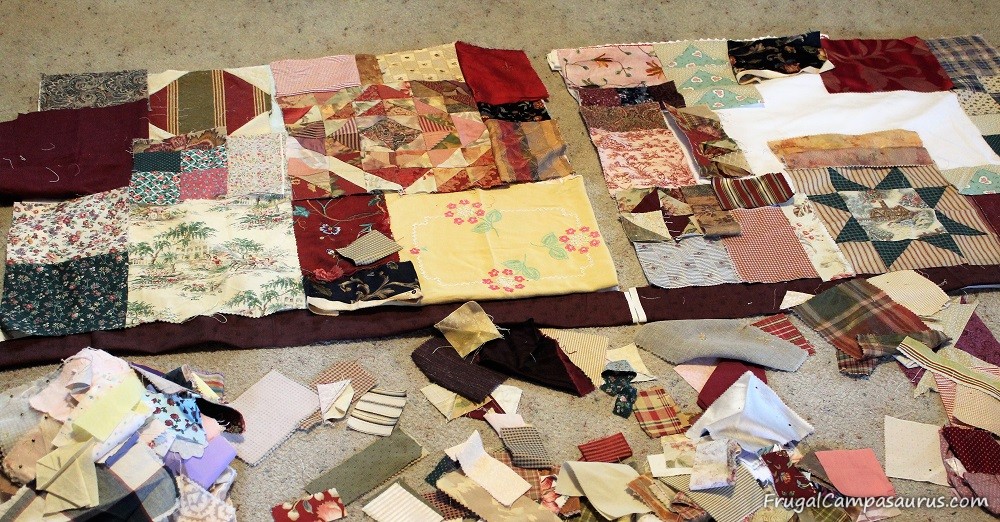
Sooo many choices! 
Even the gathering was easy, when I didn’t break the thread 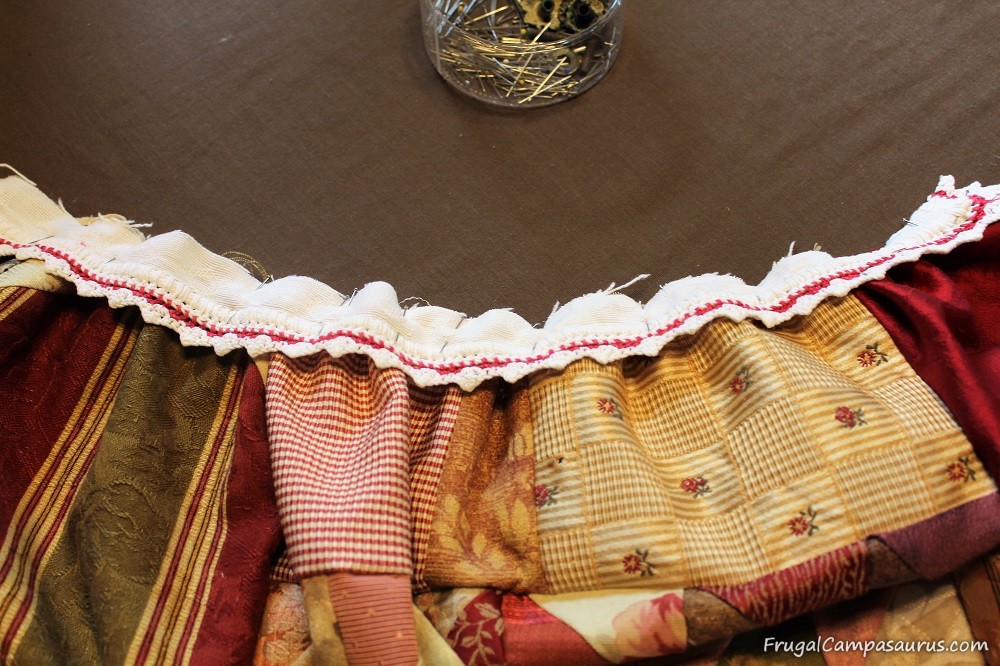
Sooo many pins- though it did help
I had a few garage sale tablecloths, but they were not the right colors. They did work well as templates for the skirt. My templates were 30 inches high by 36 inches wide, but I only had to go half way around the dresser since it is between a bookshelf and a dresser.
Templates helped when laying out fabric scraps
I also held up the tablecloths when deciding how much to gather the fabric panels. Double the width of the fabric was too full, but 1 1/2 times the width was just the right fullness.
It, seriously, was too much fun picking out which fabric and embroidery scraps to use. Just like when I make t-shirt quilts, I played with the fabric placement for waaay to long. The whole project took 2 1/2 days, but the first 1/2 day was spent moving and changing fabric scraps! It was a lot of fun though!
I wondered if the crazy quilt pattern would be too crazy, so I found a long, solid color for the bottom edge and an embroidered trim for the top to help tie the look together.
After the panels were finally together, I sewed a long straight stitch very close to the top edge. I left long tails on the thread, then it was easy to gently pull one of the threads and make the fabric gather.
Gently was my word of the day- some of the fabric sample were thick, and I broke the first thread right away. Oh well, I just gently pulled and gathered it all from the other end. I have taped the gathers on other projects, sewing right through the tape, to hold them; this time I just used lots of pins. It worked fine, I usually don’t pin- but I am out of tape!
Pinning the middle of the crazy fabric panel to the middle of the top trim piece, helped when I pulled the gathers. It made it easier for me to get the gathers even.
Nailing the fabric panels to the dressing table 
Half way done! Though it’s too long 
Why did I think working on the floor was a good idea?
I did measure closely, so the bottom dark trim would line up. If I had to do it again, I would make one long fabric panel and then cut it in half. It wasn’t too hard, and the trim mostly matches- but one piece would definitely be easier.
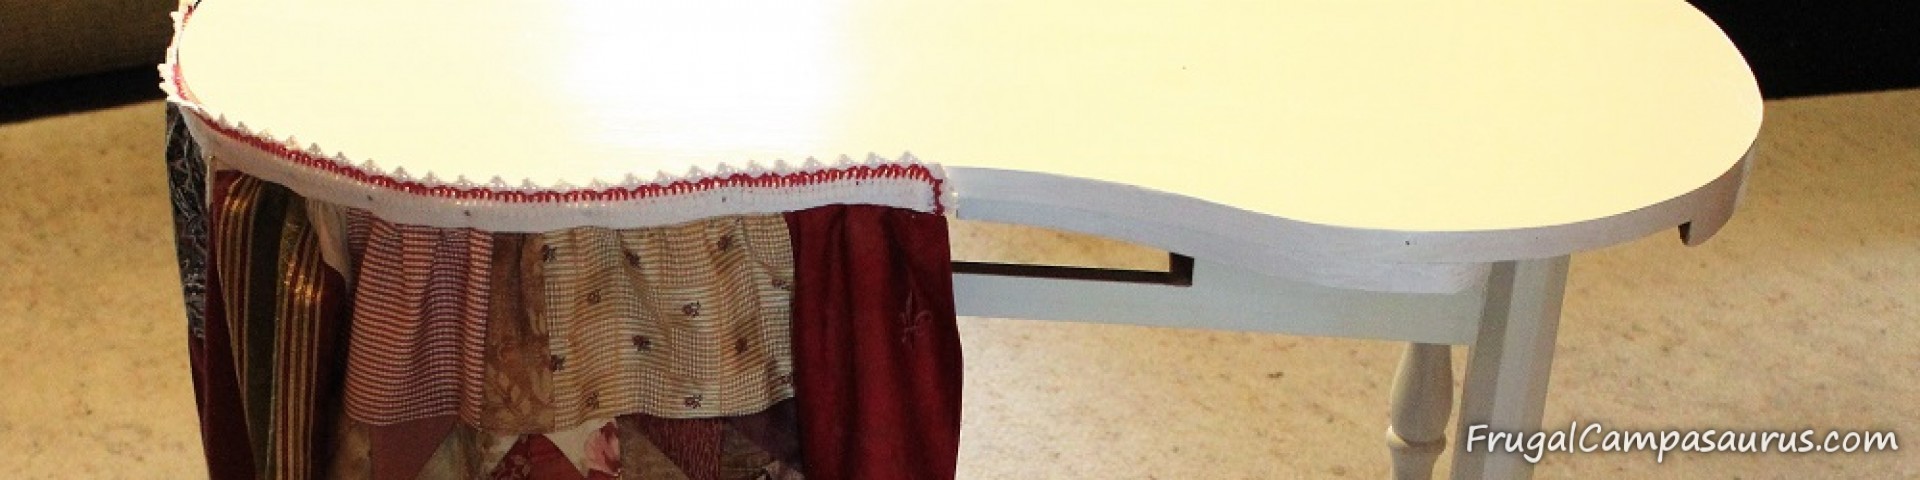
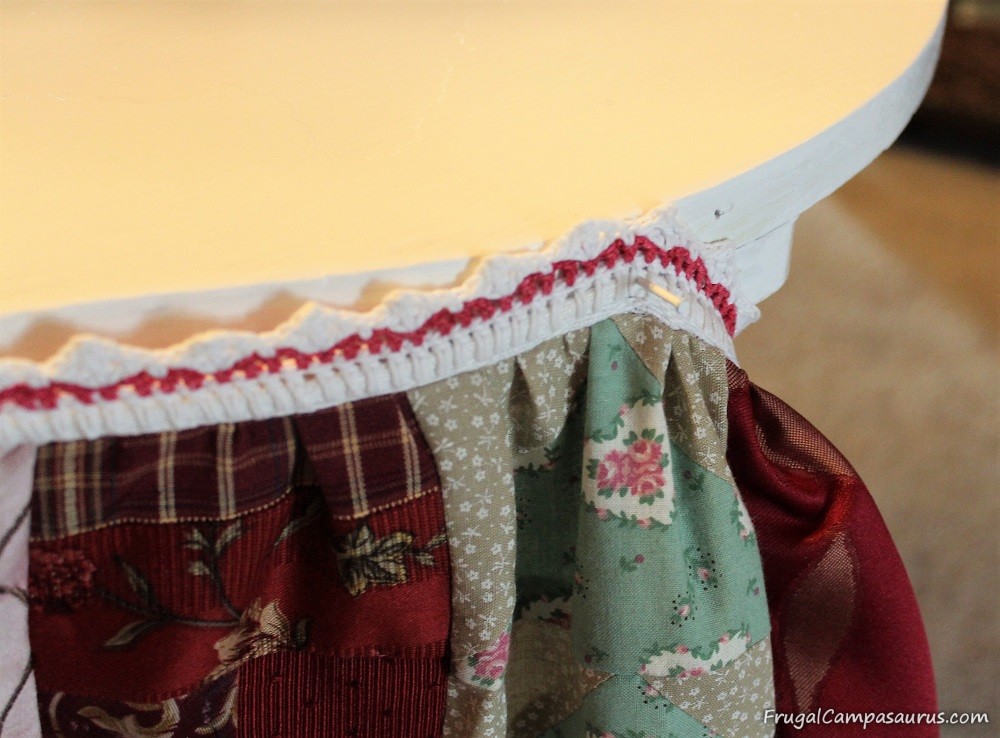
Once the fabric panels were finished, it was easy to attach them to the dresser. I only have one of the wood arms that open at the front on the dresser. That is where you should attach the panels. I tried to attach the other arm, but the hole is striped and I didn’t want to search for bigger screws.
So, I nailed the panels onto the edge of the dressing table top. The skirt won’t open with both arms, but I can get underneath thanks to the separate panels. For me, it’s ok- I rarely get under the table, it is more for storage .
Oops, should have finished sewing

Unfortunately, in my excitement to nail the first panel on and see how it looked (sooo cute!) I forgot about the bottom hem.
I used a little Velcro in the inside curve, but the rest of the panel is nailed with tiny paneling nails- every 2 or 3 inches. It was not coming off to get hemmed.
My first idea was to just tuck it under, but the skirt didn’t hang right.
Then, I tried to iron the hem and hand sew it. But working on the floor was not a good idea! I struggled to press the fabric to the right length.
Finally, I moved to the dining room table, at last I could see! Once I moved, it was easy to iron the fabric so it just missed the floor. Then I could quickly sew a long running stitch by hand. I’m not sure how dress makers hem, but I used a long stitch- like at least one inch between stitches. It should work, since it will rarely get washed-it’s nailed to the dressing table!

I had so much fun with this Frugal Friday garage sale make-over project!
I was happy to use up some of my fabric scraps and finally finish the Dressing Table skirt for our bedroom.
In fact, it was so fun sorting through the scraps and deciding which ones to use that I need to find more fabric scrap projects.
I hope you join me for Food or Frugal Fridays this summer- it will be fun, as long as I don’t try working on the floor!

Happy Camping ( or rearranging fabric scraps!)
Frugal Campasaurus