Good morning! I’m excited this morning to share how we boil, finish and store our homemade maple syrup, even though we did not have a good sap run this week. Last time, I shared how we frugally tap 2 maple trees in our yard, collect sap and start boiling outside to make maple syrup . It is a great way to enjoy spring while we wait for camping weather.
Unfortunately, the weather turned cold again, school was late due to ice and the trees enjoyed (what the state extension service guy refers to as) a nice rest. Last year, when I called the state extension service help-line to ask about when to tap, I also asked what happens if it gets cold and freezes for 1 or 2 weeks after I tap. He said that the cold, below-freezing, daytime temperatures give the tree a nice rest before more sap production.
Just like a nap. The nice rest may be good for the trees, but it doesn’t produce much sap.
This week, the temperatures have been below freezing with cloudy weather almost every day. So the trees have enjoyed a nice rest. We collected just 6 gallons of sap from Saturday night until Saturday afternoon. The week before, we had 17 ½ gallons of sap. What a difference the cold temperatures and icky weather can make!
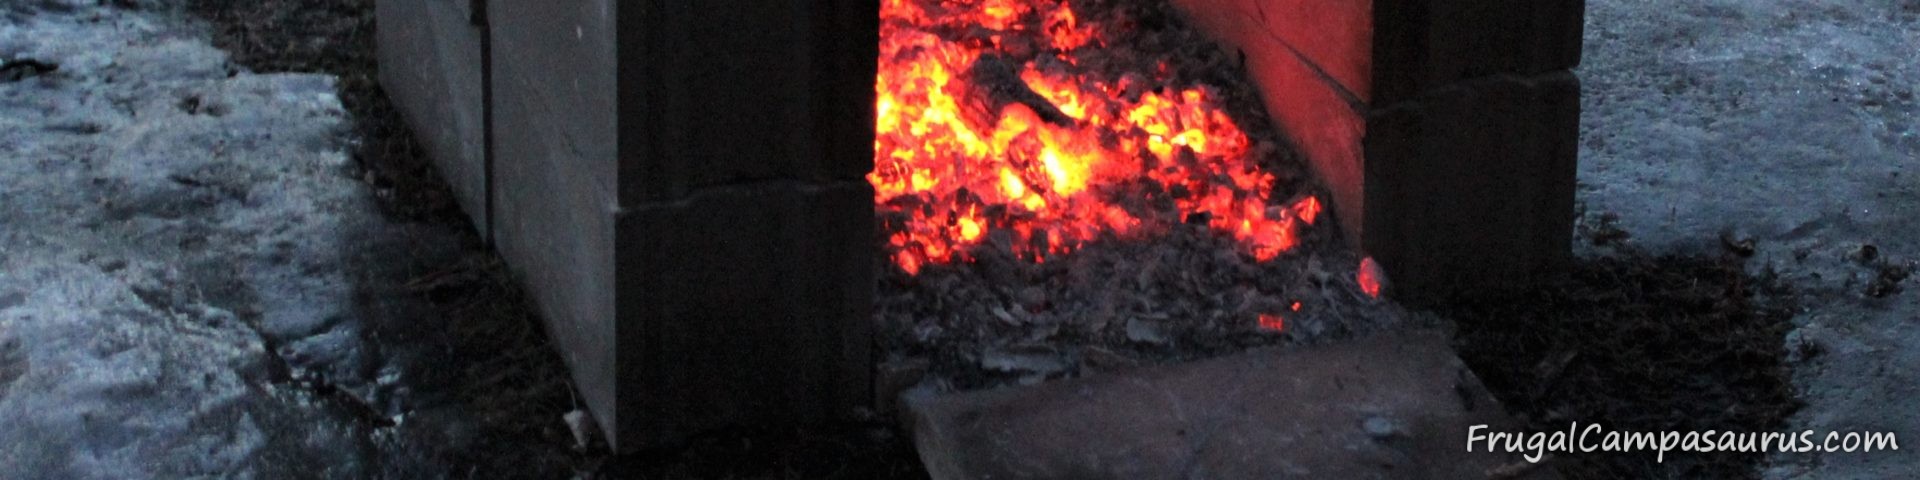
The week also made a huge change to our outside fire pit area. Last week, the husband had to scoop snow out of the way to build the concrete block fire pit. As that first afternoon went on, the area became a sheet of ice.
This week, almost all of the snow has disappeared due to freezing rain. Now, as I boil sap and the sun (finally) shines- it is a mucky, muddy mess. At least the fire is warm and the sap is boiling away!
Boiling Sap
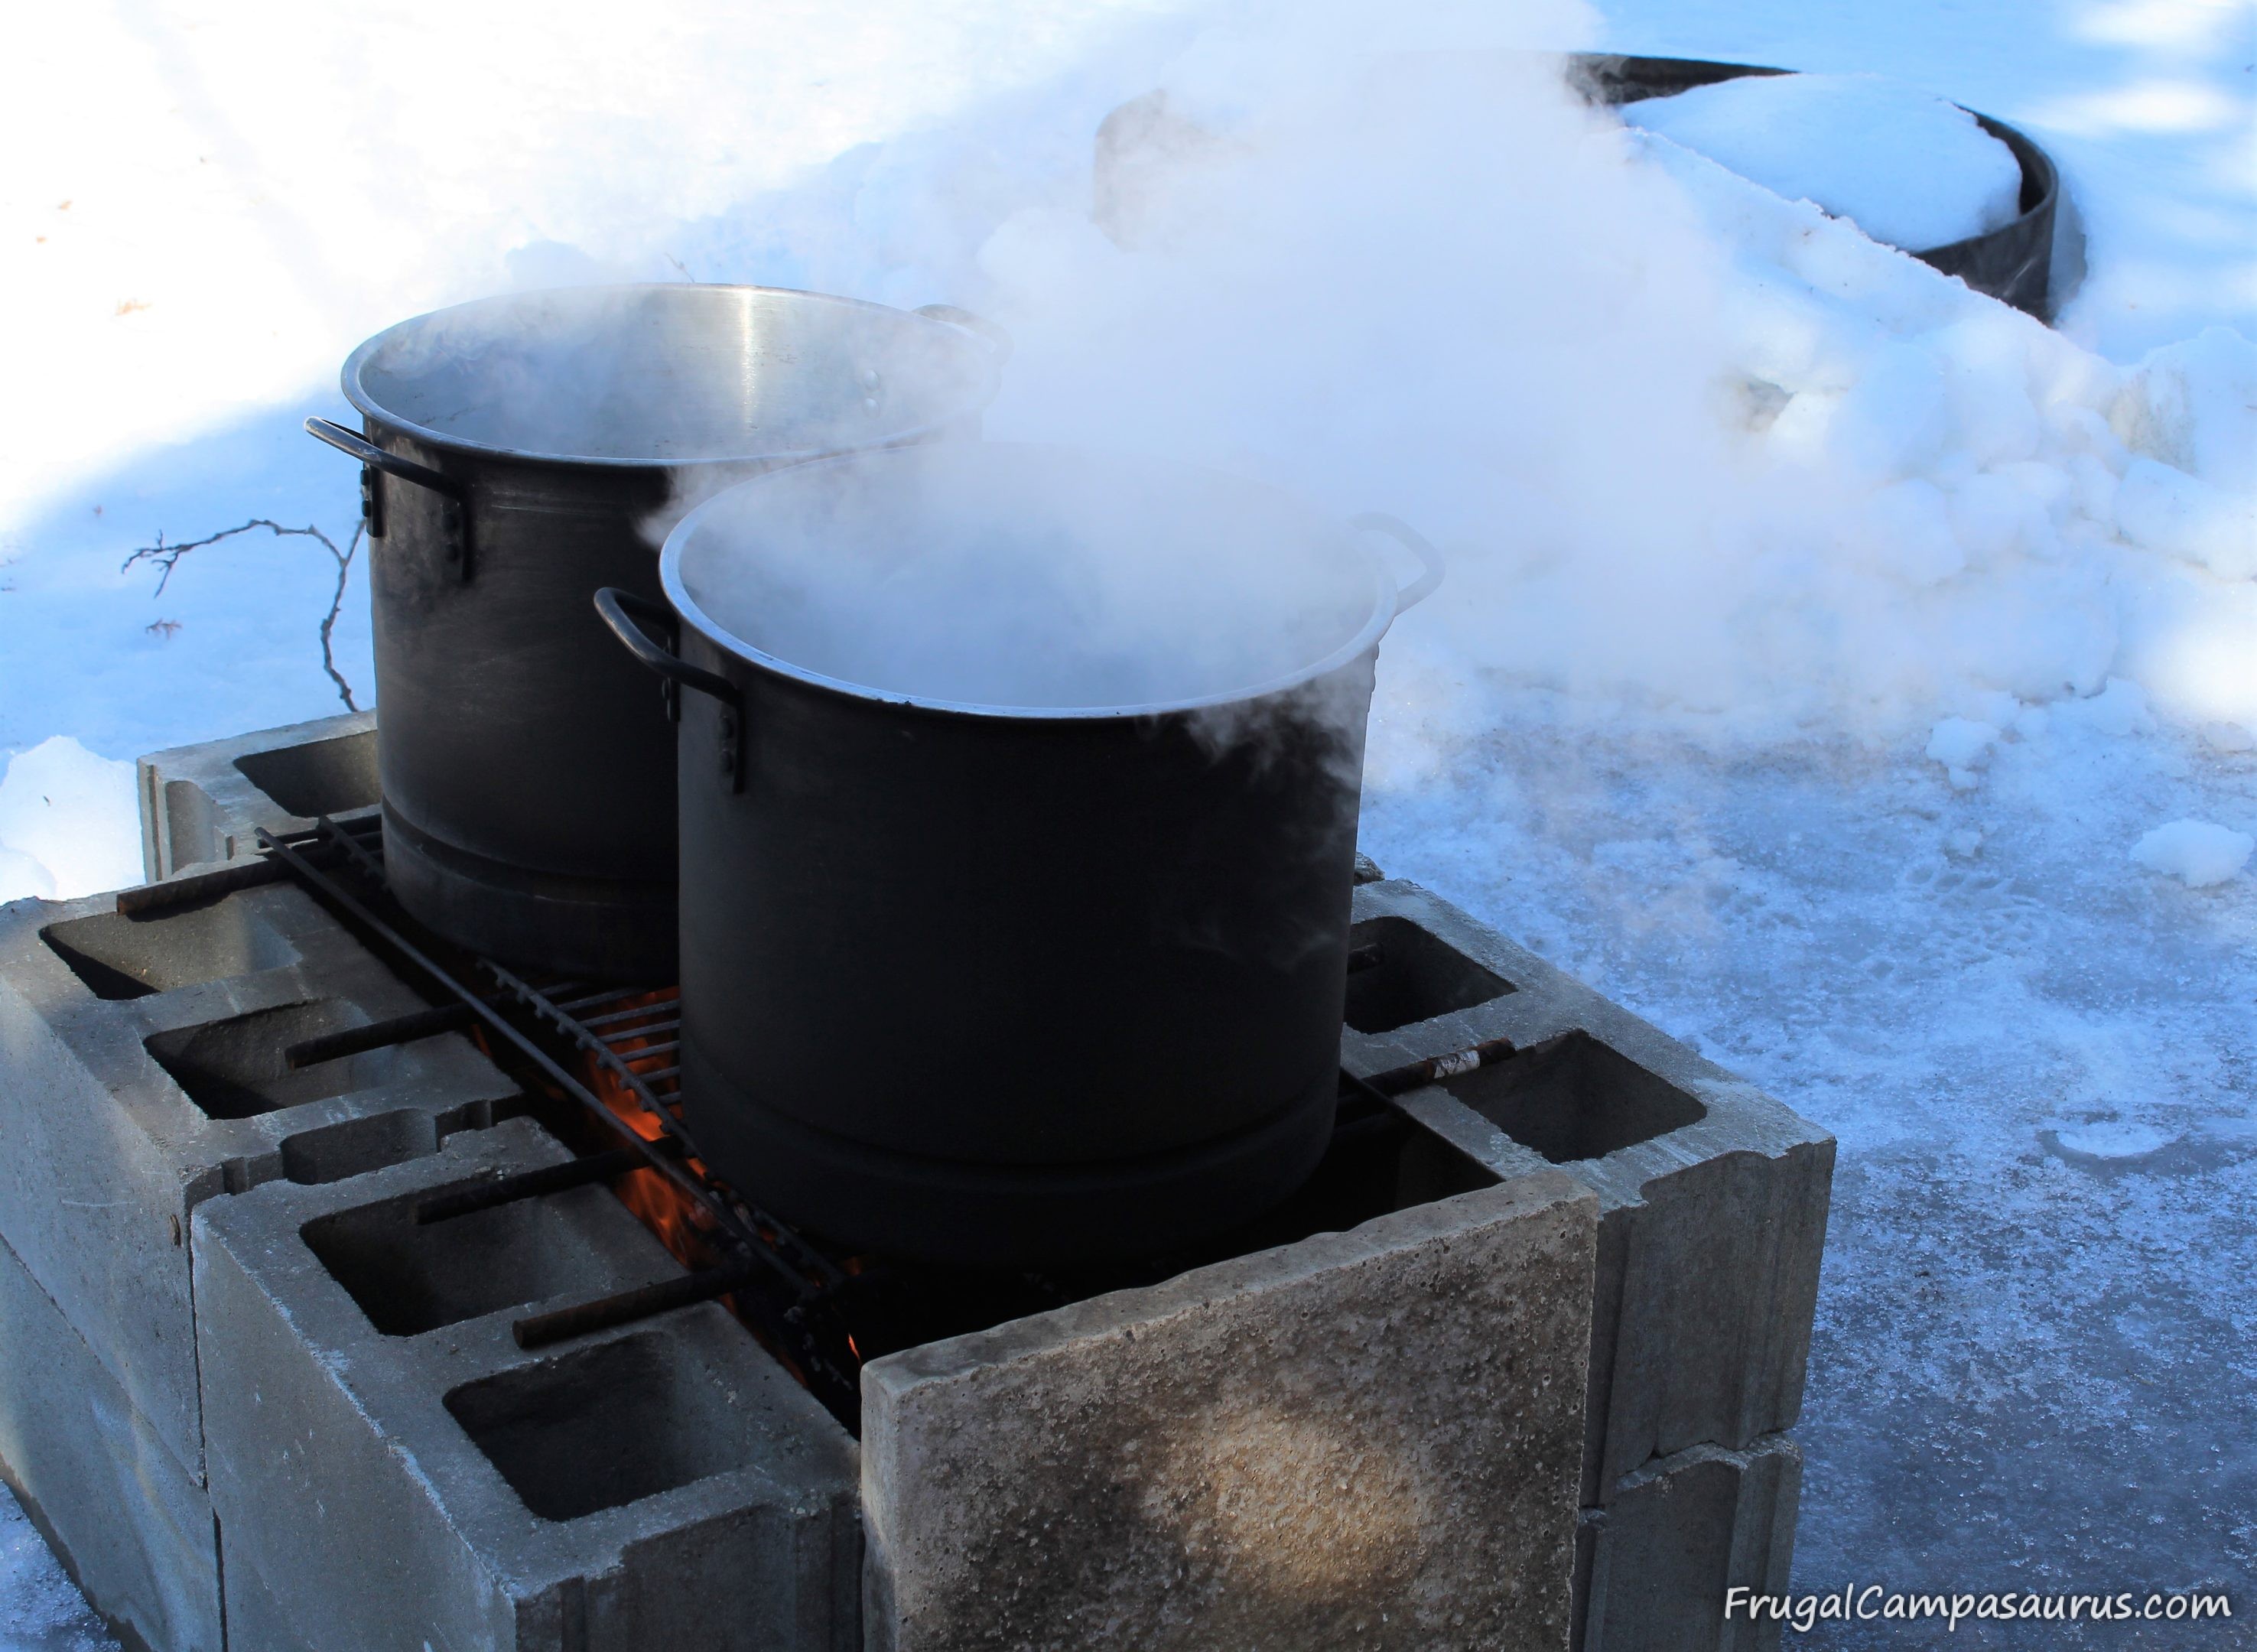
Even though we just had 6 gallons of sap, Saturday we started the wood fire to make maple syrup. Some of the sap was almost a week old. It is perishable, like milk, so we had sap stored in rinsed out milk jugs (love frugal supplies!) in the refrigerator. Thursday and Friday’s sap was frozen in the buckets by the tree. With the colder temperatures and lower sap production, there was not a danger of the 5 gallon bucket overflowing, so we left it there until boiling time on Saturday.
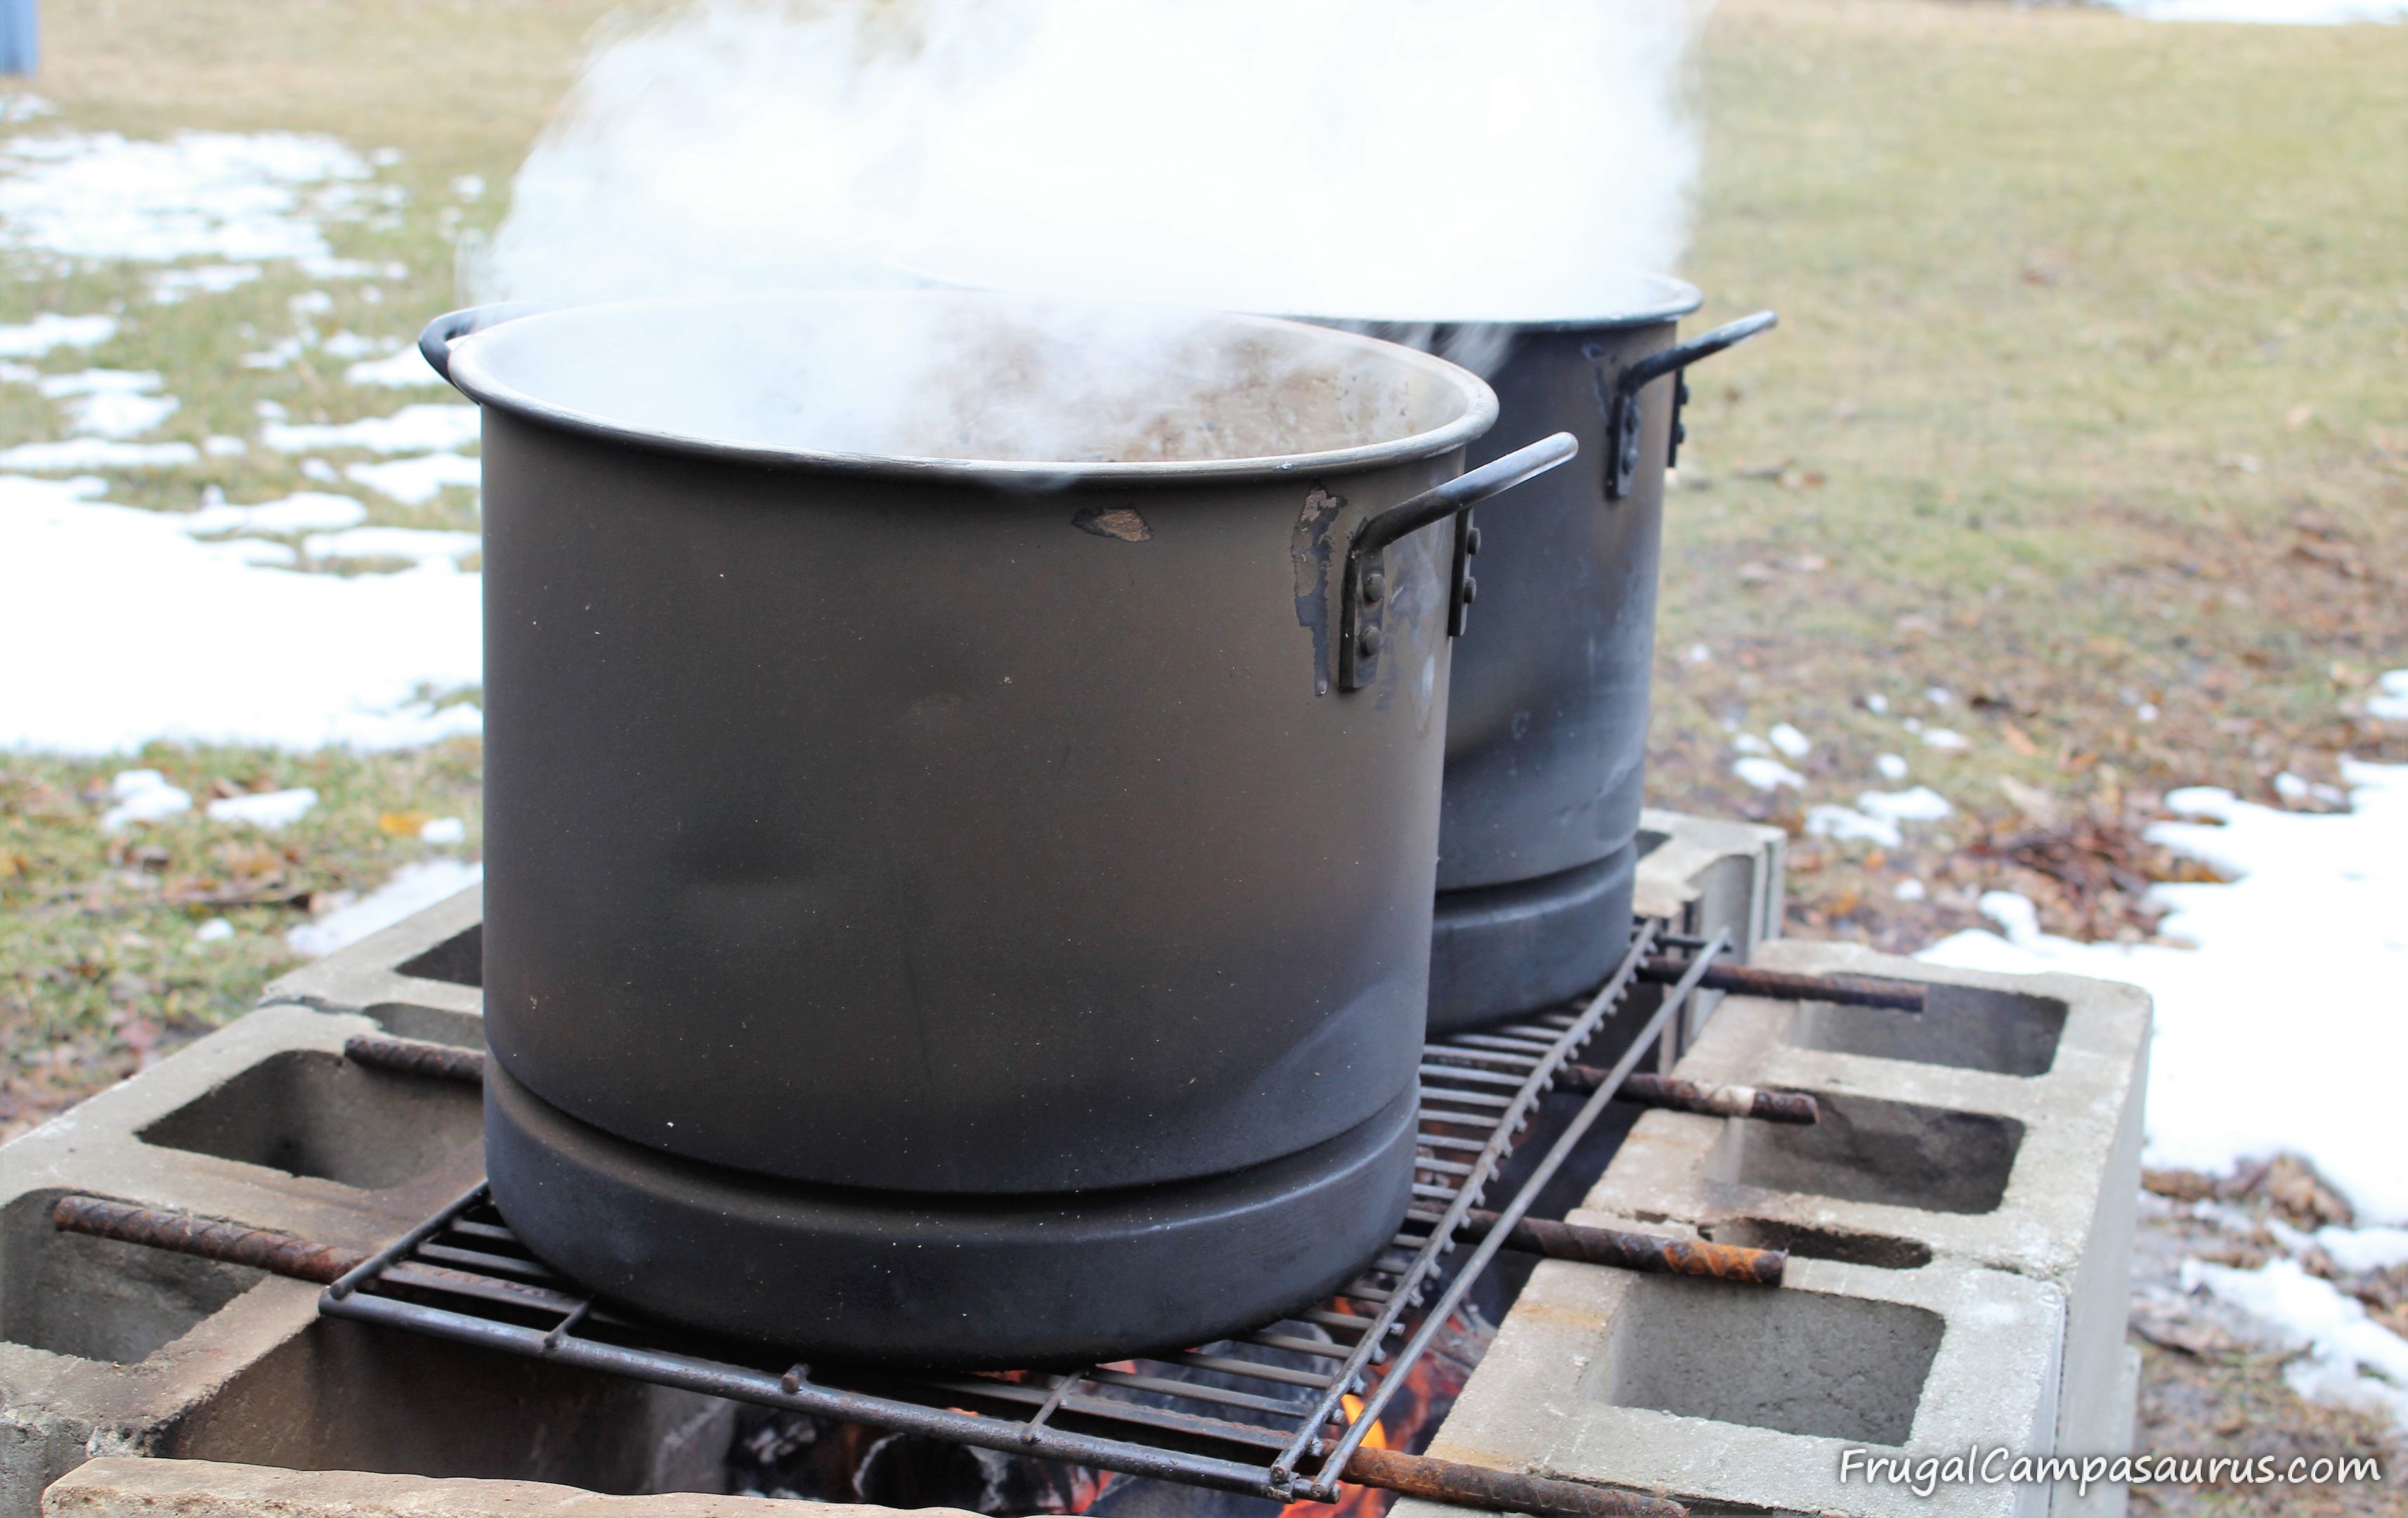
We do most of our boiling outside over a wood fire. I love it that the wood can be free. And I love an excuse to use the new log splitter– it is so fun! Today, we used only 1 wheelbarrow of wood, but it is sunny and not windy. Last week, we used 3 wheelbarrows of wood, but we had almost 3 times as much sap.
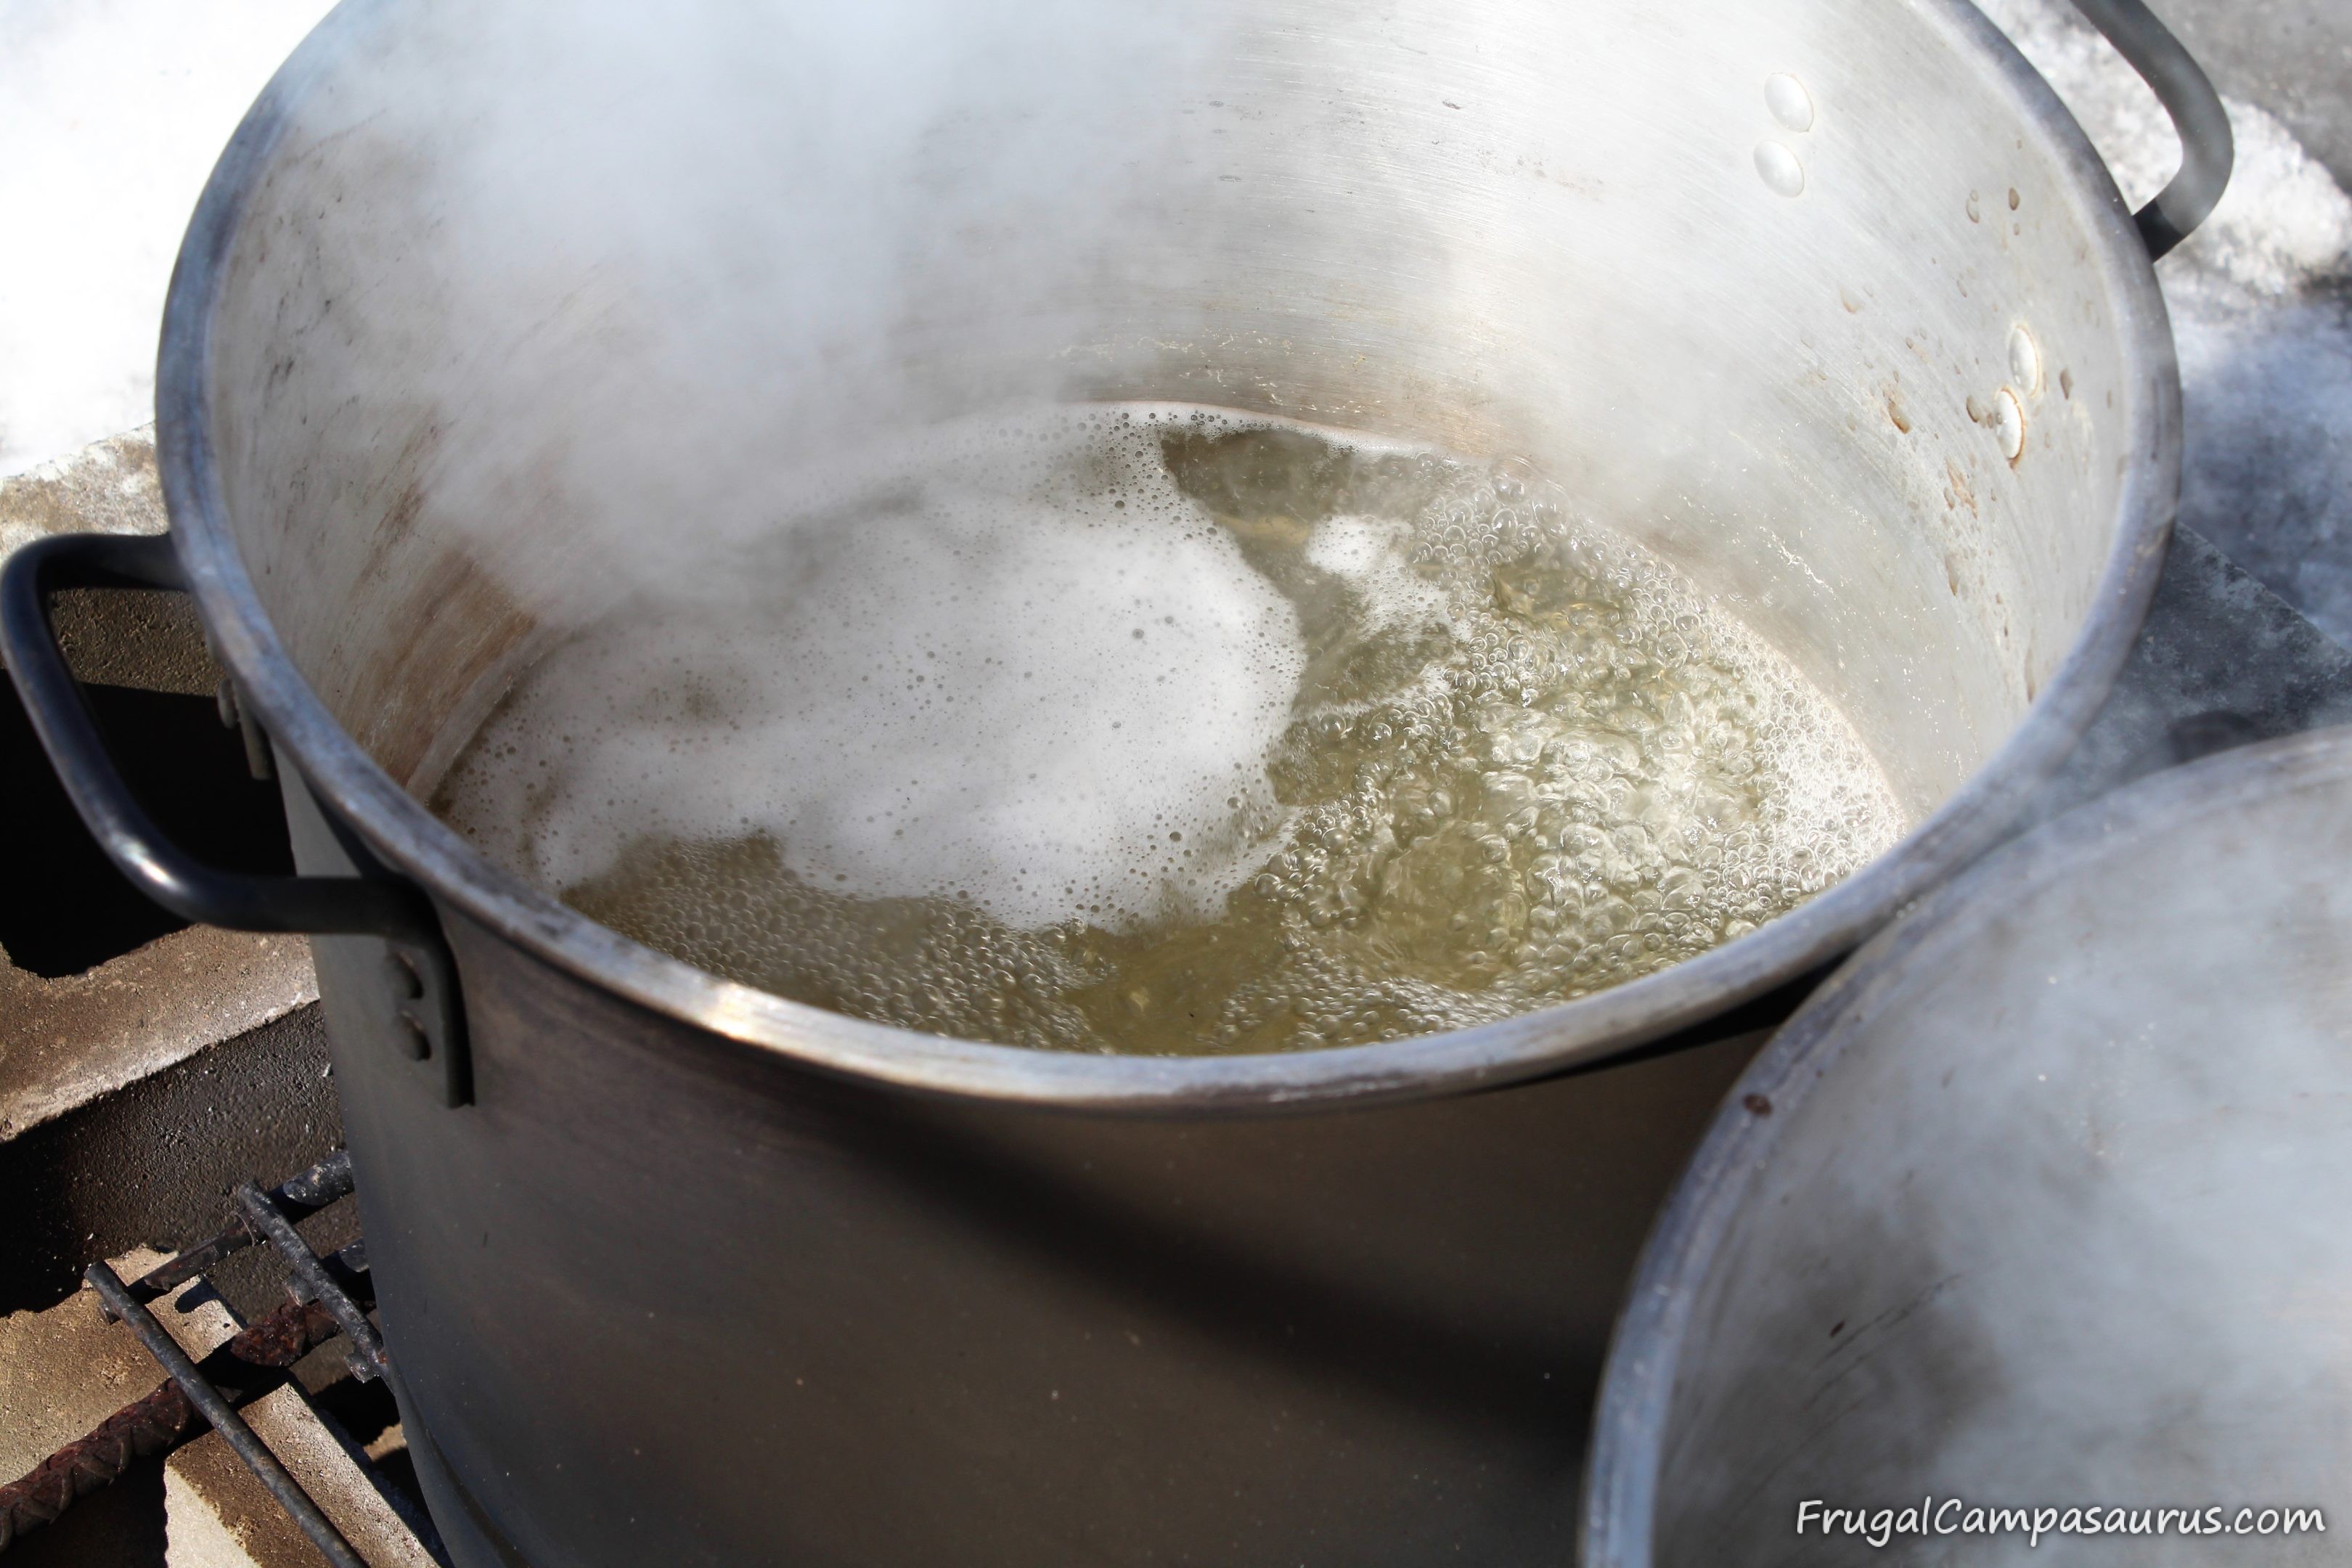
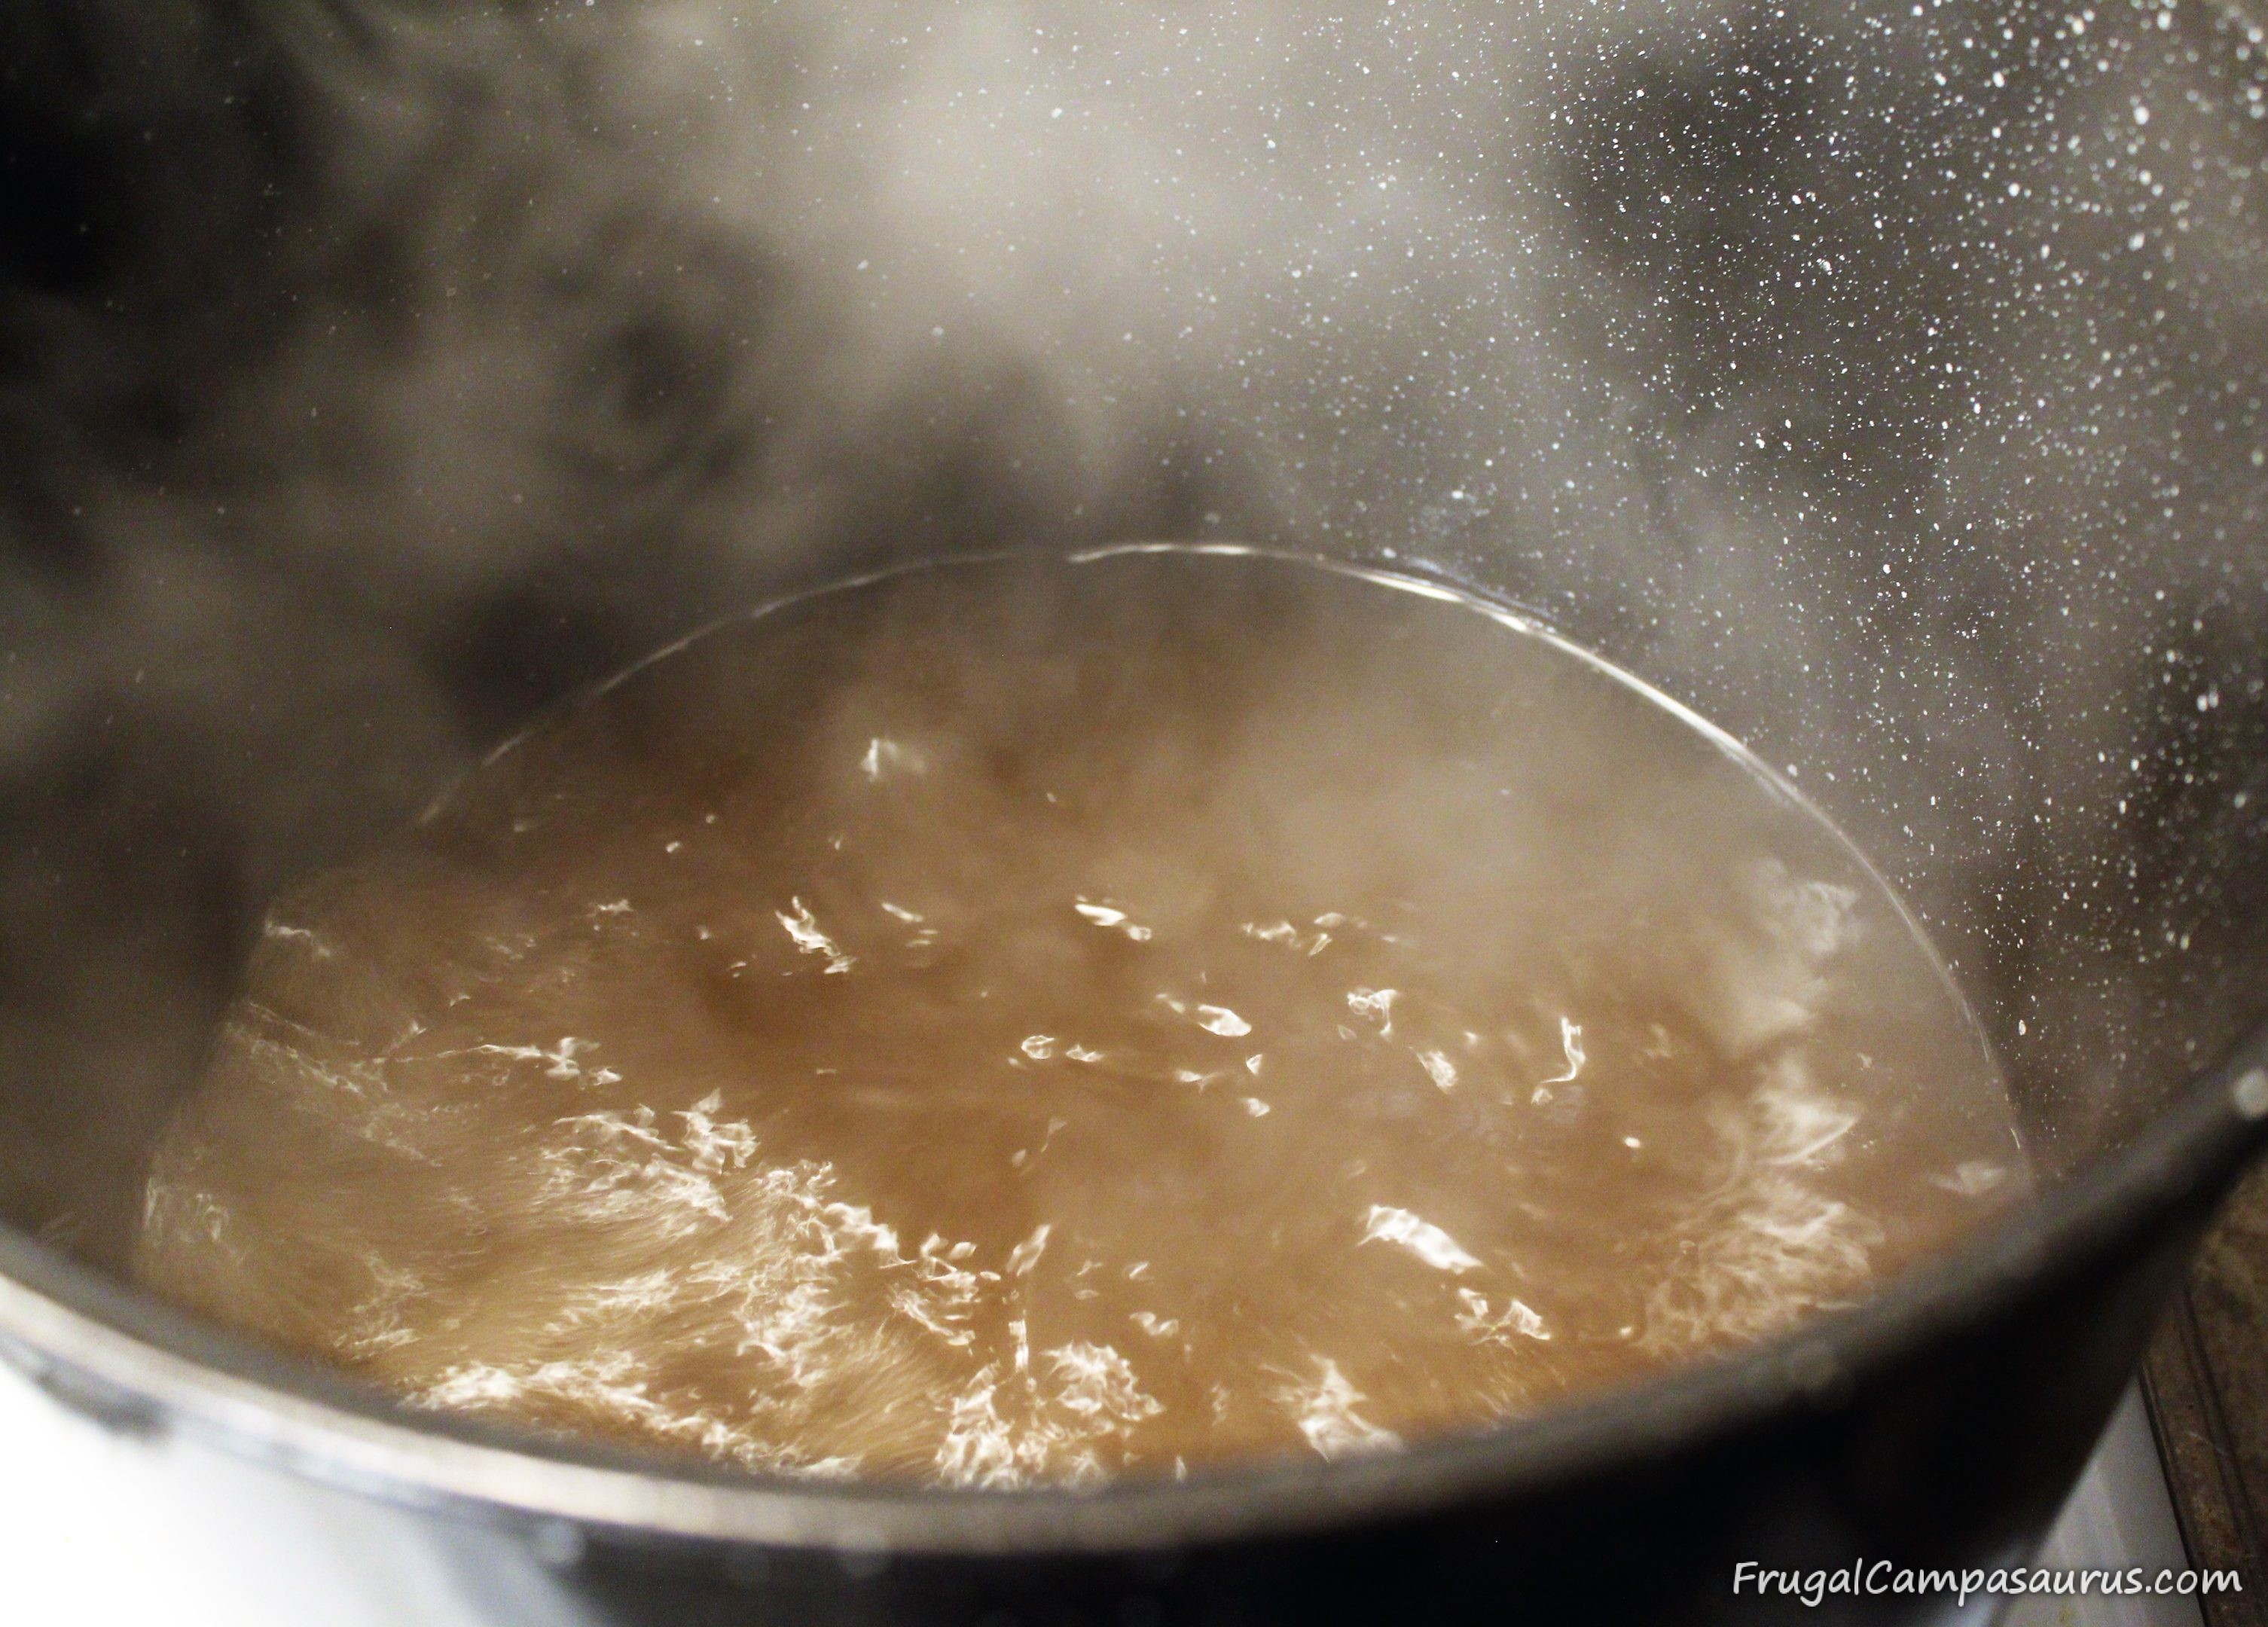
As we are boiling outside, we add more sap to keep the pots 1/3 to 1/2 full. Foam and any stray ashes are skimmed off with a fine mesh strainer.
Using a wood fire can give the syrup a smokey flavor, which I like. The family-not so much. We may use rectangle steamer trays and a chimney next year. The wide steamer pans would fit snugly in the concrete block fire pit or a metal barrel. With a chimney, the sap would be less exposed to wood smoke, hopefully lessening the smokey flavor. Some people like the flavor ( I could drink it from the jar!) others don’t, but it is very different from store bought maple syrup.
Finishing the Syrup
Most of the boiling is done outside, but we finish it inside. To prevent scorching, I condense it to 1 pot when there is about 3 gallons of sap left total. That is about 2 inches deep in my pots, I don’t want it too shallow and scorching. When there is 1 -1 1/2 gallons left in that single pot, we bring it inside to finish boiling on the stove. This allows us to control the temperature easier. Only the sap comes inside, my sooty sap pots stay outside!
The sap gets filtered through a white cotton dishtowel into an inside pot. Then its time to boil on the stove. I should probably get it closer to the finished amount, since I usually have to boil it a few hours inside, but I am afraid of scorching the syrup and it is generally dark by the time we are coming inside anyway.
The sweet, steamy liquid becomes maple syrup at about 7 degrees above the boiling point of water, so roughly 219 degrees for us. Our syrup is only for at-home-use, we don’t sell or bottle it, so we don’t use a hydrometer. I do use a candy thermometer, and have a lot of fun watching the drips come off the spoon as it becomes syrup.
Homemade syrup is thinner than some of the store syrups, so last year I decided to boil it longer and make it thicker. What a bad idea! The syrup was thicker, but every jar had sugar crystals in the bottom. They were almost like rock candy, but hard to chip out of the jars. Once I did get it out, it was nice in granola so at least it didn’t go to waste.
But boiling it longer also greatly reduced our syrup quantity. Last year, when I extra boiled the sap, we made 11 1/2 pints of maple syrup from 70 1/2 gallons of sap. The year before, we made 10 1/2 pints of syrup from 44 1/2 gallons of sap.
Oh well, it was still yummy!
This year, I’m trying very hard to not overcook the syrup. So far it’s working better, our 1st boil of 17 1/2 gallons of sap produced 5 1/2 pints of syrup. And none of the jars have crystals in the bottom!
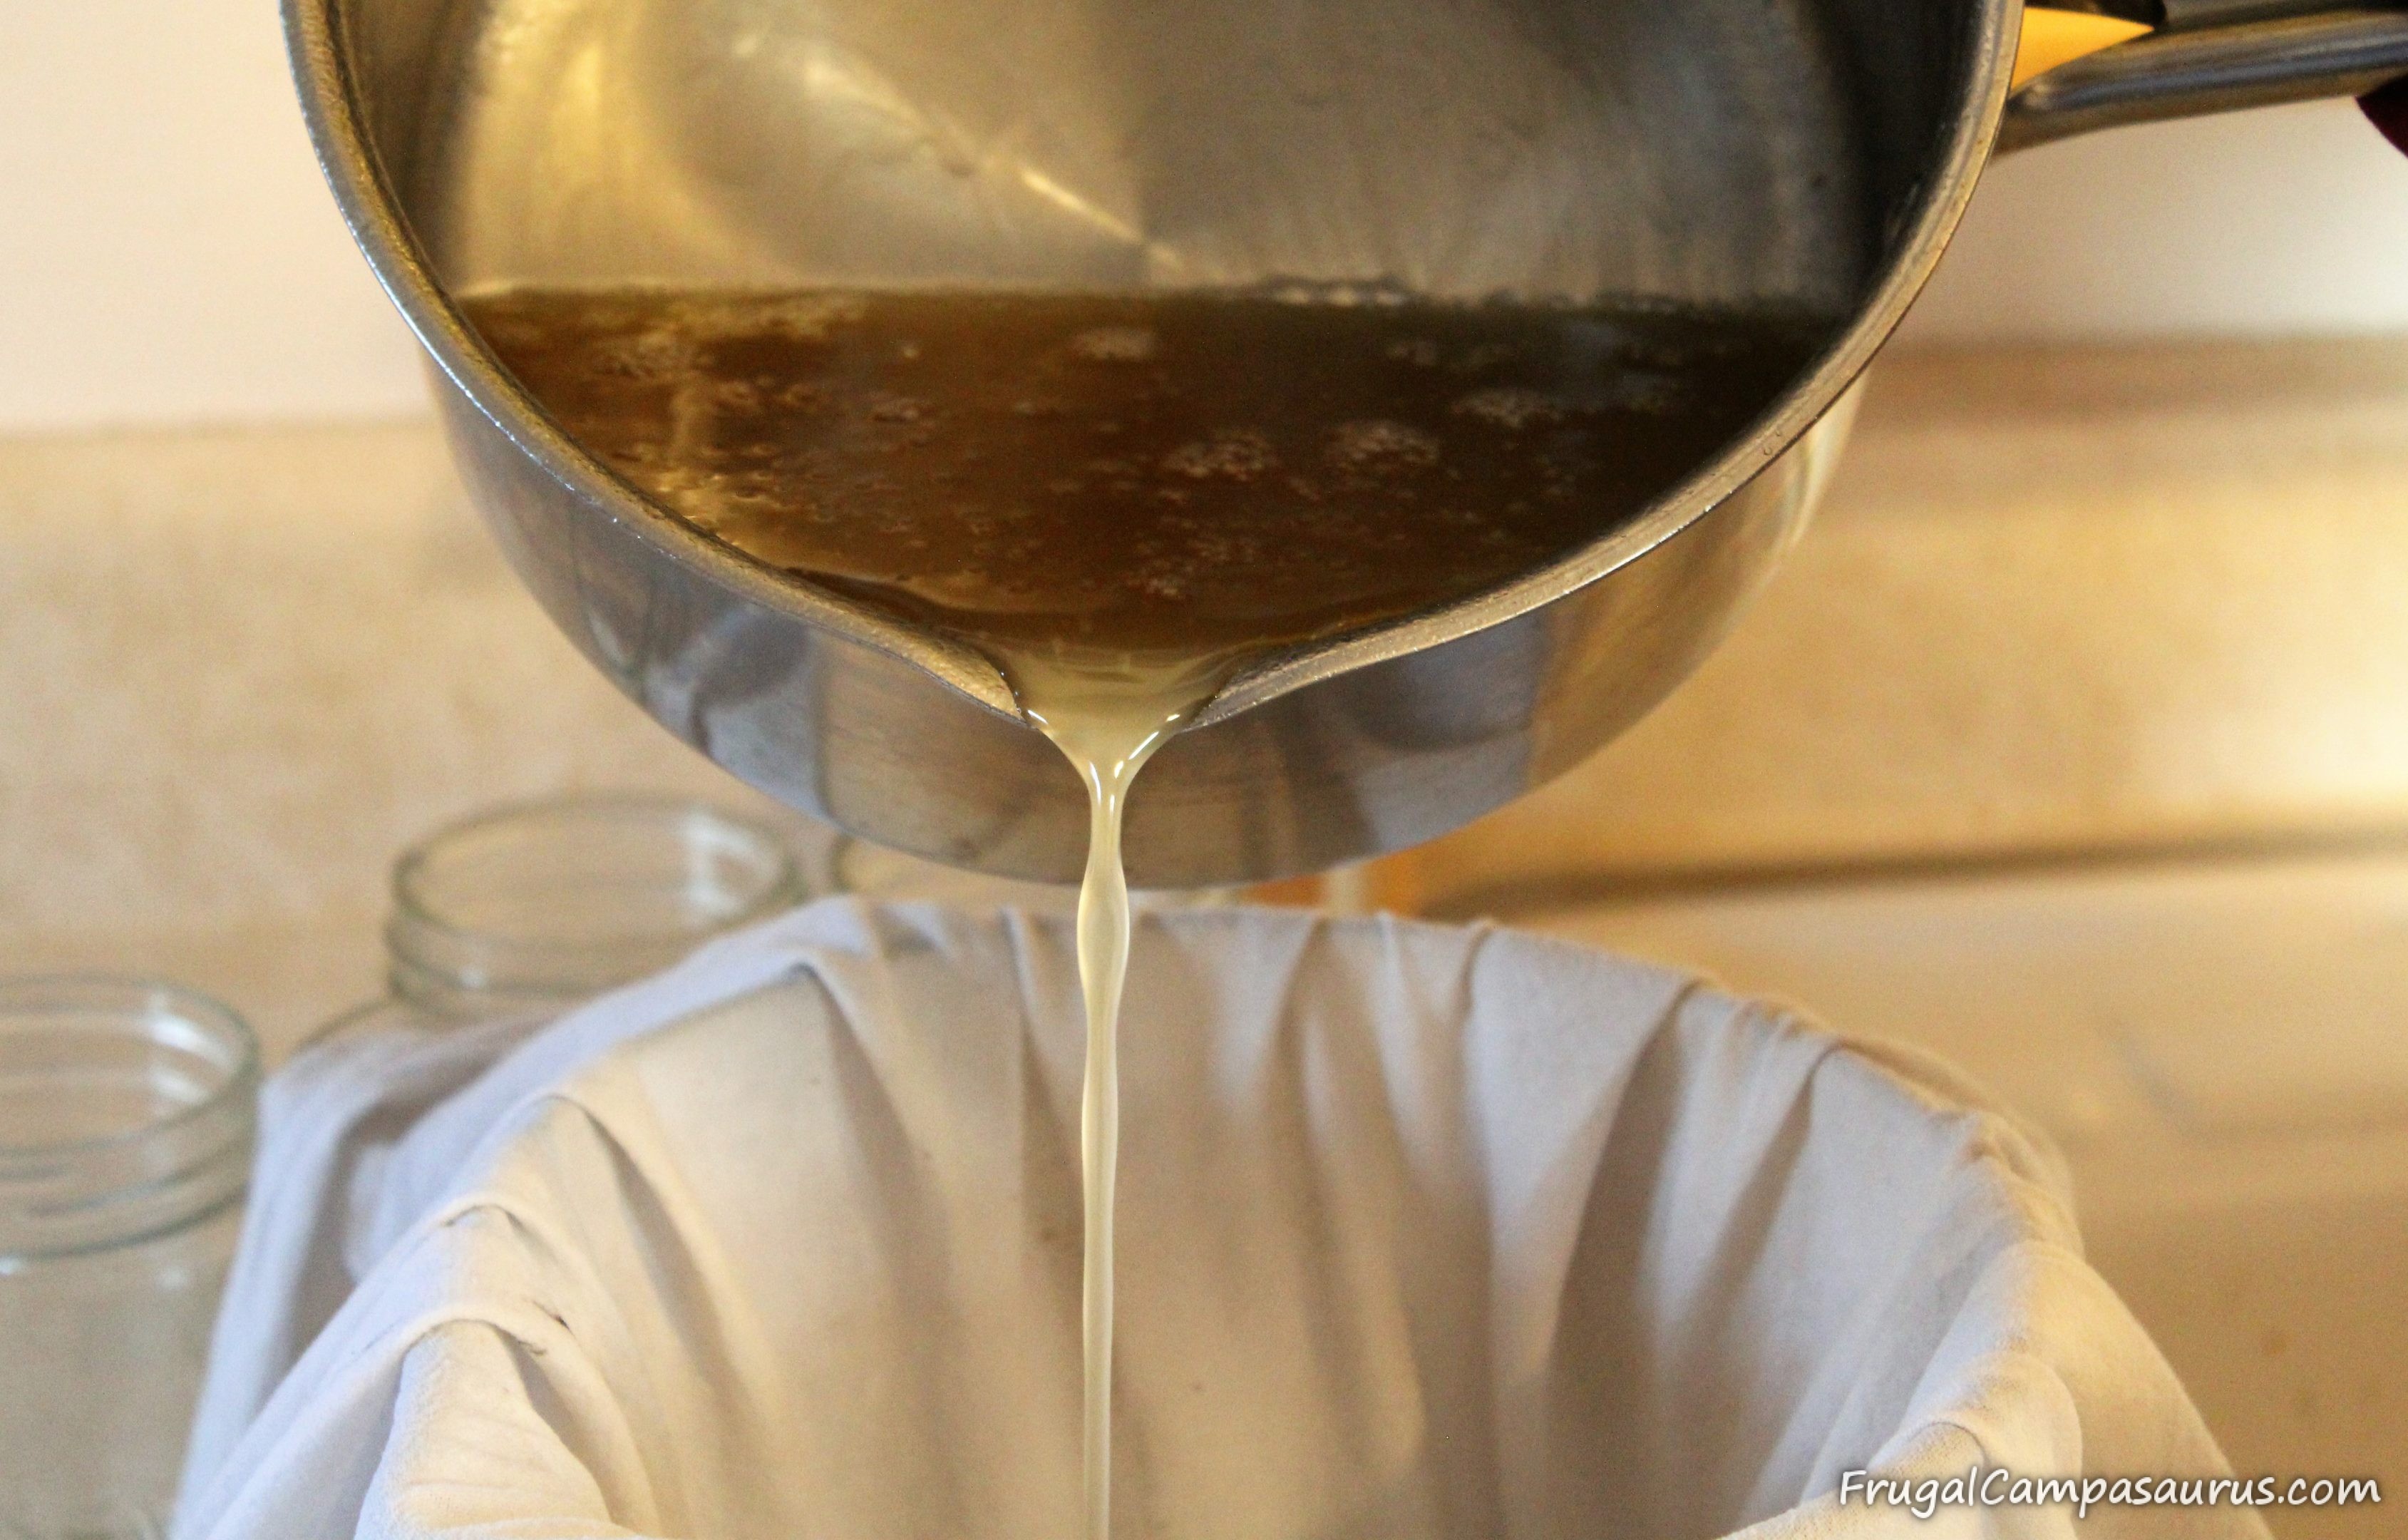
The jars also don’t have niter (sugar sand) in the bottom. After the syrup reaches temperature, we filter it again through a cotton dish towel. This time it catches the niter (trace minerals) from boiling down the sap. The towel can get clogged with the sugar sand, so we slowly move the towel, allowing the syrup to flow though clean parts of the towel into a bowl. Then, we rinse the towel in the sink to wash the niter down the drain.
The filtering needs to be done right away: don’t take pretty (repeated) pictures of the syrup slowly dripping off a spoon with the heat off. The syrup will start cooling right away and not filter through the towel, even if there is little sugar sand to block it.
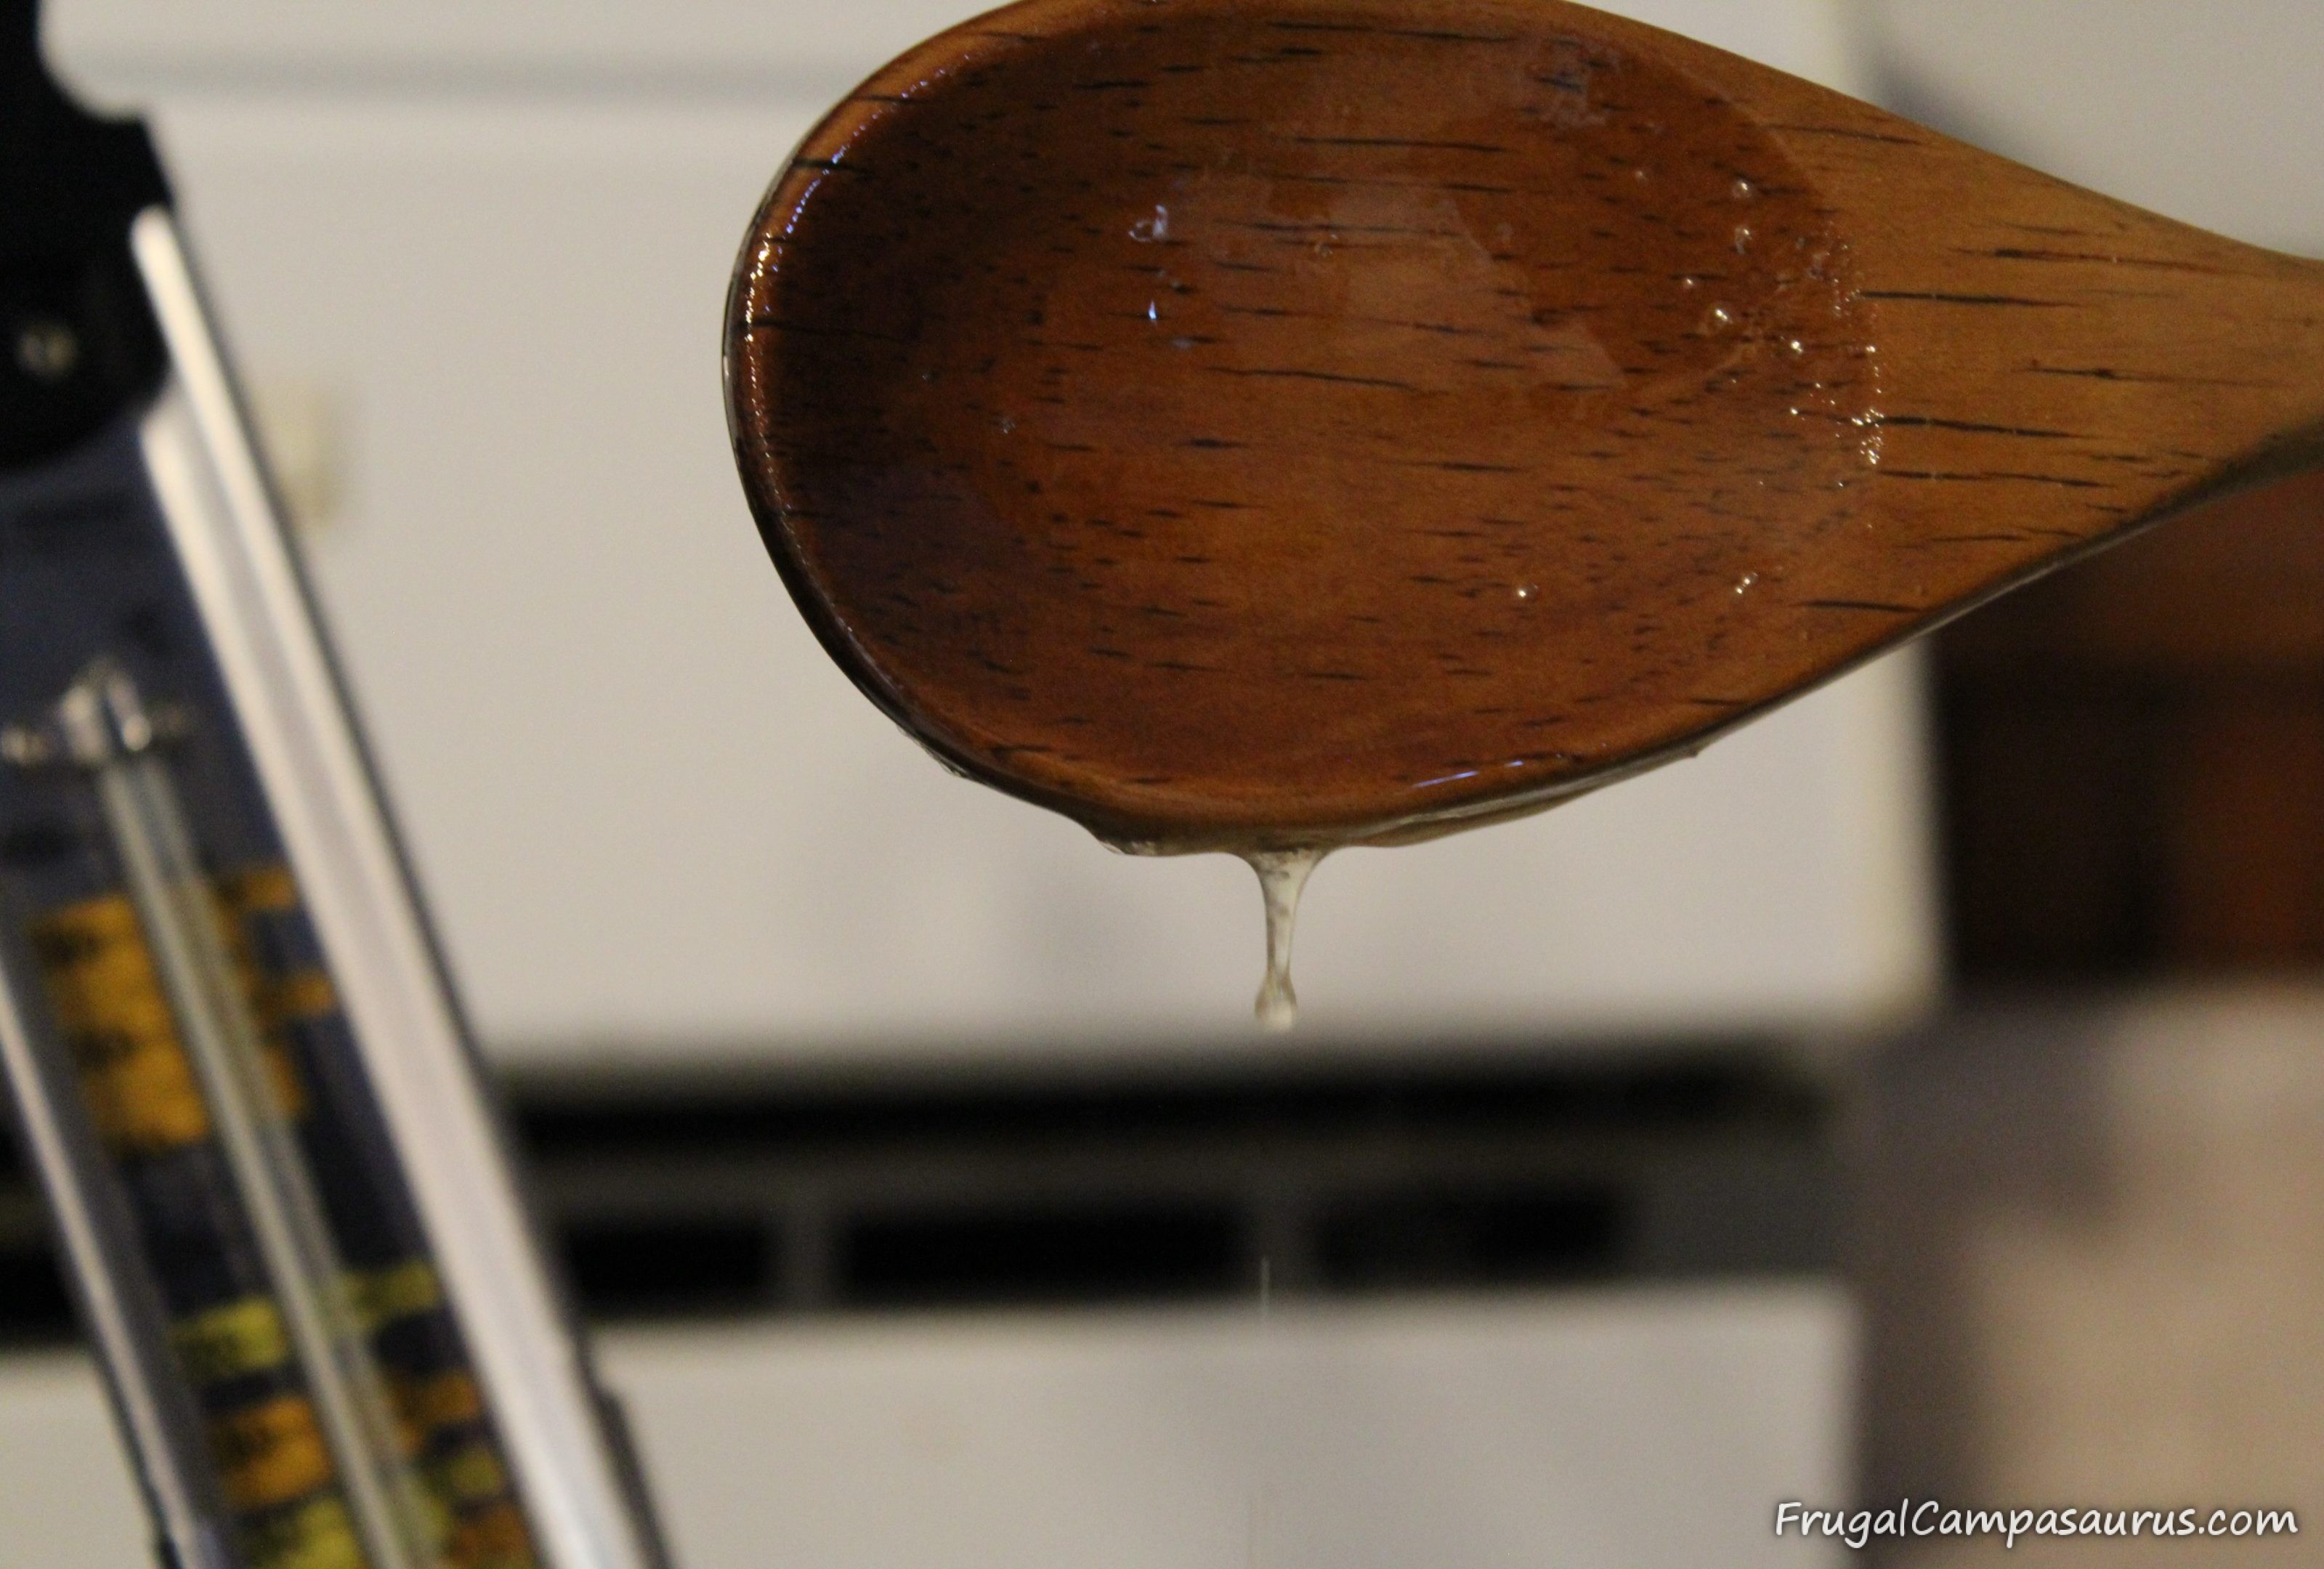
It is fun though, watching the drips change. As the sap cooks and changes to maple syrup, this is one way to decide if it is done, though the candy thermometer is more accurate.
First, the sap just runs off the spoon, even after condensing from 17 1/2 gallons to 1 1/2 gallons. It still flows like water.
Then, there are single drops that get sticky looking and slower. The boil also gets foamier, with tiny, tiny bubbles.
Finally, the drops will stick together and seem to want to stay on the spoon. They will also ‘apron’ or come off the spoon wider, like a sheet instead of a drop. But, standing at the stove, watching the drips can easily take me past the syrup point. It is fun watching the progression of drops, then I get distracted and have crystals in the jars. So, now I watch the candy thermometer too.
Storing Maple Syrup
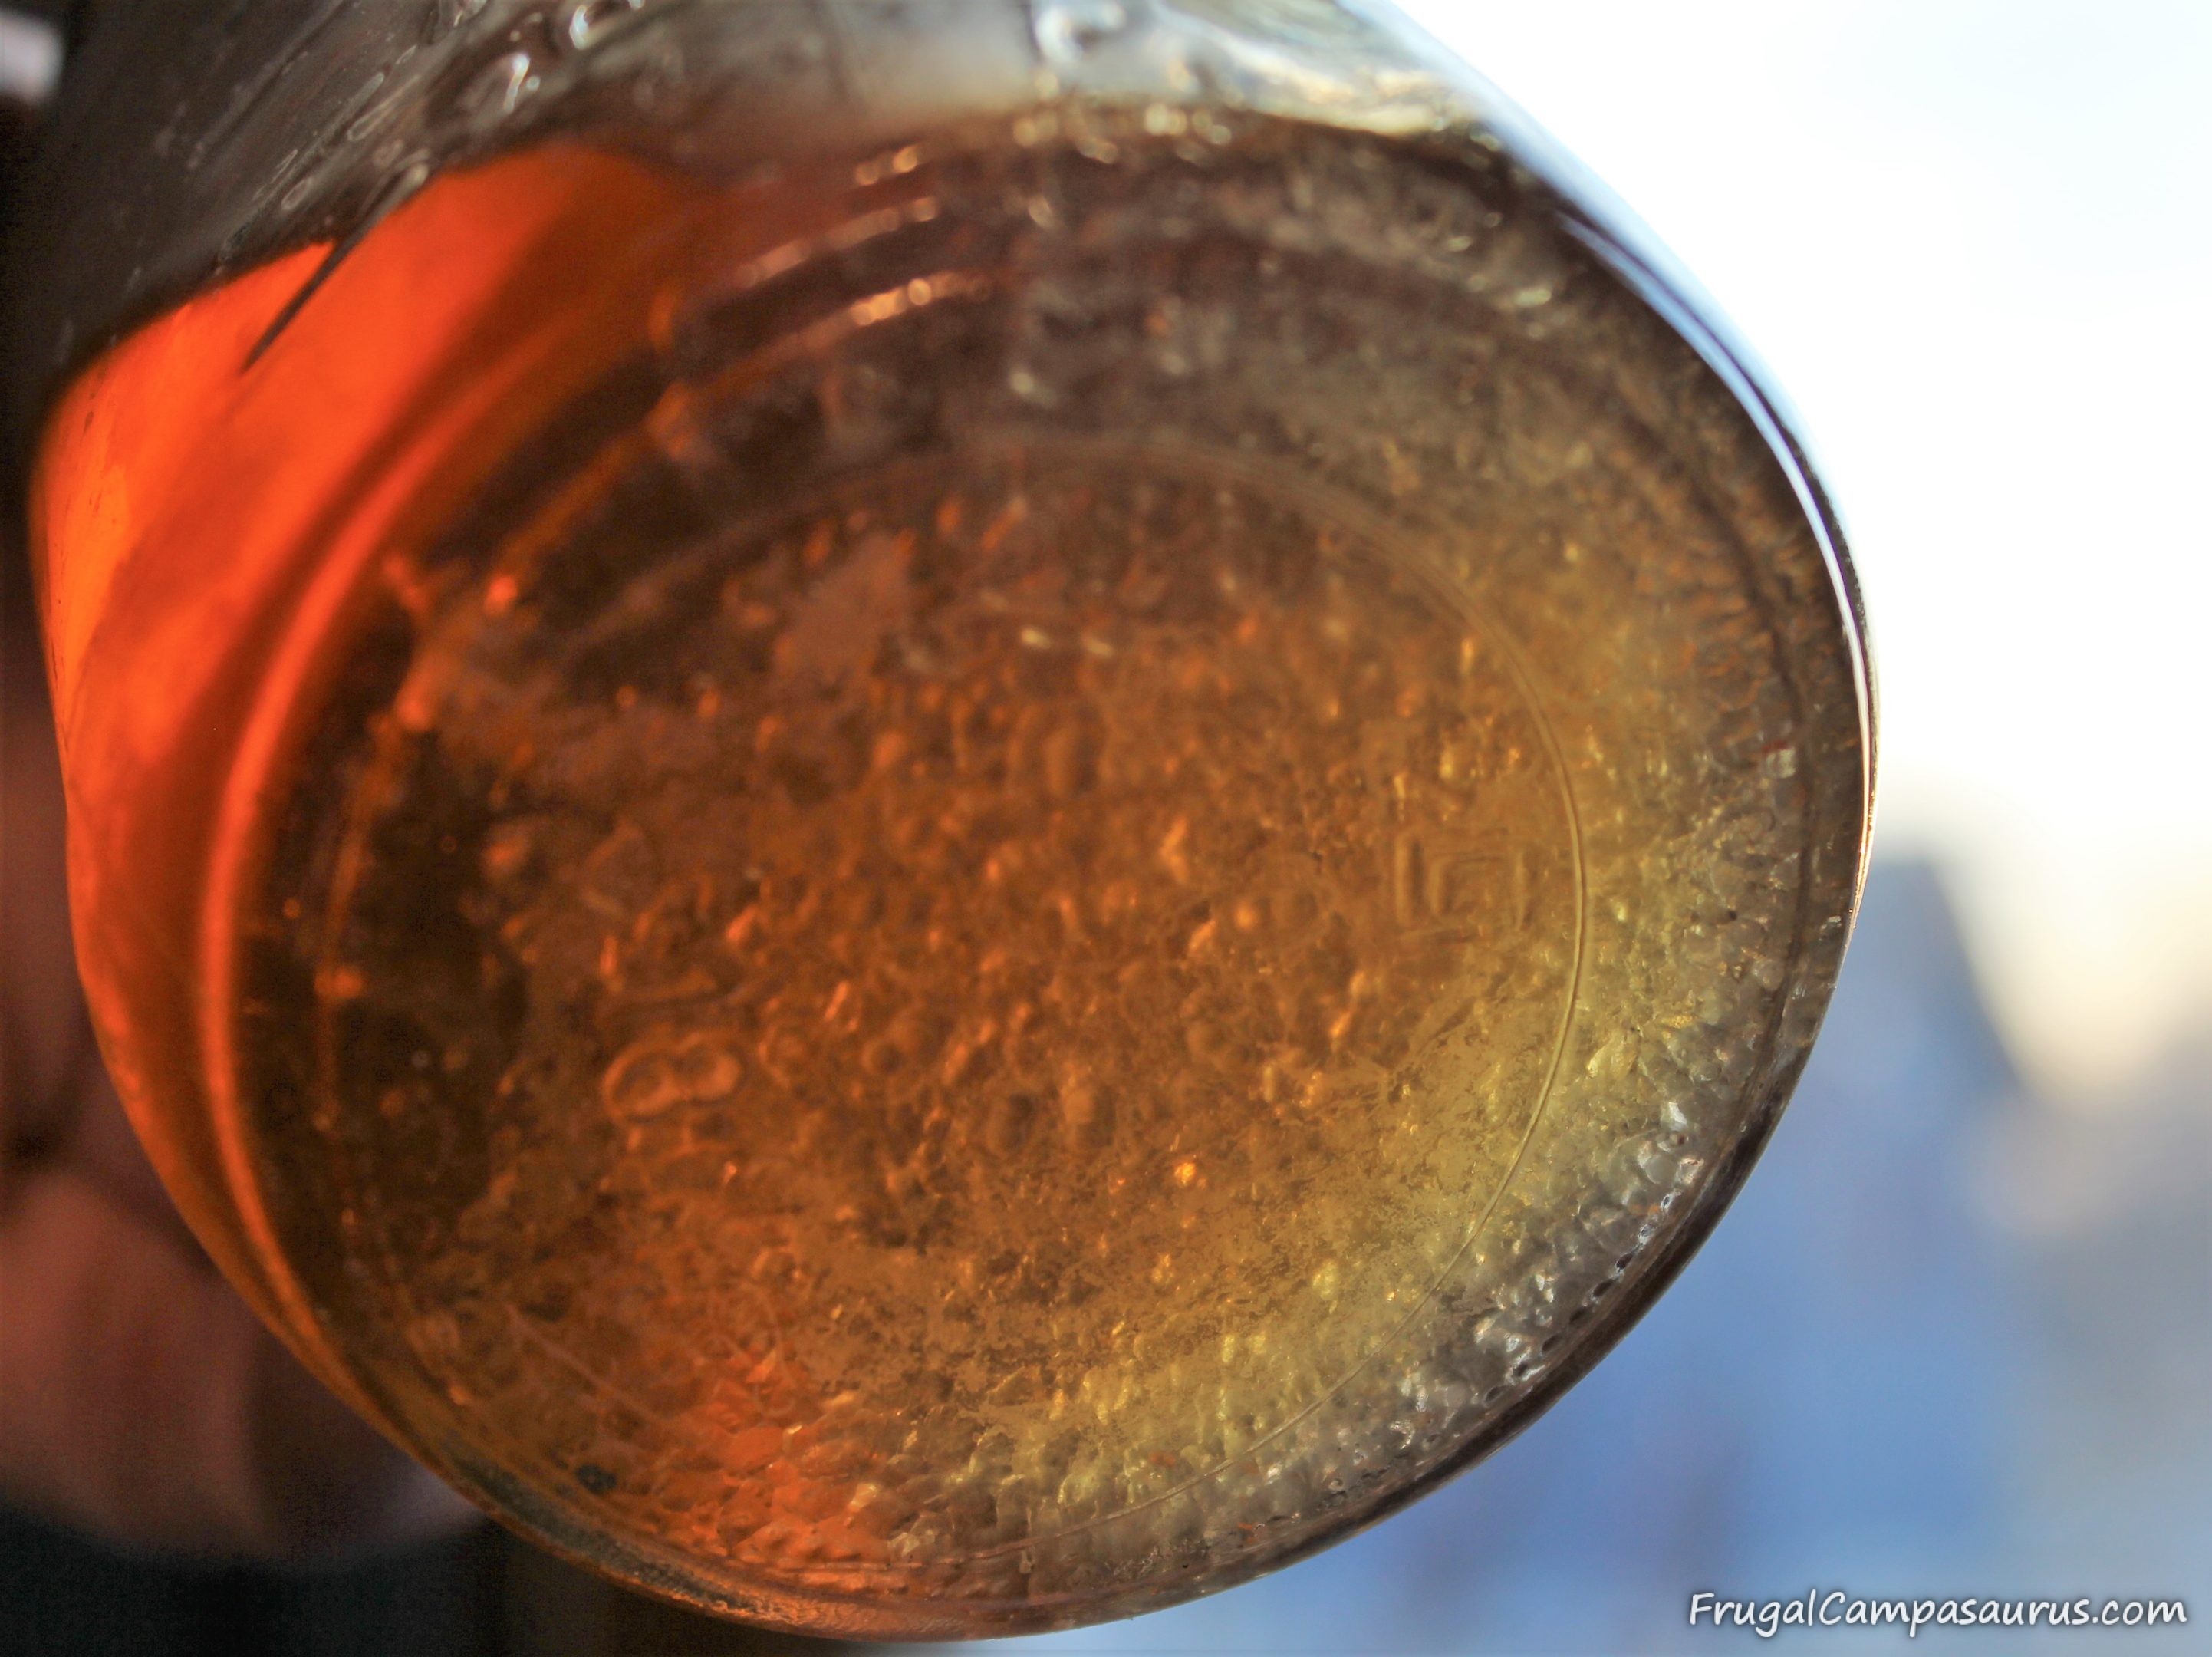
 Once it reaches temperature and is filtered the second time, we pour the finished maple syrup into jars and cool in the refrigerator. Since we only tap 2 trees and don’t get gallons of maple syrup, I store the mason jars of syrup in the freezer. This way, I don’t need to sterilize jars, use a hydrometer or worry about the canning. It does sound easy to can the syrup, but my amount fits nicely in the freezer.
Collecting and boiling sap can be a great way to enjoy the almost spring weather while waiting for camping season. Even boiling sap and making maple syrup on chilly days is fun. Since we are just finishing our last pint from last year, we are glad that our frugal supplies, free firewood and some time spent outdoors can produce enough maple syrup for our family for a whole year.
If you have a few maple trees, don’t be afraid to give it a try!
Happy Camping ( or enjoying maple syrup time!)
Frugal Campasaurus