Good morning! I’m so excited that I learned something new this fall: Canning Raspberries! I’m even more excited because it was super easy and there are 2 different methods for prepping the raspberries!
I only have a small, 10 foot row of raspberries, but it can sure produce lots of berries! After eating them, I usually freeze the raspberries, but not this year!
To save money, I buy extra meat on sale for the freezer. This year, I also wanted to reduce garden waste, so I have been freezing sweet corn, chopped green peppers, chopped onions and freezer pickles. I even have some whole tomatoes in there.

Now, my freezer is full!
I tried to explain to the husband that a freezer is a great way to save money (which he already knows and appreciates), soooo- maybe we need another freezer. He is not convinced, but does smile when he mentions hoarders.
So, I couldn’t freeze my raspberries.
But thankfully, my full freezer pushed me to learn something new: canning raspberries!
Even though I’ve canned for a while (doesn’t over 2 decades sound really long?) I’m an anxious canner and closely follow the Ball Complete Book of Home Preserving guidelines for food safety. I would rather not poison the family, so I only use approved recipes. When I have questions, I check the National Food Preservation website, or call the local extension service.
Trying something new can be scary, but since I love hearing jars ping as they seal, I tried canning the raspberries. I can’t believe that I waited so long to just try it– it was so easy and quick!
Raw pack canning raspberries is recommended to preserve the berry shape. Making simple syrup and packing fresh berries was new, but very easy and quick.
It took longer to pick and wash the raspberries than to can them! Not including picking and washing, I was done in less than 1 ½ hours. That included washing jars before I started and all the clean up after!
My 1st batch made 2 pint jars and 3 jelly jars (what I had picked that day). I made a double batch of light simple syrup, to ensure I wouldn’t run out, and it was plenty!
The instructions said to place the washed, drained berries loosely in the jar and gently shake to help them settle. It did not say ‘smash berries down with a fork, to get more in each jar’, which is what I wanted to do.
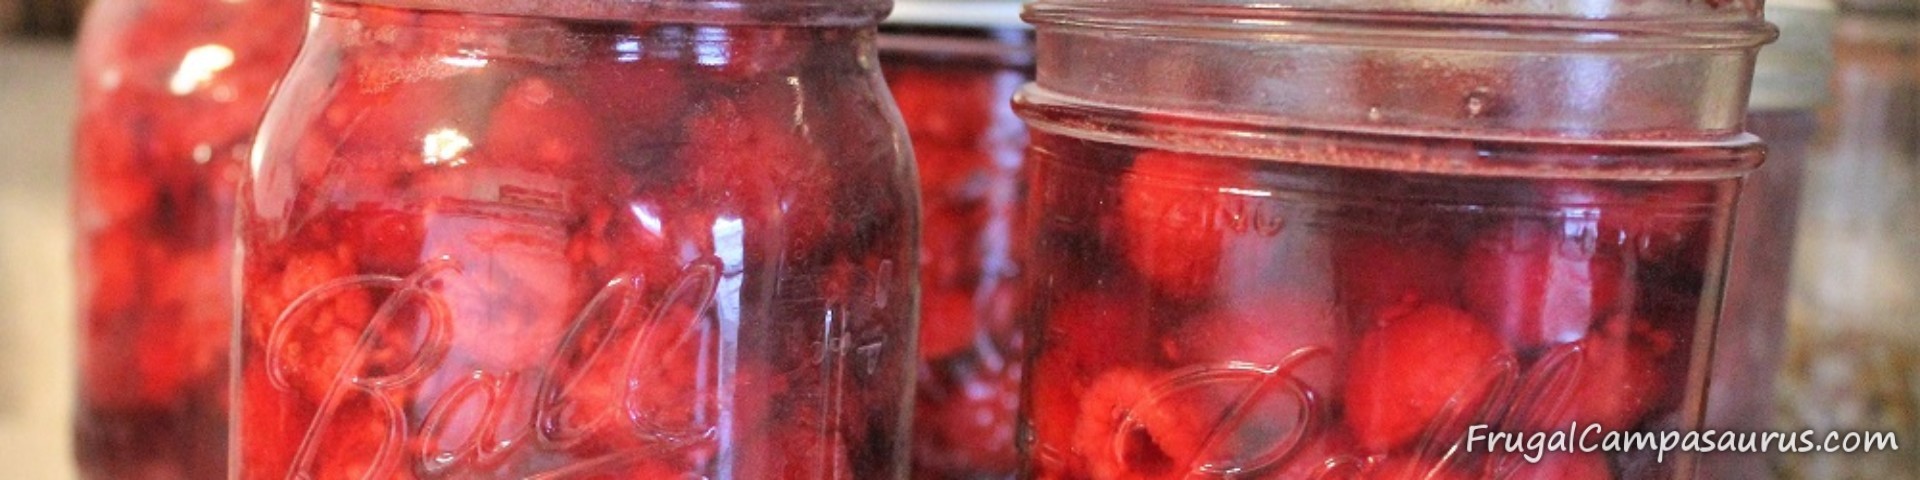
But, I followed the instructions. They are pretty and did hold their shape, but there are not many raspberries in each jar.

I called the Iowa State Extension service to ask about smashing the berries. They are always so helpful with canning, food safety and maple syrup questions. The answer was No.
It was untested by their record and the safety couldn’t be guaranteed. Not what I wanted to hear, but I did want to be safe.
She did say I could freeze the berries. This would allow me to can a bigger batch. Freezing also breaks down the berries, which is even easier than smashing them with a fork!!
So now, I have 2 ways to prepare the raspberries- both ways are raw packing the berries. They are not cooked or heated.
First Raw Pack Method
Pick, wash and drain fresh raspberries. I store them for 1 or 2 days in the refrigerator to get enough to can, but not much longer. This way preserves the berry shape, but there are fewer in each jar.
Second Raw Pack Method
Pick, wash and drain fresh raspberries. Freeze the berries to build up a bigger supply for canning. This also breaks down the berries. As they thaw, they will give off juice. Since the berries need to be drained to can, I drain the thawed berries in a colander over a bowl.
Now, I get to follow the instructions and I get slightly smashed berries to fill the jars better. I also get juice! I didn’t can the juice; instead I sweetened it with the leftover simple syrup and we (maaaybe, just me) drank it right away. Both methods were quick and easy for canning the raspberries!
Canning Raspberries-Raw Pack
- Pick, wash and drain the raspberries. This definitely took the longest of all the steps!
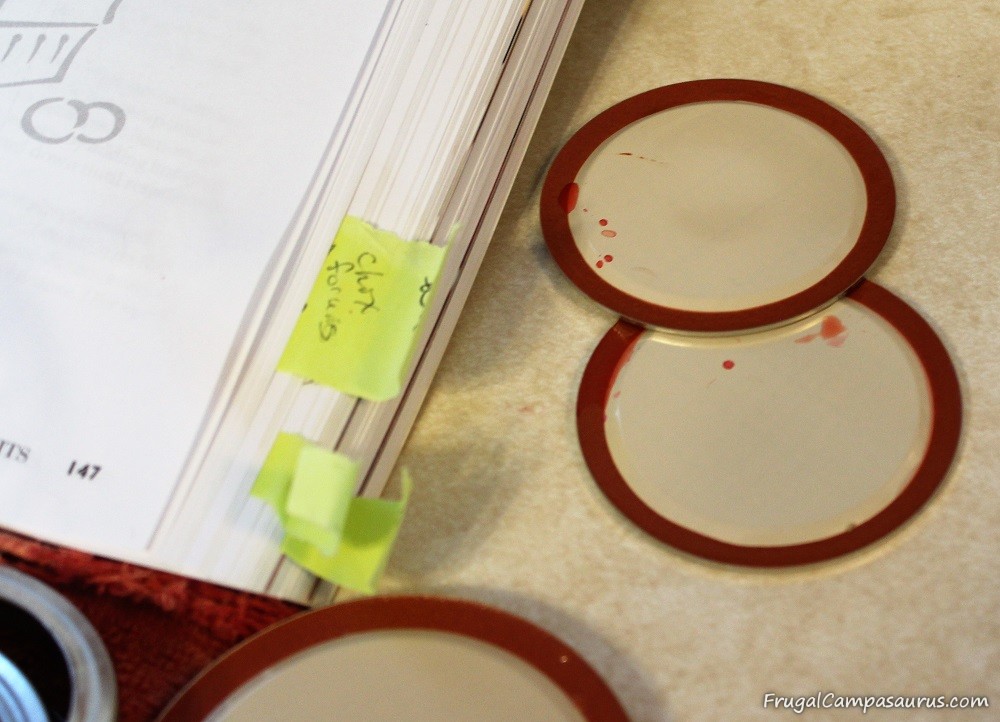
- Wash jars, rings and new lids in hot soapy water and rinse. Jars and rings can be reused, but lids need to be new- they are a one time use item. Check jars for chips on the rims; don’t use chipped jars as it can prevent a seal from forming. I always prepare a few extra jars, rings and lids-in case something happens.
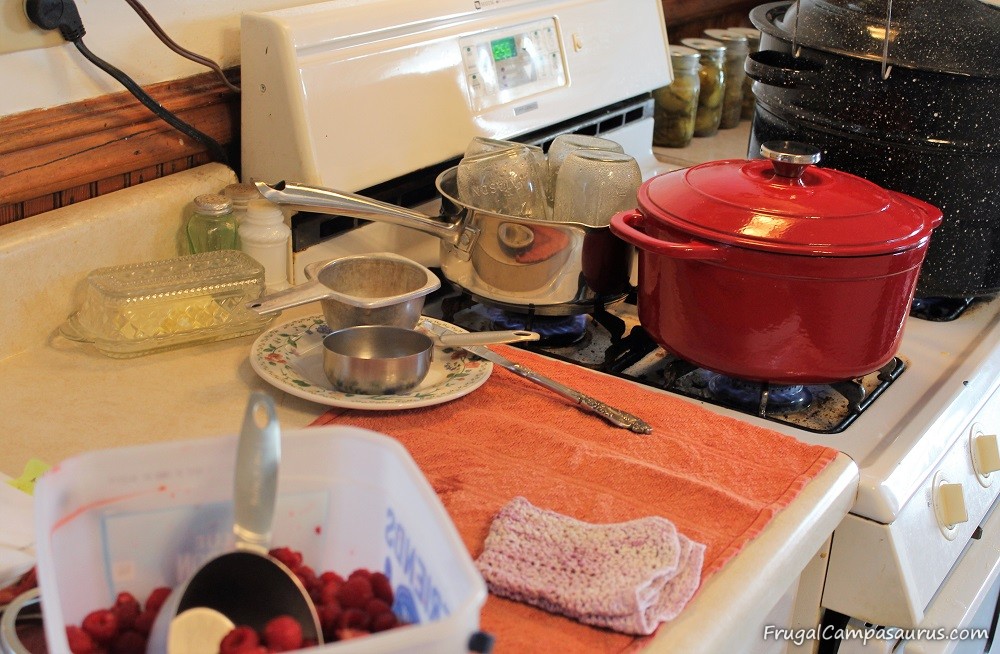
- Heat pots of water.
- A canning pot with jar rack and lid needs to be at a boil when you start canning. This is hard to time, so I usually start it first, and turn it to a simmer if it’s ready early. The canner can be boiling and ready (but don’t let the water level go down, it needs to be 1-2 inches above the jars), you just don’t want the jars with food to wait for the canner to come to a boil.
- Heat upside down jars in simmering water for 10 minutes. They need to stay hot, so the hot canning food doesn’t crack a cold jar. Sometimes, with large batches, I heat the jars in the quick wash and heat cycle in my dishwasher. But with a small batch, I heat the jars in a small stockpot ½ full of simmering water. Watch the jars as they simmer; they should stay mostly empty of water while upside-down. Just lift the jars to release any excess water, so it doesn’t empty the pan.
- The simple syrup also needs to be brought to boil, then reduced to a simmer. A double batch of light syrup was 4 1/2 cups sugar dissolved in 10 1/2 cups of water.
- As the pots come to a boil, I get everything ready and lined up on a towel on the counter. Ladle, measuring cups for scooping berries or syrup, jar lifter, butter knife to remove air bubbles, damp washcloth for wiping rims, hot pads and an extra towel (remember-anxious canner!).
- When the canner water is finally boiling, place 1 hot jar onto counter towel to fill. If you are heating jars in a small pot, add another jar to heat up.
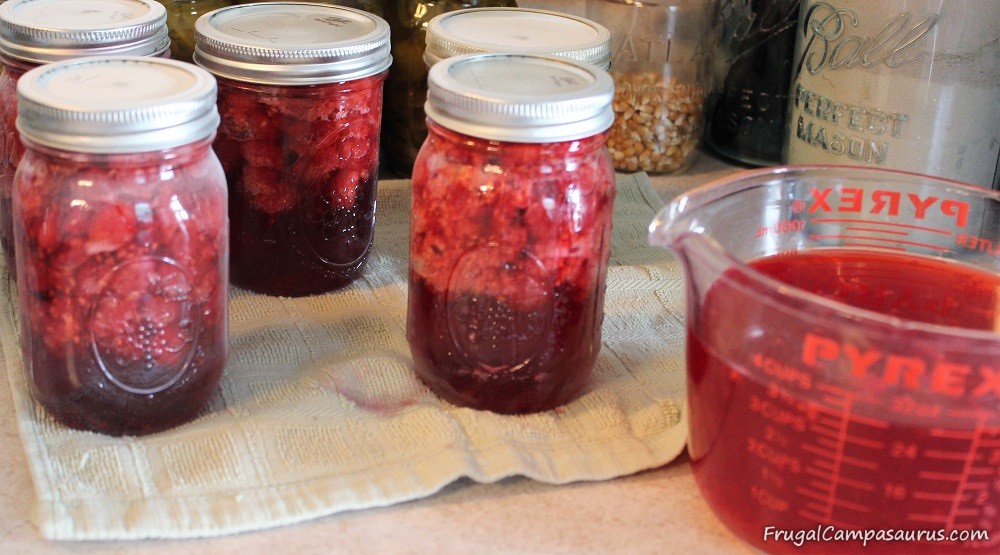
- Put 1/2 cup of simple syrup in the jar. Then lightly pack raspberries in jar, shake to settle and add more if there is room. There should be 1 inch between the top of berries and rim of jar.
- Fill up with simple syrup, leaving ½ inch of space between the liquid and the rim of the jar (headspace). Use butter knife to carefully get rid of air bubbles. I go around inside of jar and through the berries a few times. Add more liquid, if necessary to keep the 1/2 inch headspace.
- Wipe rim of jar clean with the damp washcloth.
- Place on lids and rings and tighten to ‘fingertip tight’, don’t over or super tighten them. If they’re overtightened, the seal may not form after the jar is processed in the water bath.
- Set in the water bath canner rack, resting above the boiling water, with the jar lifter.
- Repeat with each jar singly- don’t do all the jars at once, everything needs to stay hot.
- When you are done filling the jars, or the rack is full, lower the canner rack into the water. Return to a boil, water should be 1-2 inches above the jars, you can add boiling water (I use it from the jar pan) if you need to.
- Boil pint jars for 15 minutes and quarts for 20 minutes. I need to add 5 minutes because we live over 1,000 feet. This article explains when and how to adjust for your altitude.
- When the time is up, turn off the heat and remove the lid. Wait 5 minutes before taking the jars out of the water and setting on a towel on the counter. Don’t tip the jars or wipe the lids, the water will evaporate off the lids by itself.
In fact, don’t touch the jars or lids until they are cool. They need to cool and seal by themselves. Also don’t set them in a draft or by a fan, the temperature change could crack the super-hot jars.
I love seeing the jars lined up on the counter to cool. Sometimes the food inside is still boiling and moving. Once in a while, the food is boiling and leaking out-making the outside of the jar sticky and ruining the seal.
This is called siphoning. The 5 minute wait time helps reduce the chance of siphoning, but it can still happen. For me, it has happened less than half a dozen times. It did happen with my first batch of raspberries- maybe I forgot to wipe the rim or didn’t tighten it correctly? Who knows- but since the seal was ruined, I put the cool jar in the refrigerator to use right away.
Salsa, pizza sauce, tomatoes and now raspberries – all canned and ready to eat! I love canning and not wasting the garden produce.

I also love the ping of the jars as they seal-it is such a pretty sound. Since you can’t depress the hot lid to check the seal, my mother-in-law would count the pings. She would put spoons on the table for each ping she heard-it was so fun seeing all the spoons!
Even though learning something new can be scary and there are a lot of canning steps, it’s really fun and easy! I’m glad my freezer is full, and I had to learn to can raspberries!
Happy Camping (or canning!)
Frugal Campasaurus
I’m so pleased that I found this site. Now I have so many more ways to use my beautiful berries.
Thank you.
You are welcome! It is so fun!