Good morning! Last post, I was sooo sad. For the first time since we started camping, our camper linoleum in the kitchen had cracked. We discussed possible ways to fix it, and like with many problems, we decided to Just Try and fix it ourselves. Many times we can save money, learn new skills and feel proud by at least trying to solve a problem ourselves, even if we need help later.
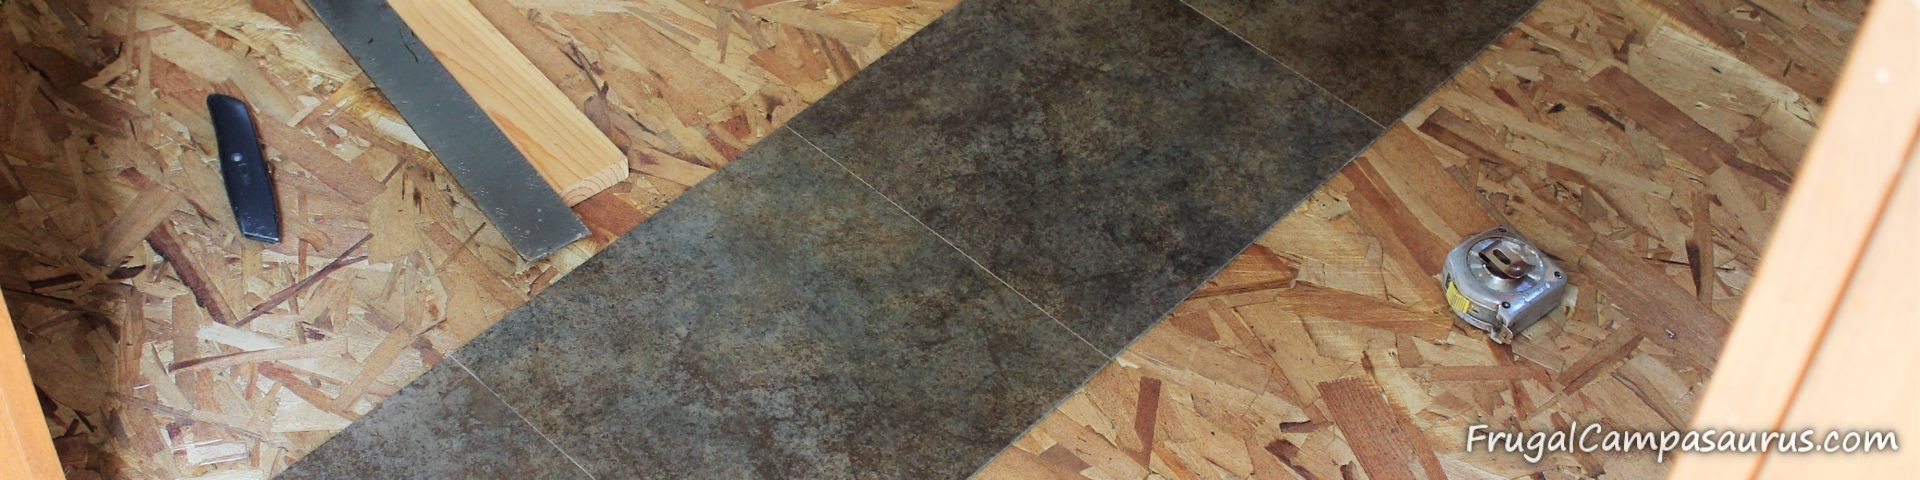
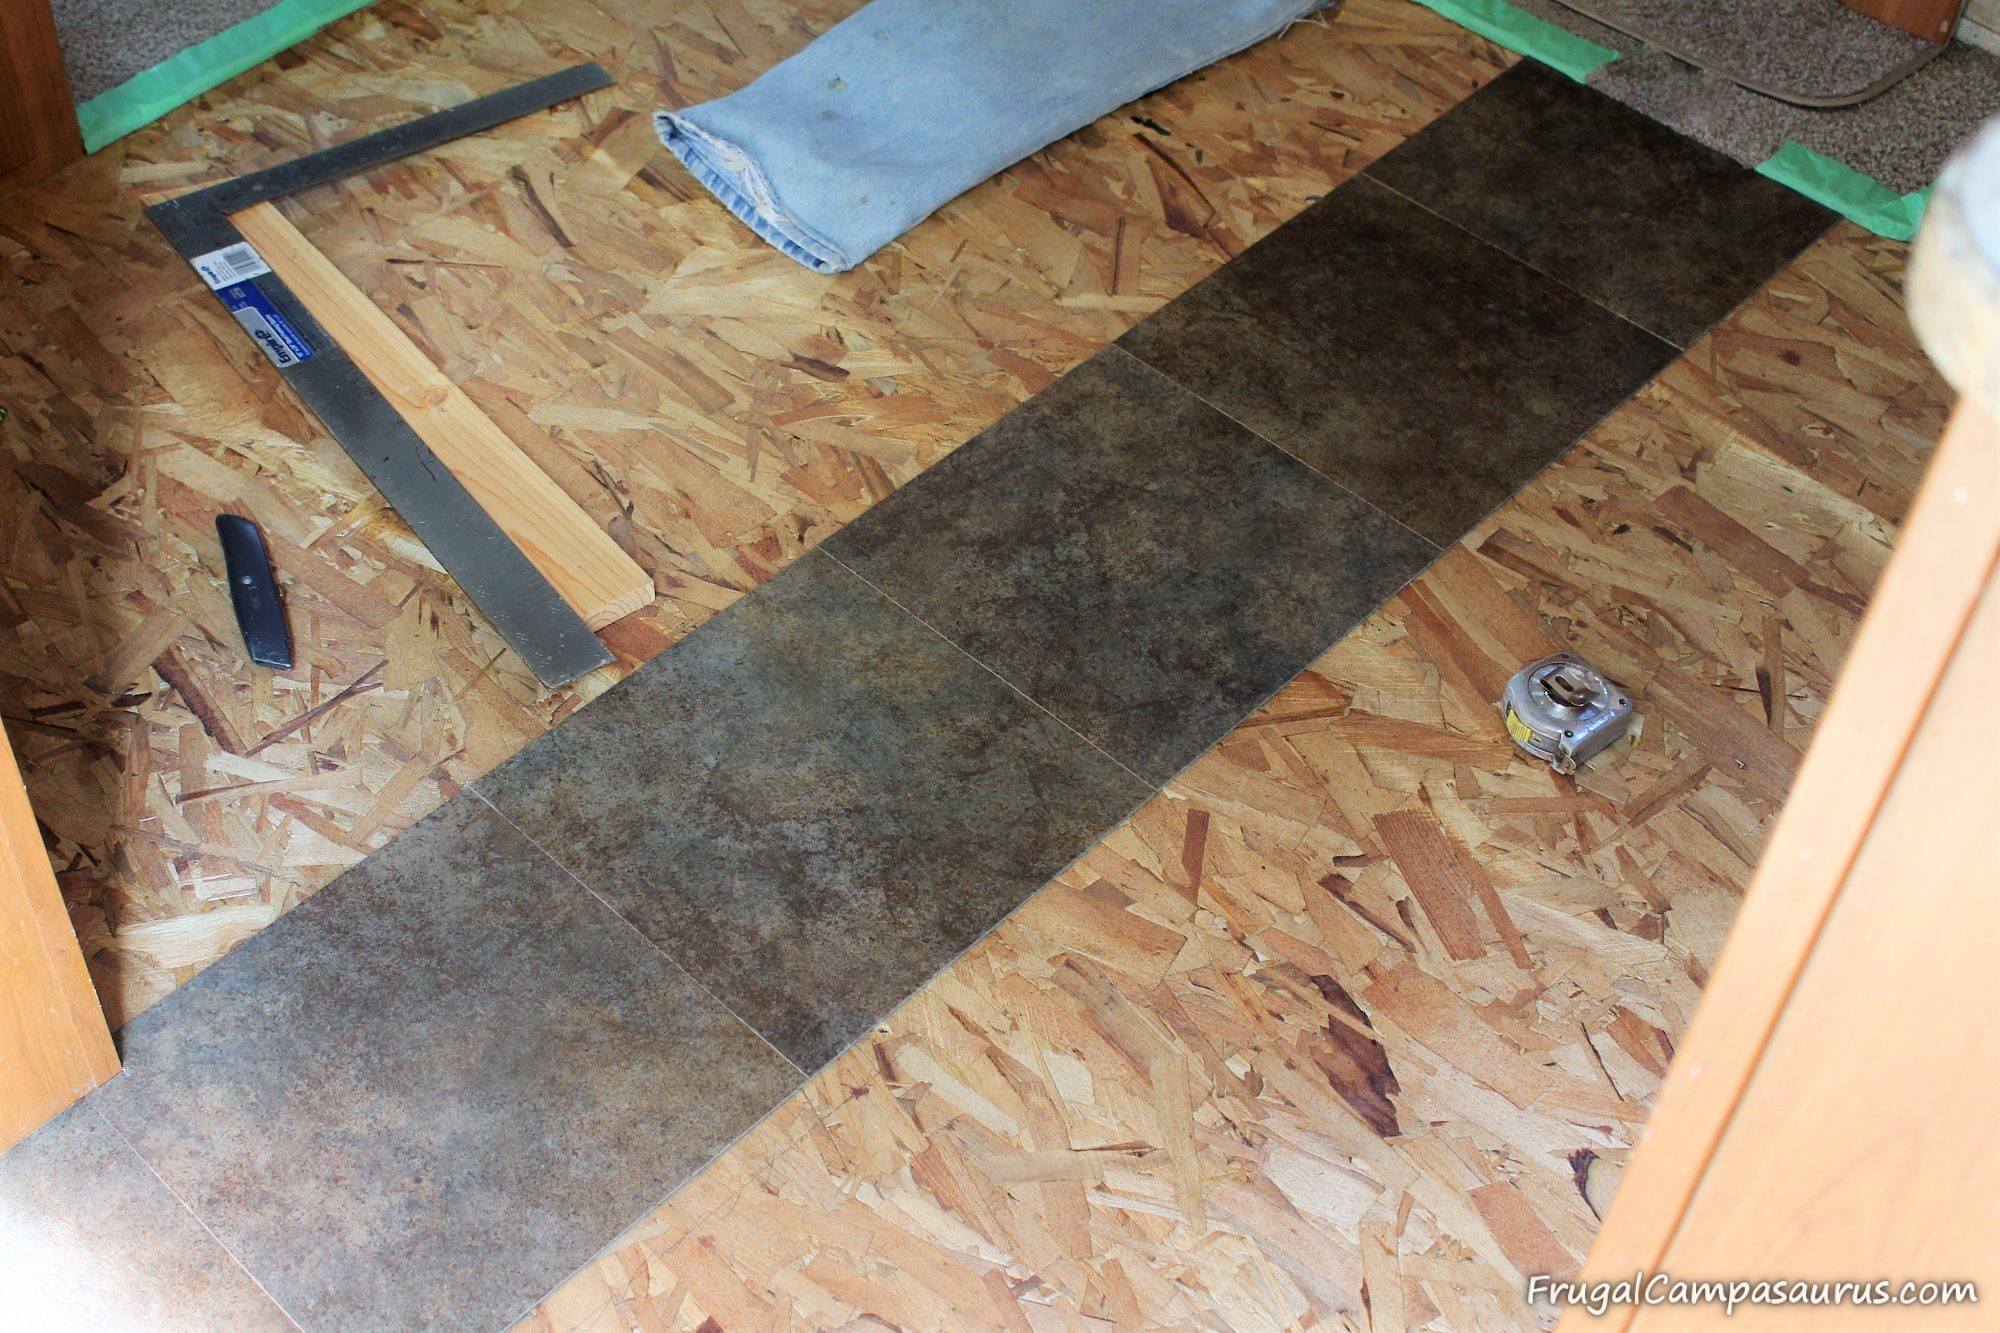
In Part 1, we removed the old vinyl flooring and prepped the OSB for the new adhesive tiles. After the primer dried, we were ready to install the tiles. At least that is what I thought. We had laid out the new tiles and taken pictures before even removing the old, so I thought we could start installing them right away. The husband thought otherwise.
There are two carpeted curves we had to consider, and cabinets on two of the sides of the kitchen. When laying out the tiles before hand, it is important to not end up with just a small piece of tile on one side. It is also important to make the piece around the curve with one tile if possible (the picture above would not work well, as the curve still needed a small width around part of it). Of course, our area was 1 inch larger than a full tile, so we ended up cutting a little over half pieces for each side.
Just to be sure, we laid it out again after the linoleum was removed and he had drawn a square line where we thought we would start. It’s a good thing I am not usually in charge. I am a good helper, I can make tea and even bring tools, but I would not have cared that the cabinet was out of square by about 1/2 an inch. Very sure the floor would have looked wonky by the time we reached the other side of the kitchen, if I had been in charge.
There is a reason most of my quilts are utility, to be used, not just for show quilts- I love the creative part, but it doesn’t matter to me if the corners are perfect. I guess when laying tiles, corners matter very much.

At least when we laid it all out, the tile near the stairs was rather big so we didn’t need to try it another way.
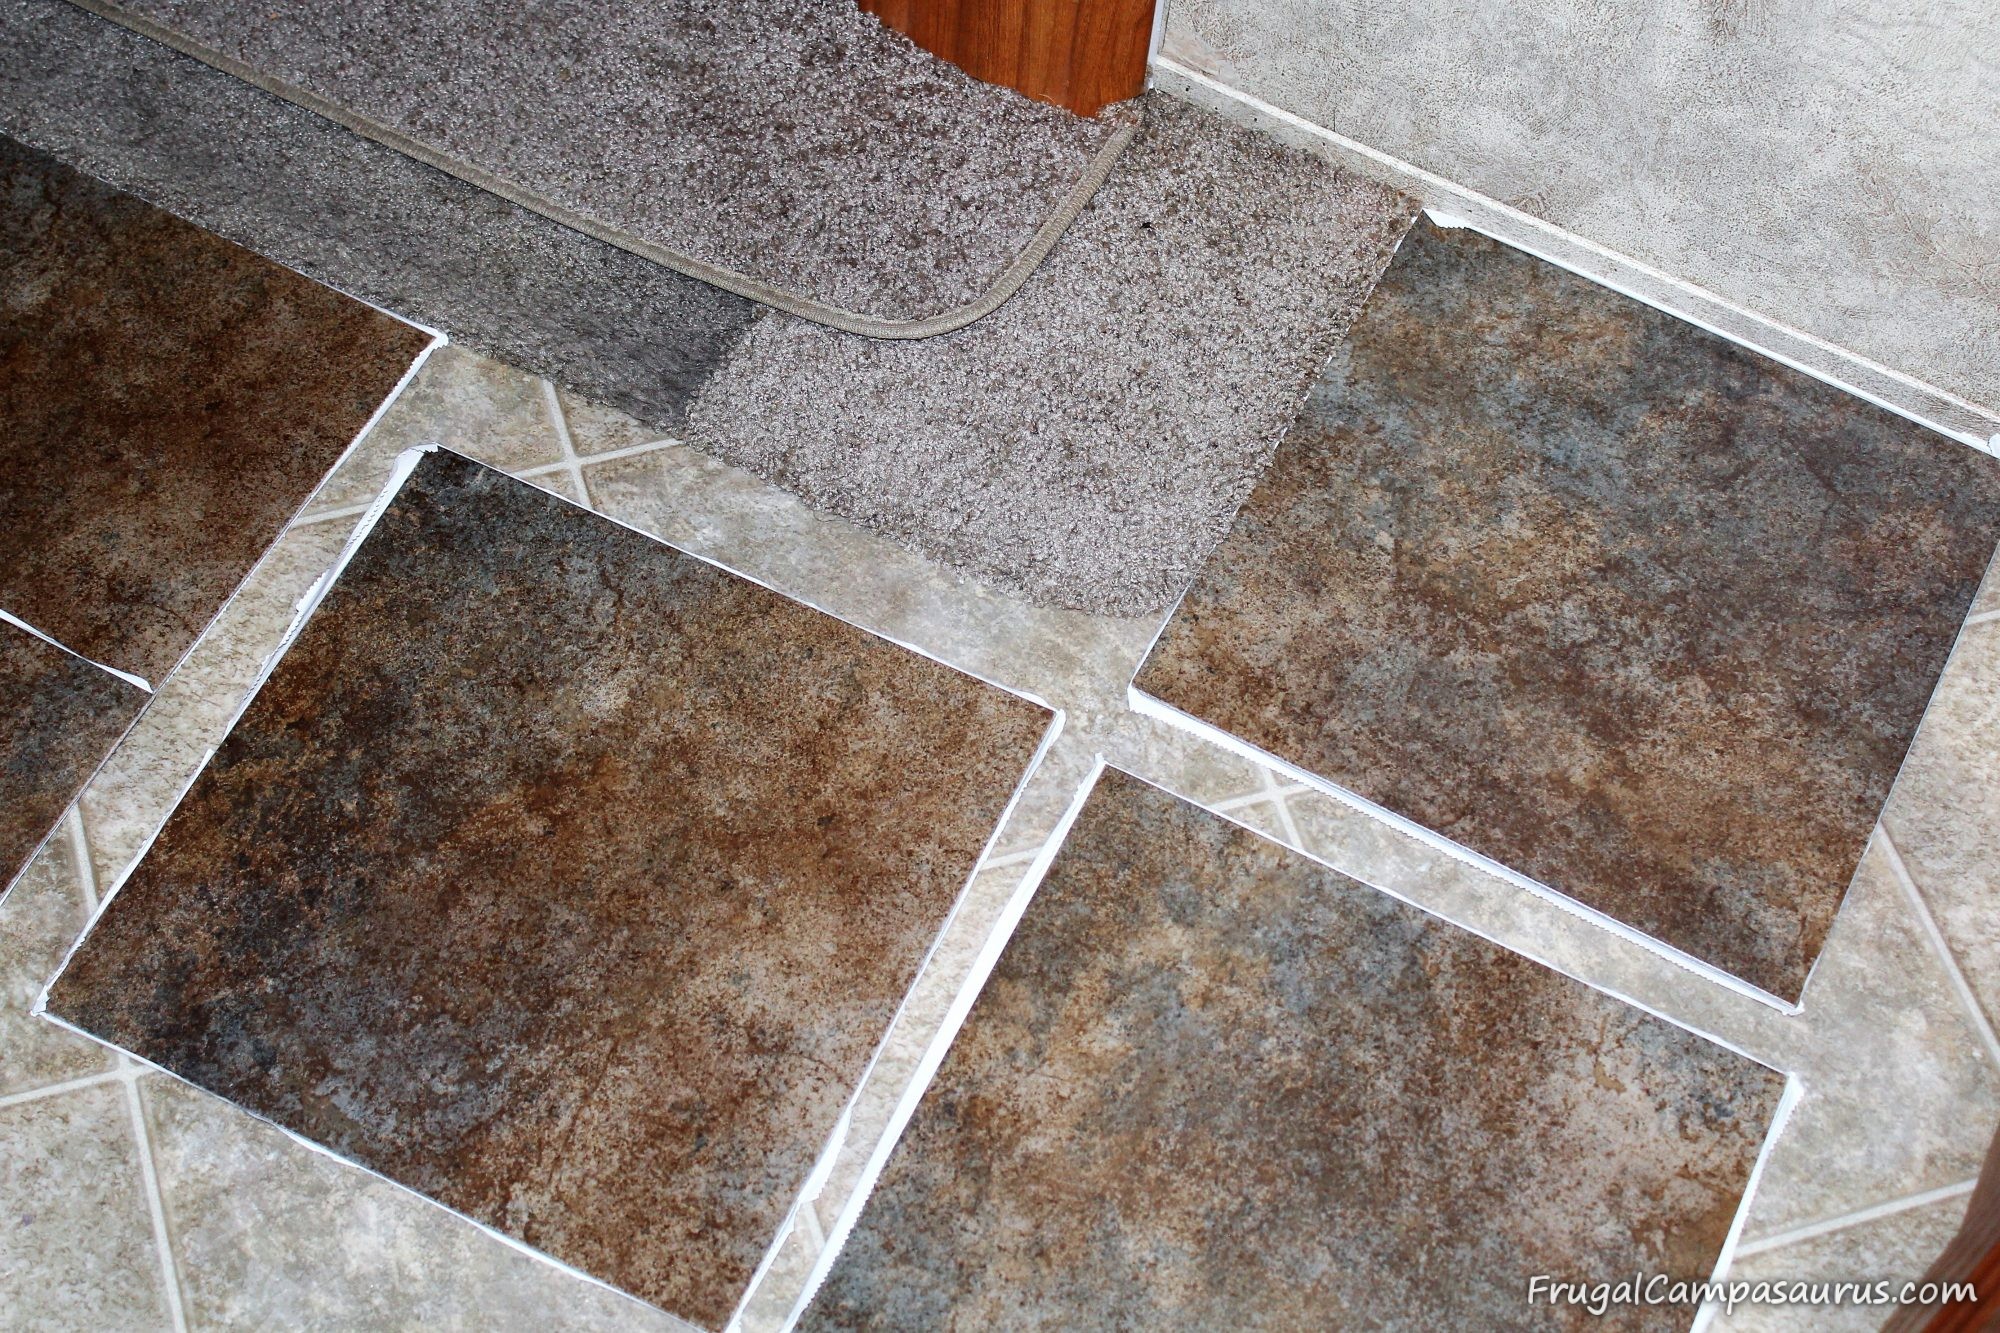
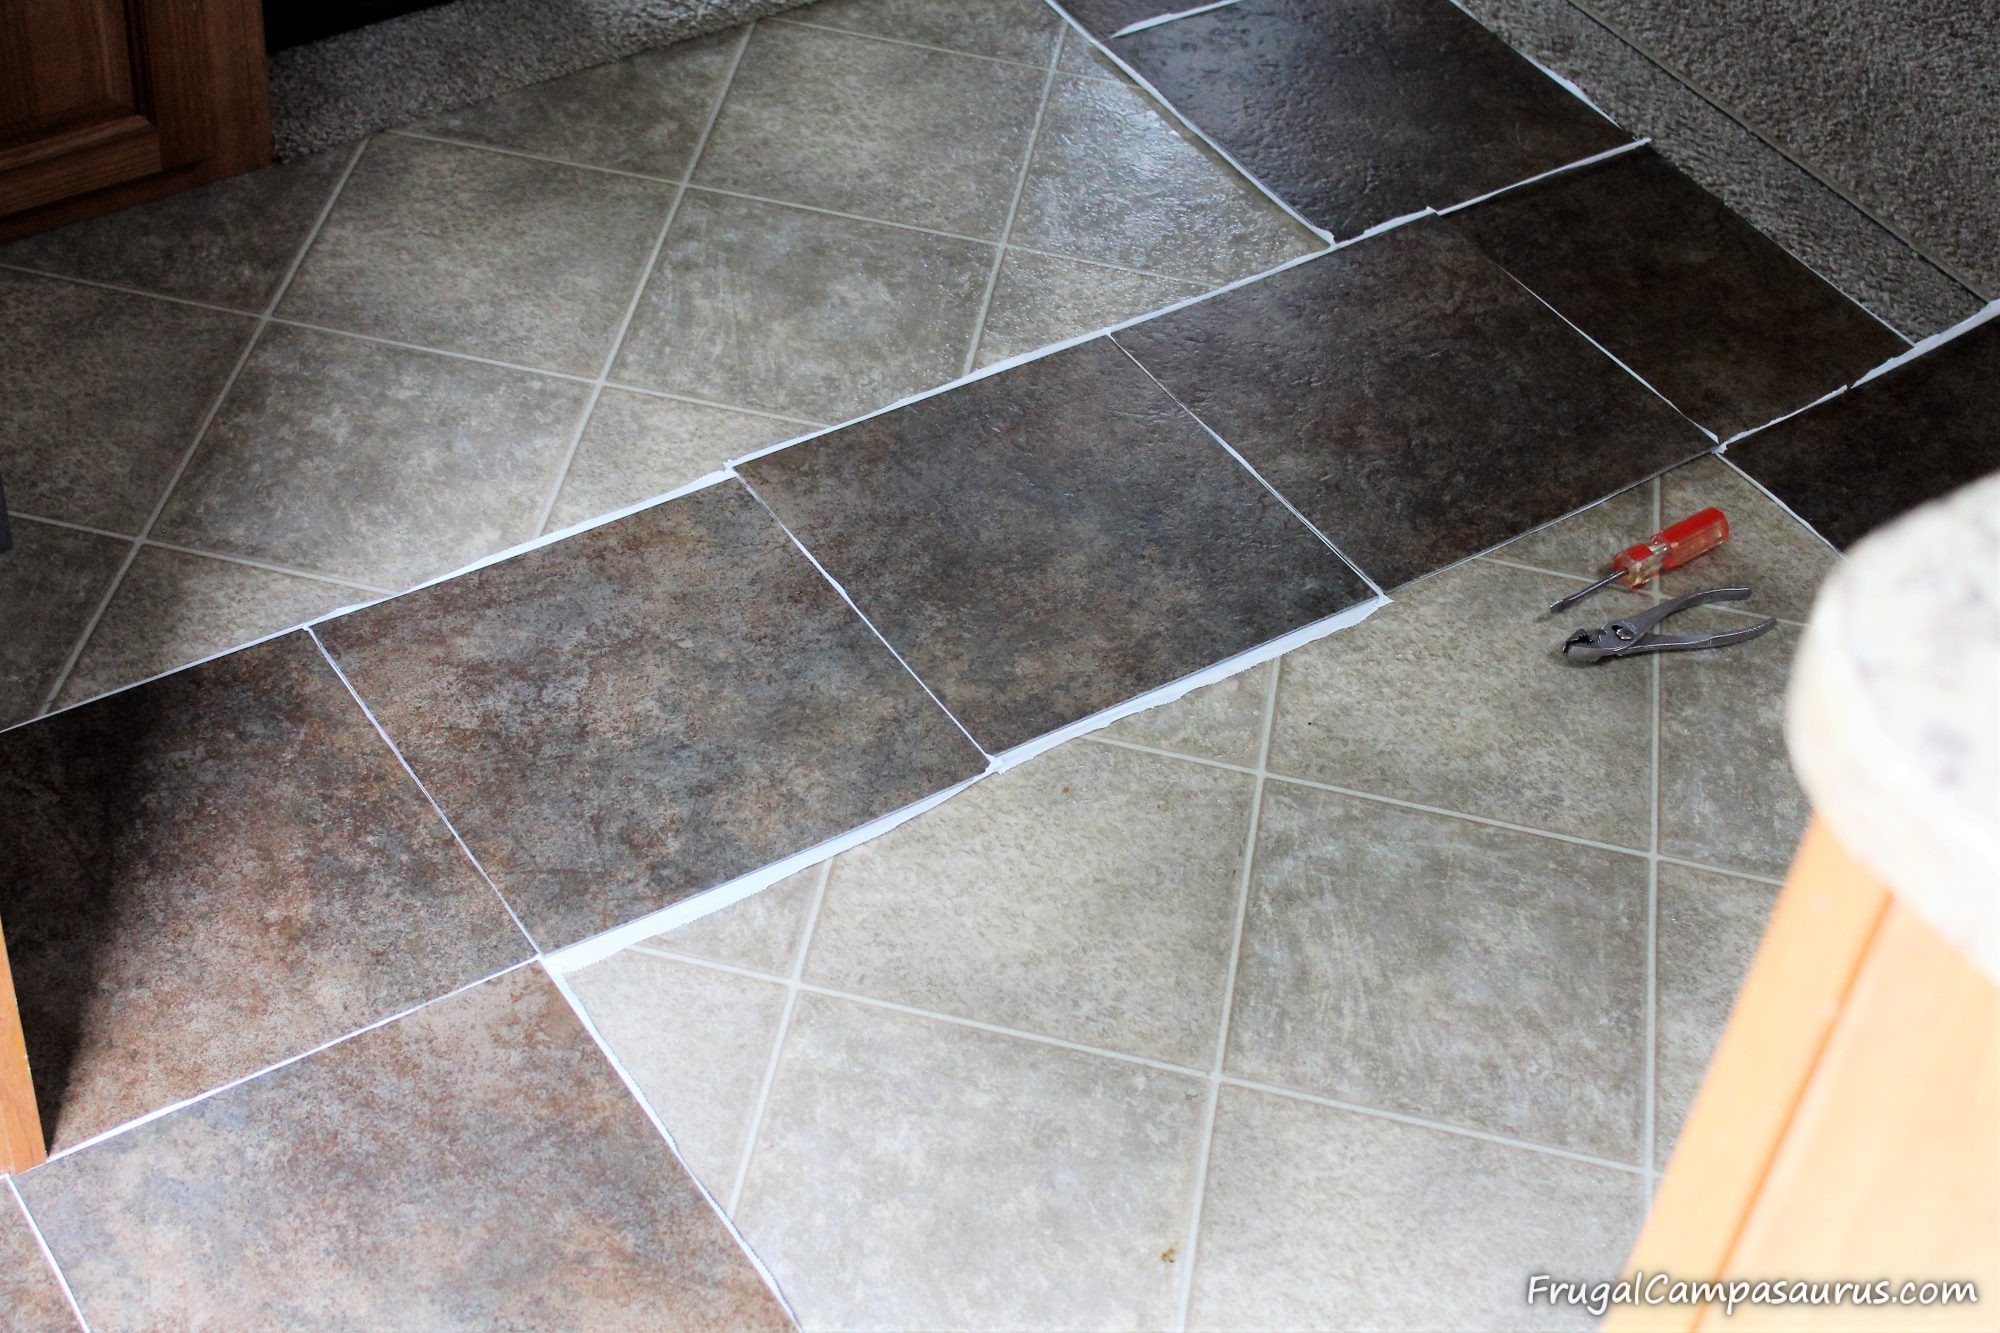
After we laid the first row, we put down a few of the middle whole tiles. This was to help lay and cut the partial tiles. Unfortunately, most of our tiles were partial ones. Lots of cutting- yuck. The husband watched a few YouTube videos about partial tiles and the method he used worked out well. He had the whole tile, the one that would be next to the intended partial, laid and stuck down. Then the husband would place a tile directly on the whole stuck tile (like exactly, with matching corners and everything- I only tried a few and at least we could use those elsewhere). Being very careful to not move the tiles, he would place another tile against the cabinet where the partial would end up.
Then with everything overlapping, he would draw a line on the tile underneath. This was his cutting line. We had so many partials that he always used the same tile to place against the outer edge and draw the line with. That way, he was able to tear the paper away from one edge, and always get a clear, accurate line drawn.
After the line was drawn, he would score it a few times, using a framing square for a straight edge, and cut it. The overlapping tiles really worked well and fit in so nicely when they were cut.
Of course, it didn’t work with every partial tile we had. For a few of them, I made a paper template for the husband to trace and cut around.
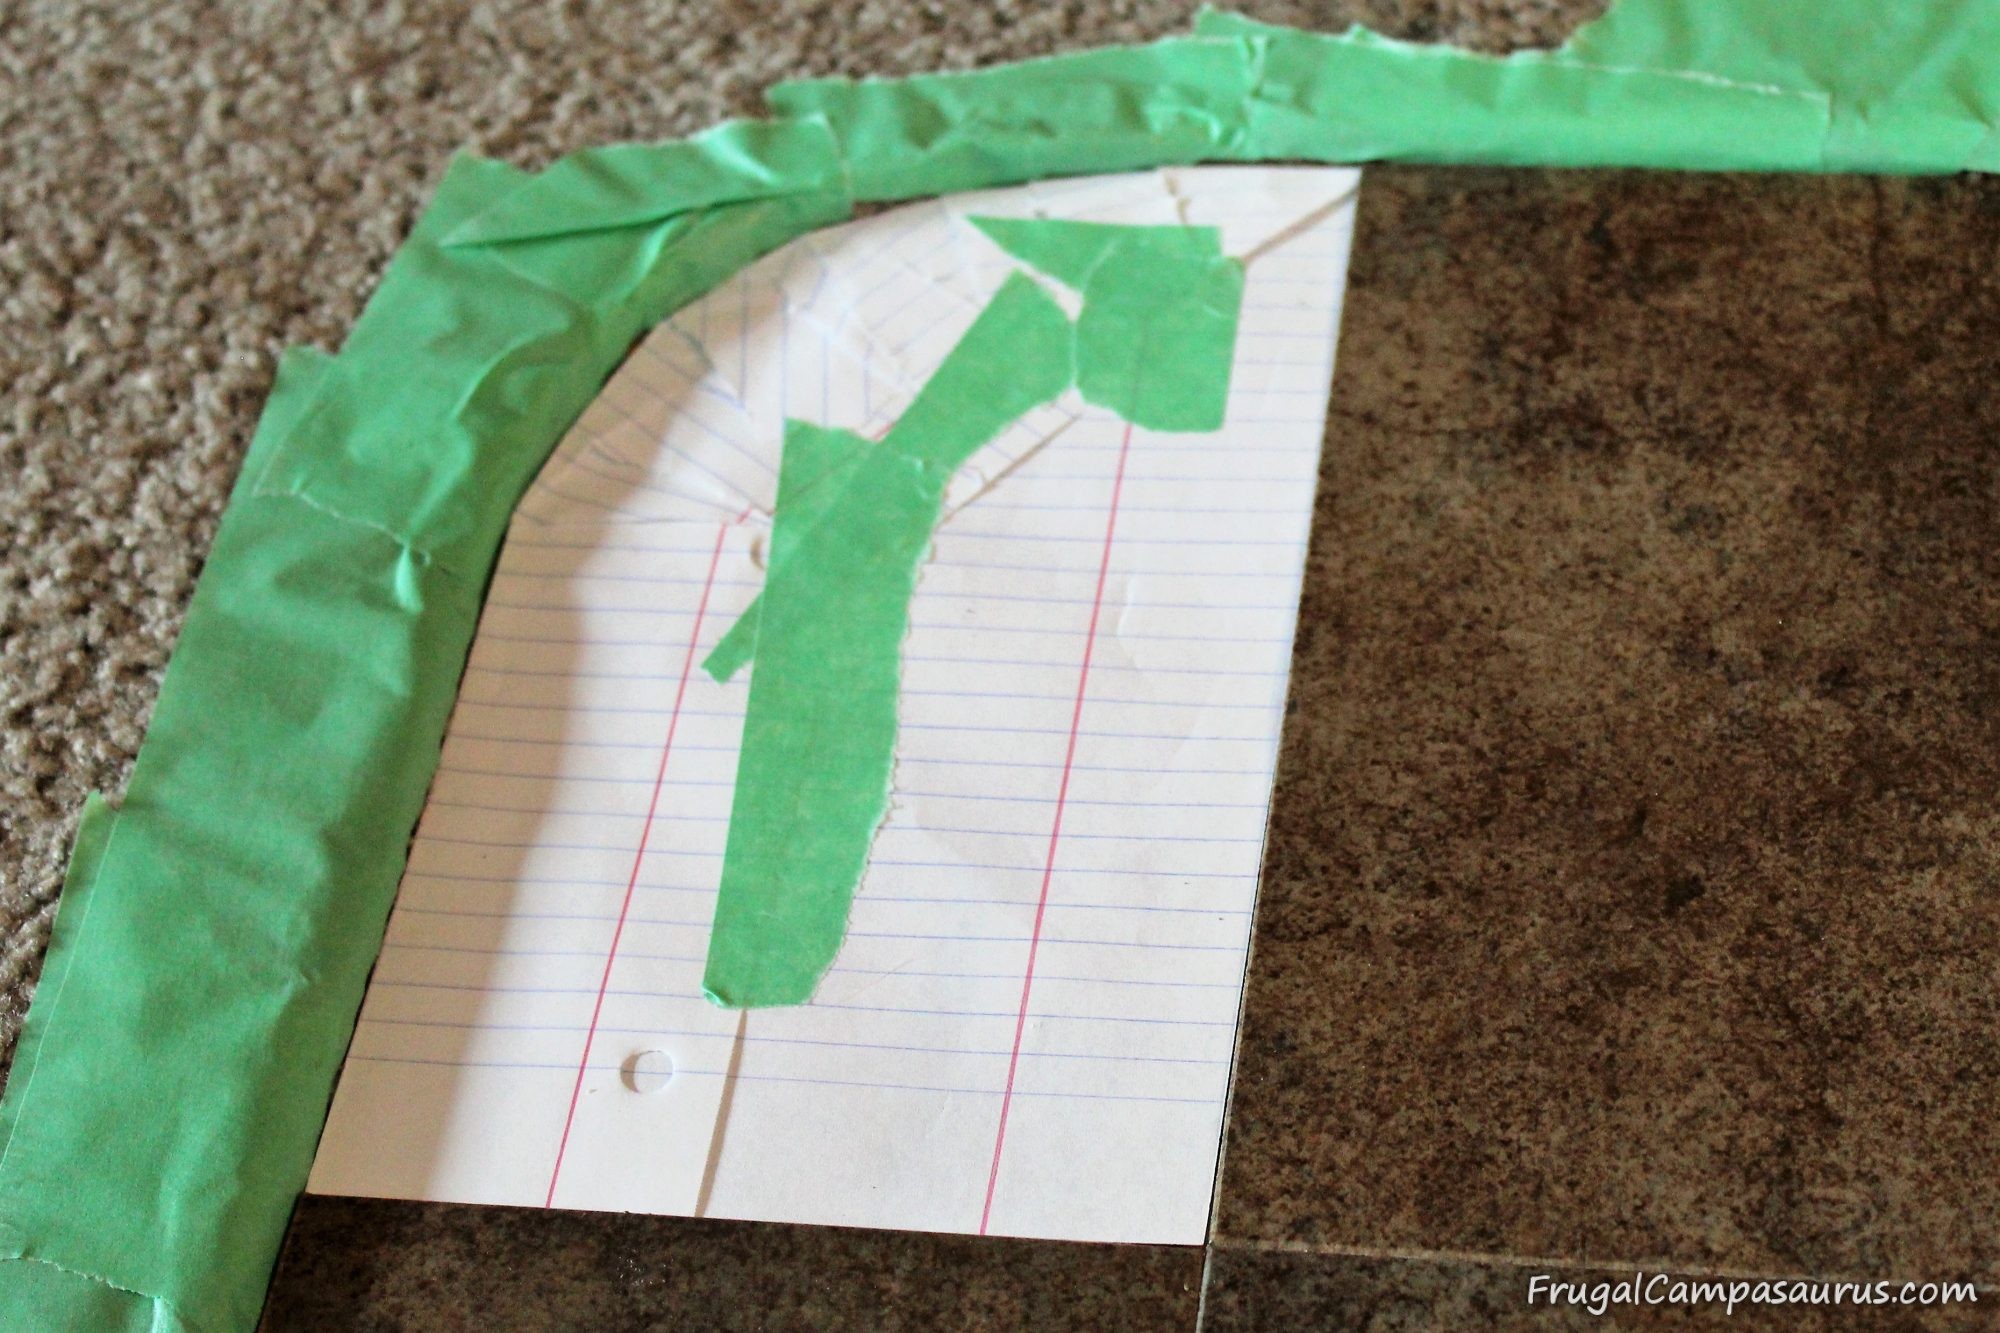
I love the painters tape, it helped hold the paper template together and helped hold the carpet nap back out of the way. I don’t think the color matches too well, but I sure was proud of how my partial tile fit after using the template.

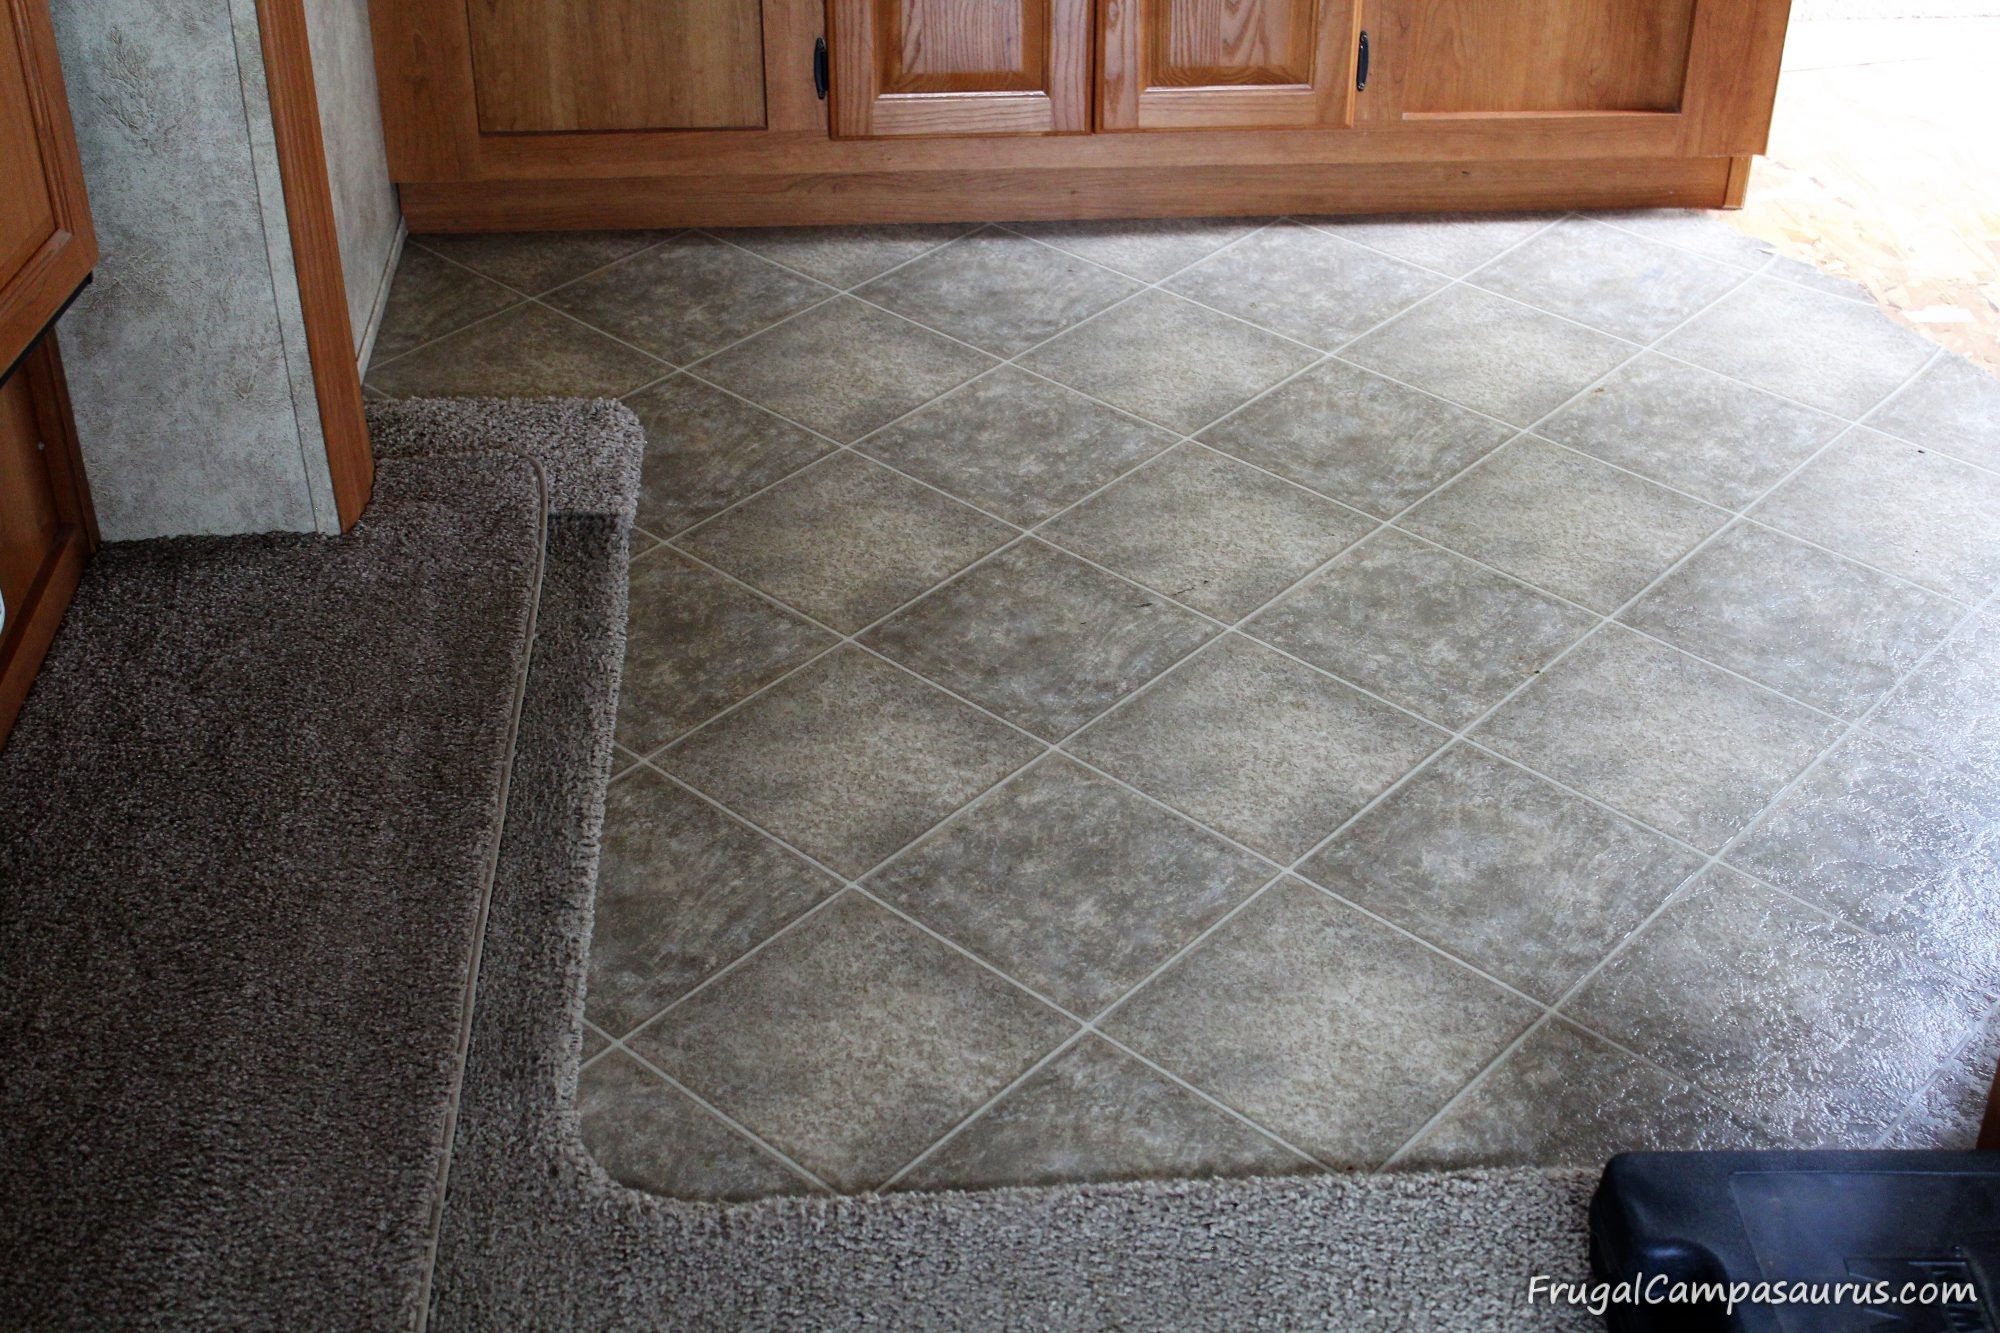
Actually, I was proud of all of it. This is the Before picture, it looks nice and I wish the tile had not cracked.
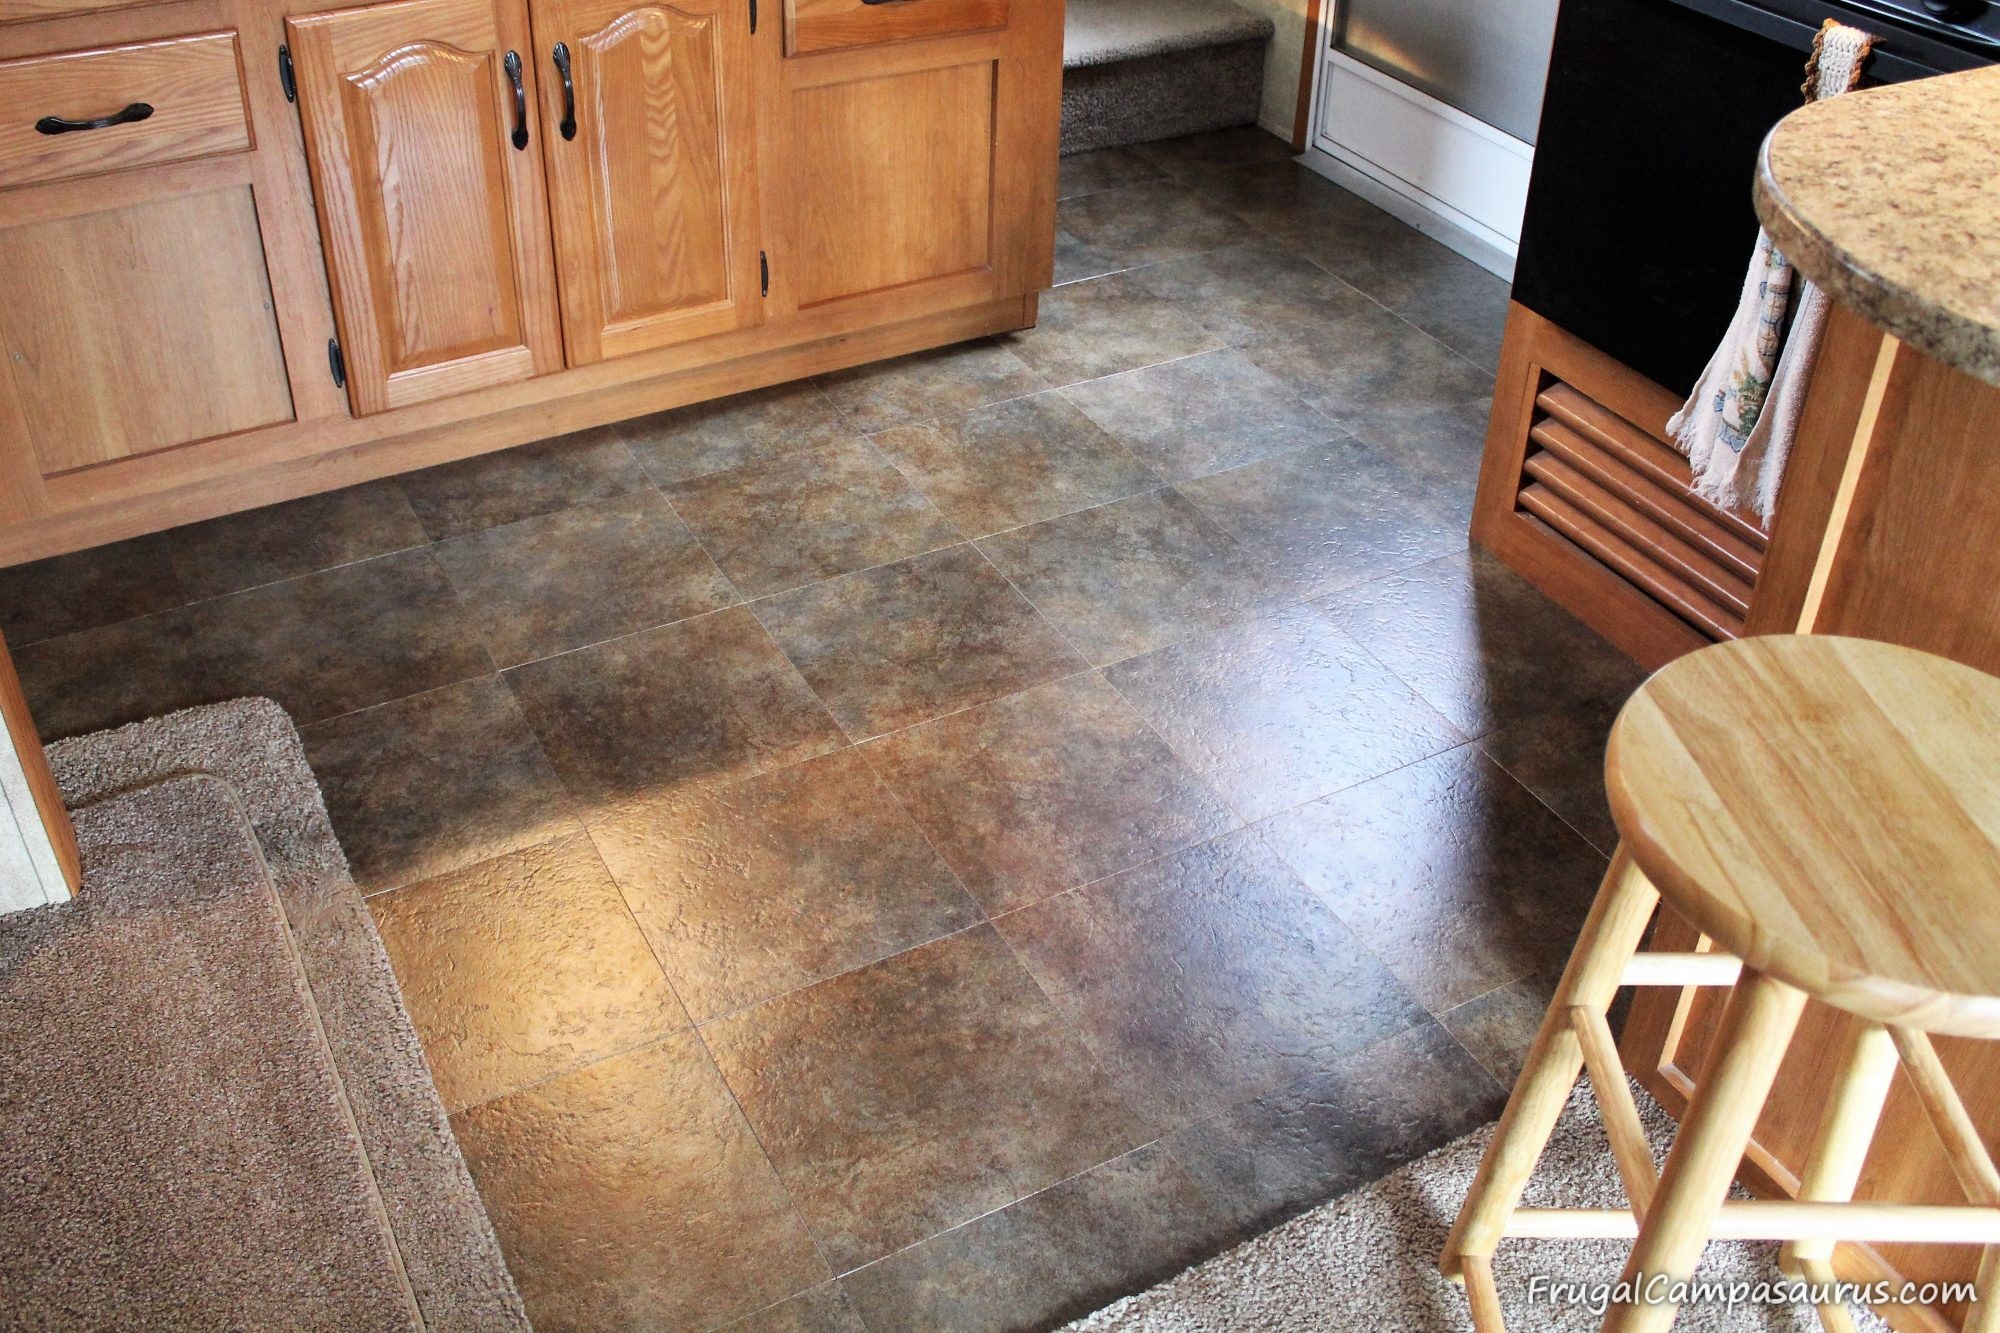
And this is our After picture. It turned out sooo pretty! I am definitely happy again! Of course, I love working on projects with the husband and when it is camper projects- that is even better.
Right now, the tiles are stuck down fine. It is recommended to roll over it with a 100 pound roller. Since I couldn’t match the corners or cut the tiles, my main contribution was to walk on them a lot. We hope they are fine after next winter, but we do have an extra box of tile in case any buckle.
Hopefully your next camper project is fun and your choice, not Mother Nature’s idea.
Happy Camping (or finishing camping projects)!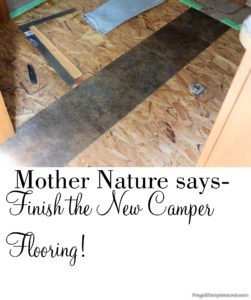
Frugal Campersaurus