Good Morning! I hope you are having a good day! We had a great weekend. We were able to go camping this weekend AND complete a lamp project for the camper!
On Thursday, I drove through our favorite local state park. It has changed a lot over the years. When it first opened for camping, we were there. When it was still new, we had our pick of camp spots and could follow the kids down the newly paved roads in their walkers. A few years later, I could easily pick out the kids in their same colored shirts riding bikes around the half full campground. Now, I was excited to see a few open spots on a Thursday afternoon. Many weekends it is full and it is hard to get a spot without going down early and paying for extra nights. Sometimes we do that anyway, and yes, I could reserve, but I hate paying the extra money to reserve a camping spot online.
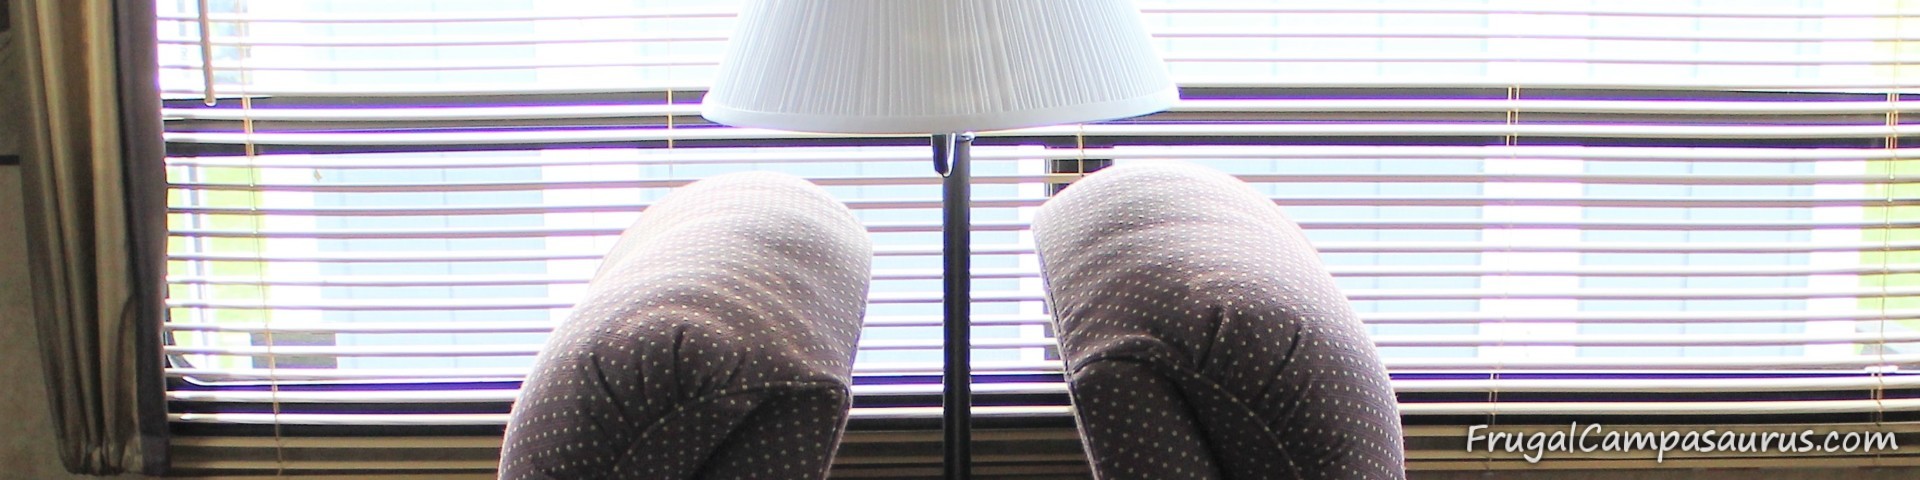
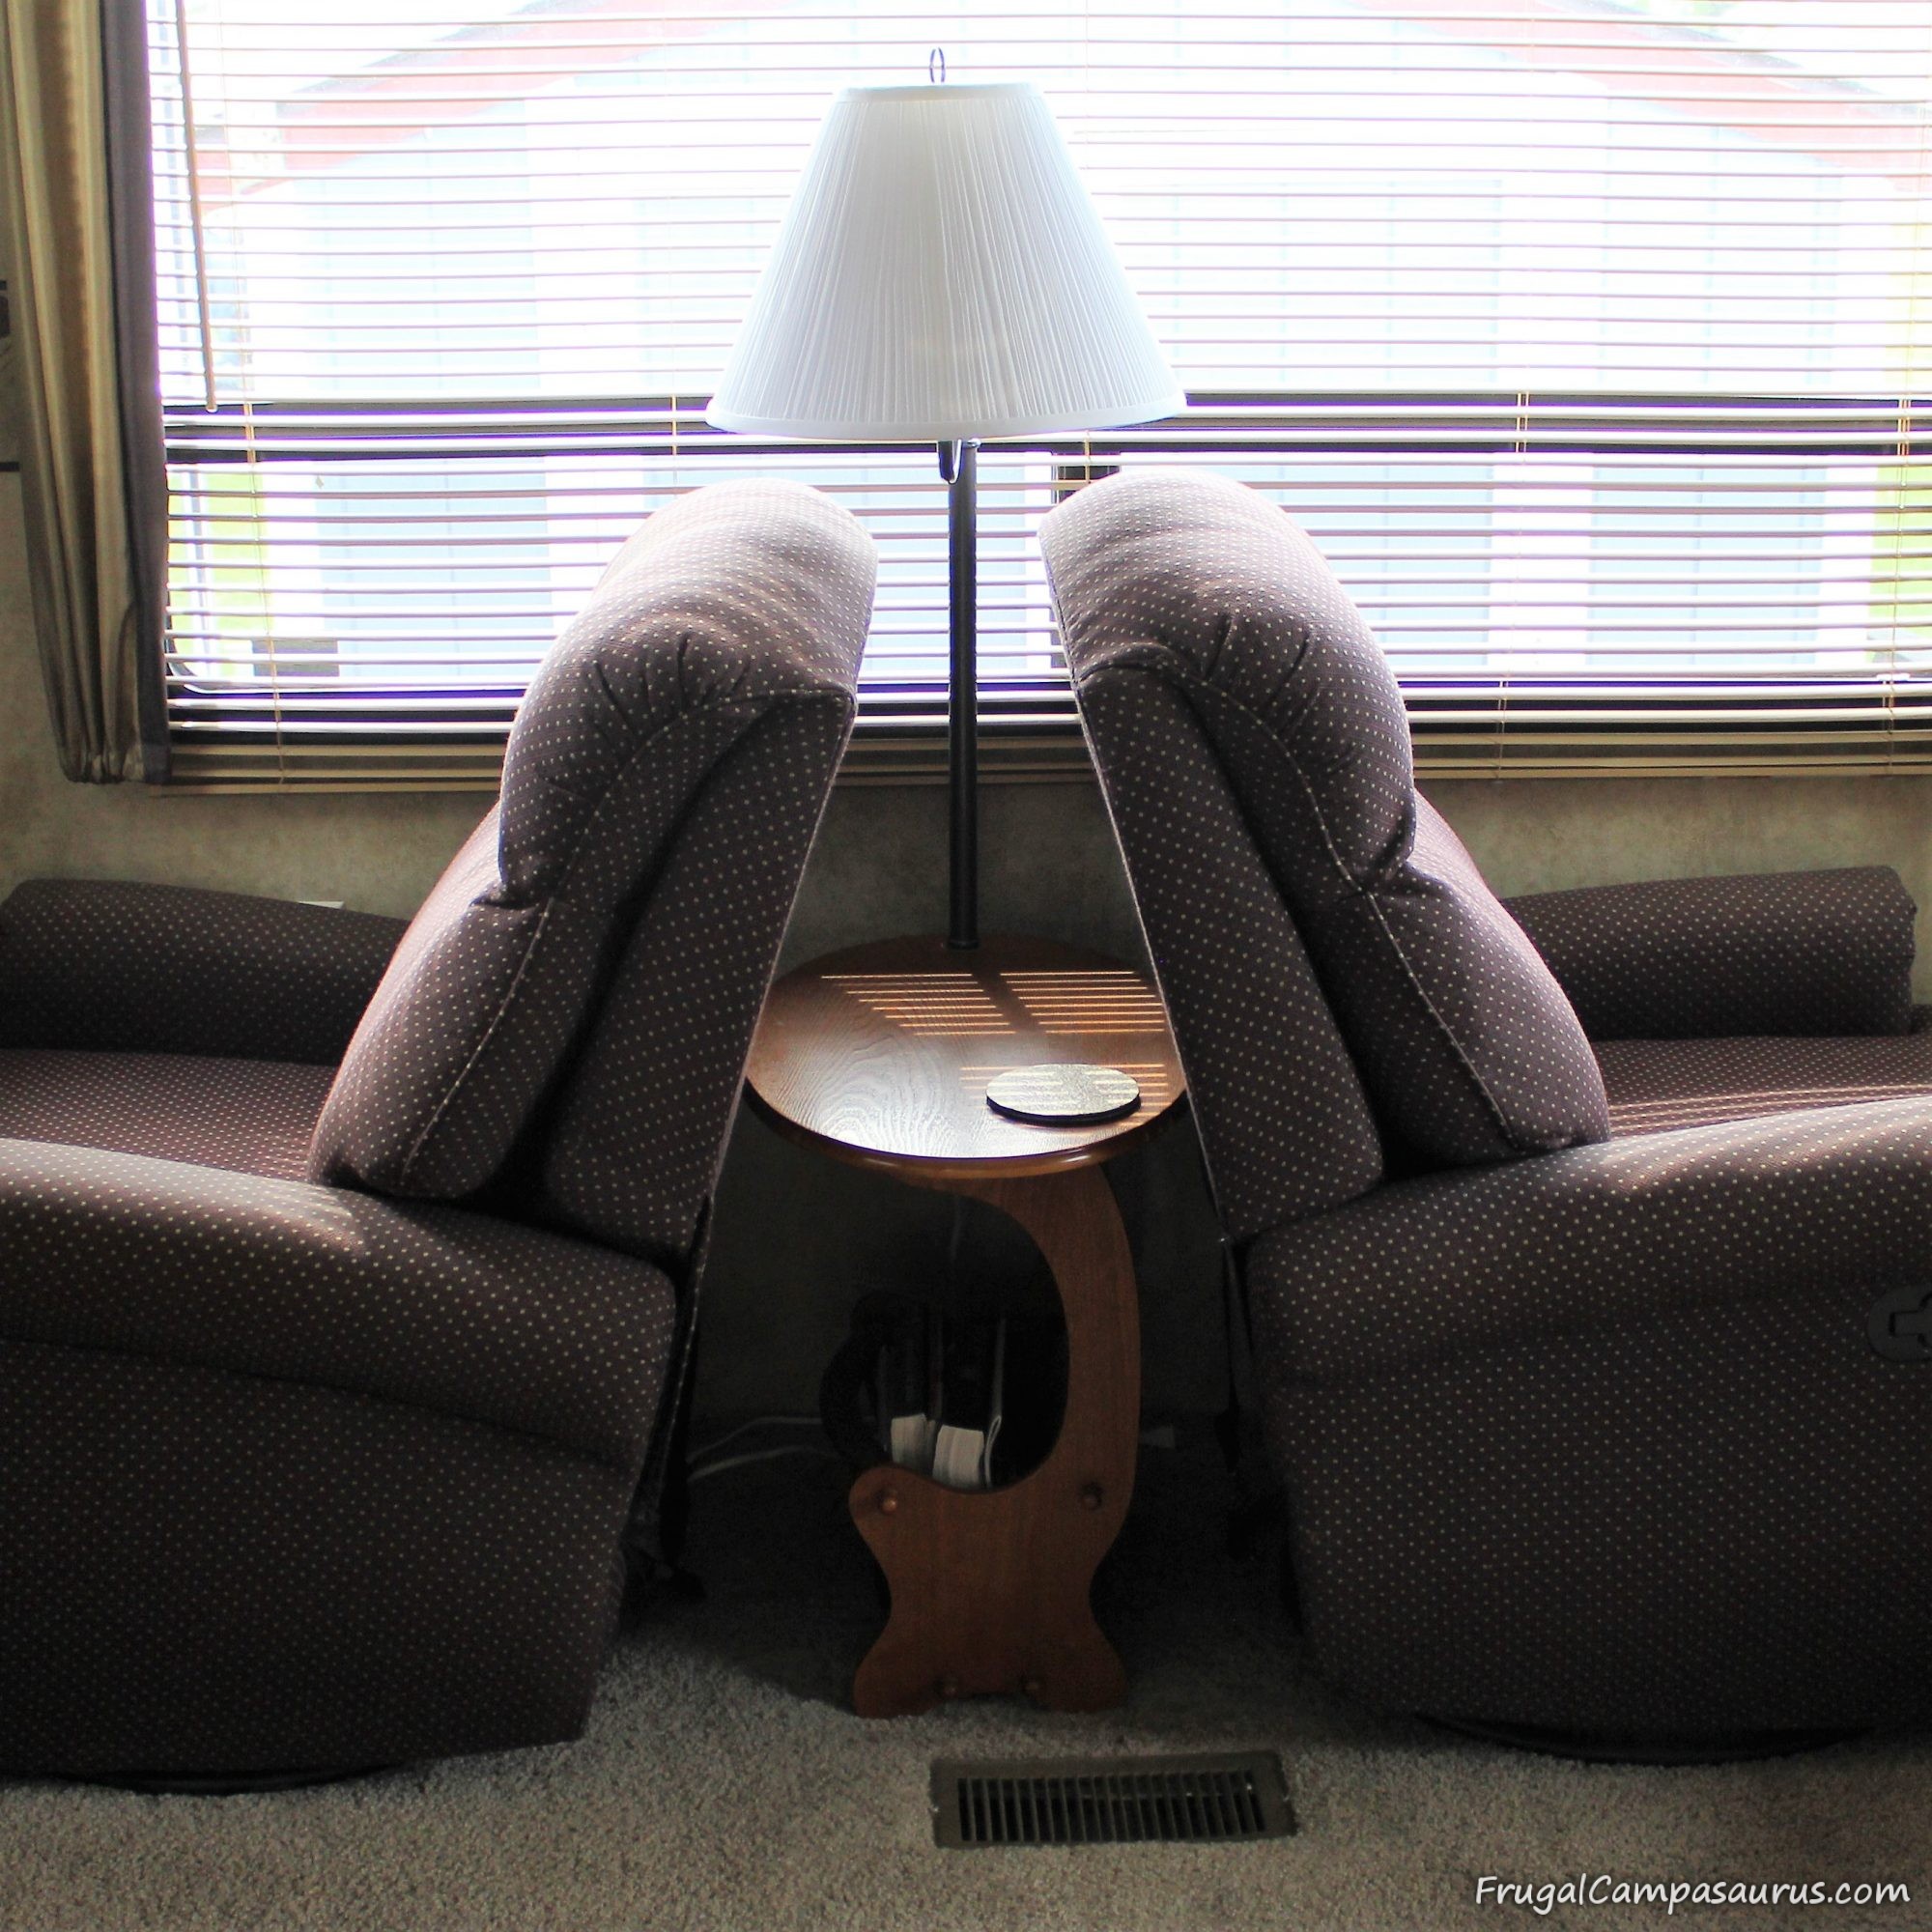
It was a great weekend camping, even if we were in the dark. Unfortunately, it was my fault that we were in the dark. We had been using a regular house table lamp on the endtable between the two rocker recliners, and there is no safe place to set the lamp when we travel. I could unplug it and move it, but I like easy (well, lazy) solutions. I have been just setting the lamp in the recliner, which was how ‘we’ broke two lamps. The husband couldn’t fix the lamp anymore, and I had forgotten to put a ‘new’ lamp in the camper, so we were in the dark this weekend. There are obviously other lights in the camper, but I like the one between the chairs. We needed a better solution
I have been watching garage sales for a lamp, but I haven’t found one that was cute, cheap and might not break in the camper chair. The husband didn’t really want to wait for me to search more garage sales, so we went to town after we got home from camping on Sunday.
WOW! Who knew lamps could be so expensive, and that you have to buy expensive shades separately! Well, at least the ones that I liked were expensive.
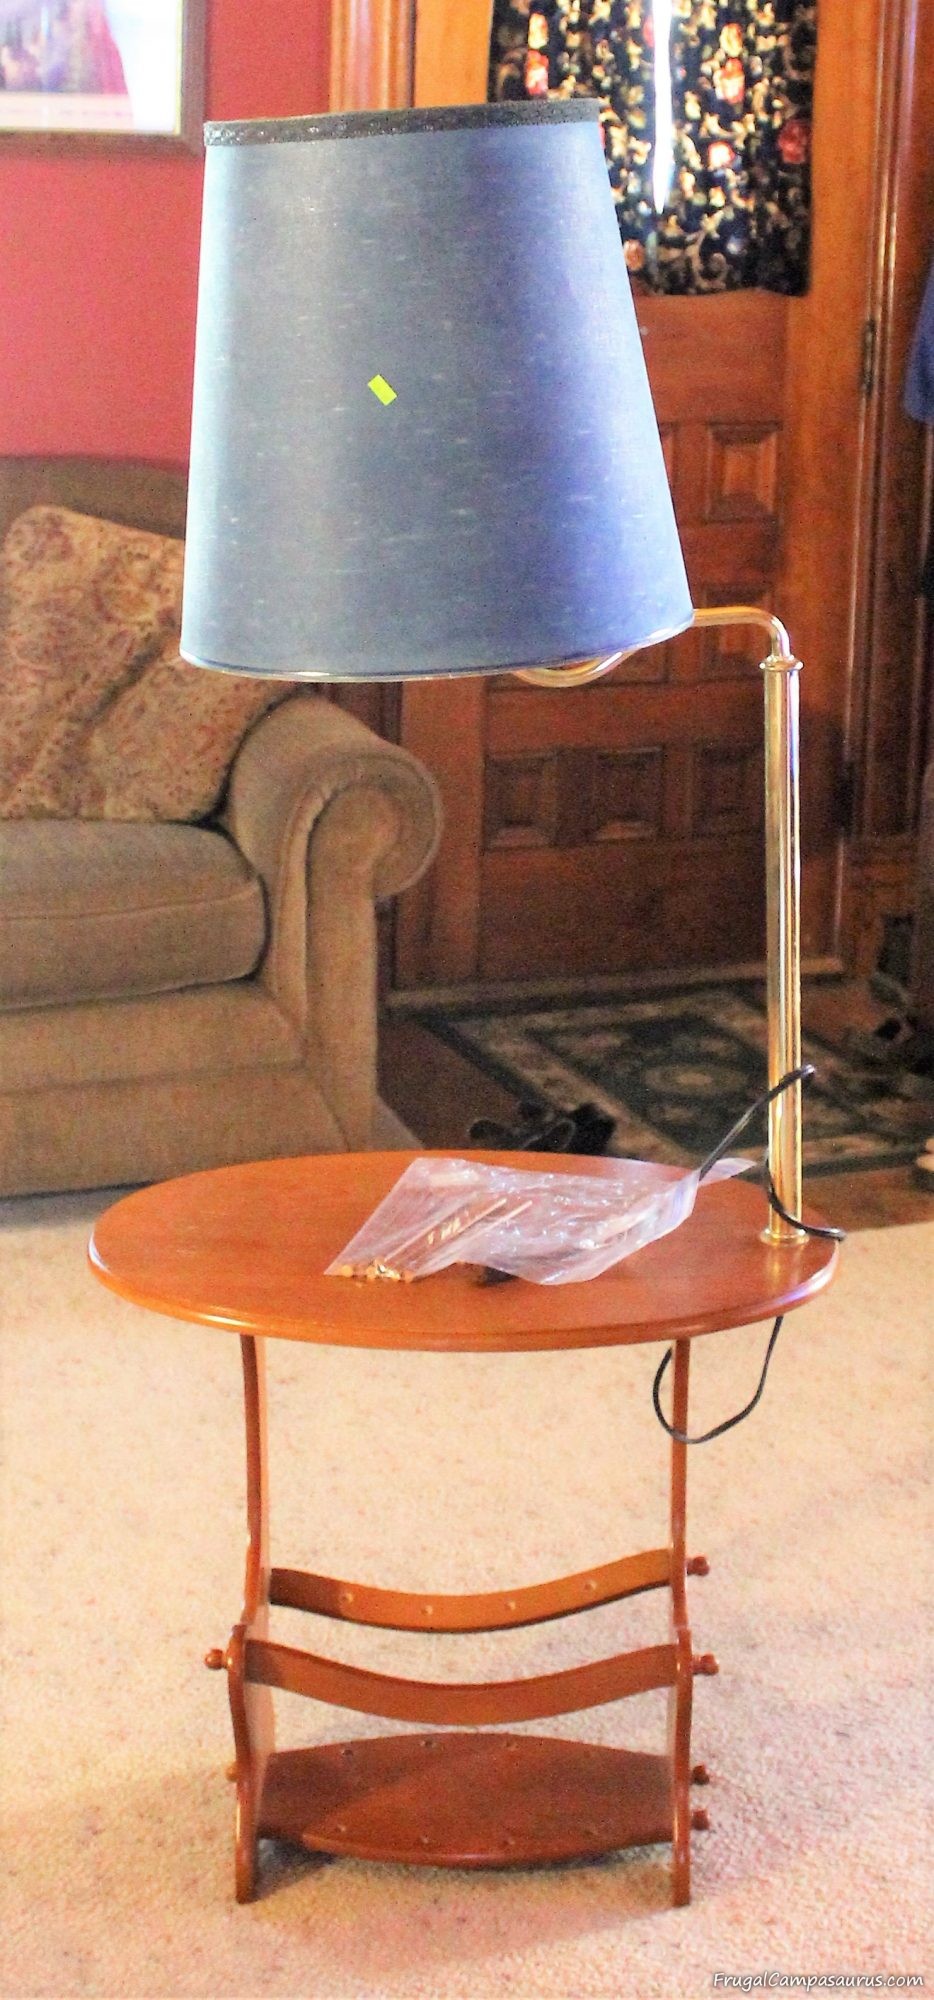
As a last chance at being frugal, we stopped at Goodwill. What luck! They had an endtable-lamp combination! It, hopefully, would fit between the chairs and it definitely would not fall over and break when we travelled. And at $4 it was frugal. The blue spray-painted shade, shiny brass poles and wiggly, scratched base definitely needed some love and attention though. Guess there was a reason it was $4. I am glad the husband is handy and doesn’t mind helping me with projects.
Unfortunately, patience is not always my strongpoint. So, we probably wasted some money by not comparing prices when we bought spray paint, wood markers and a new cord right away. On Sunday night, there is one store open, so no choices at all. Oh well, we were able to work on our lamp project until late into the night!
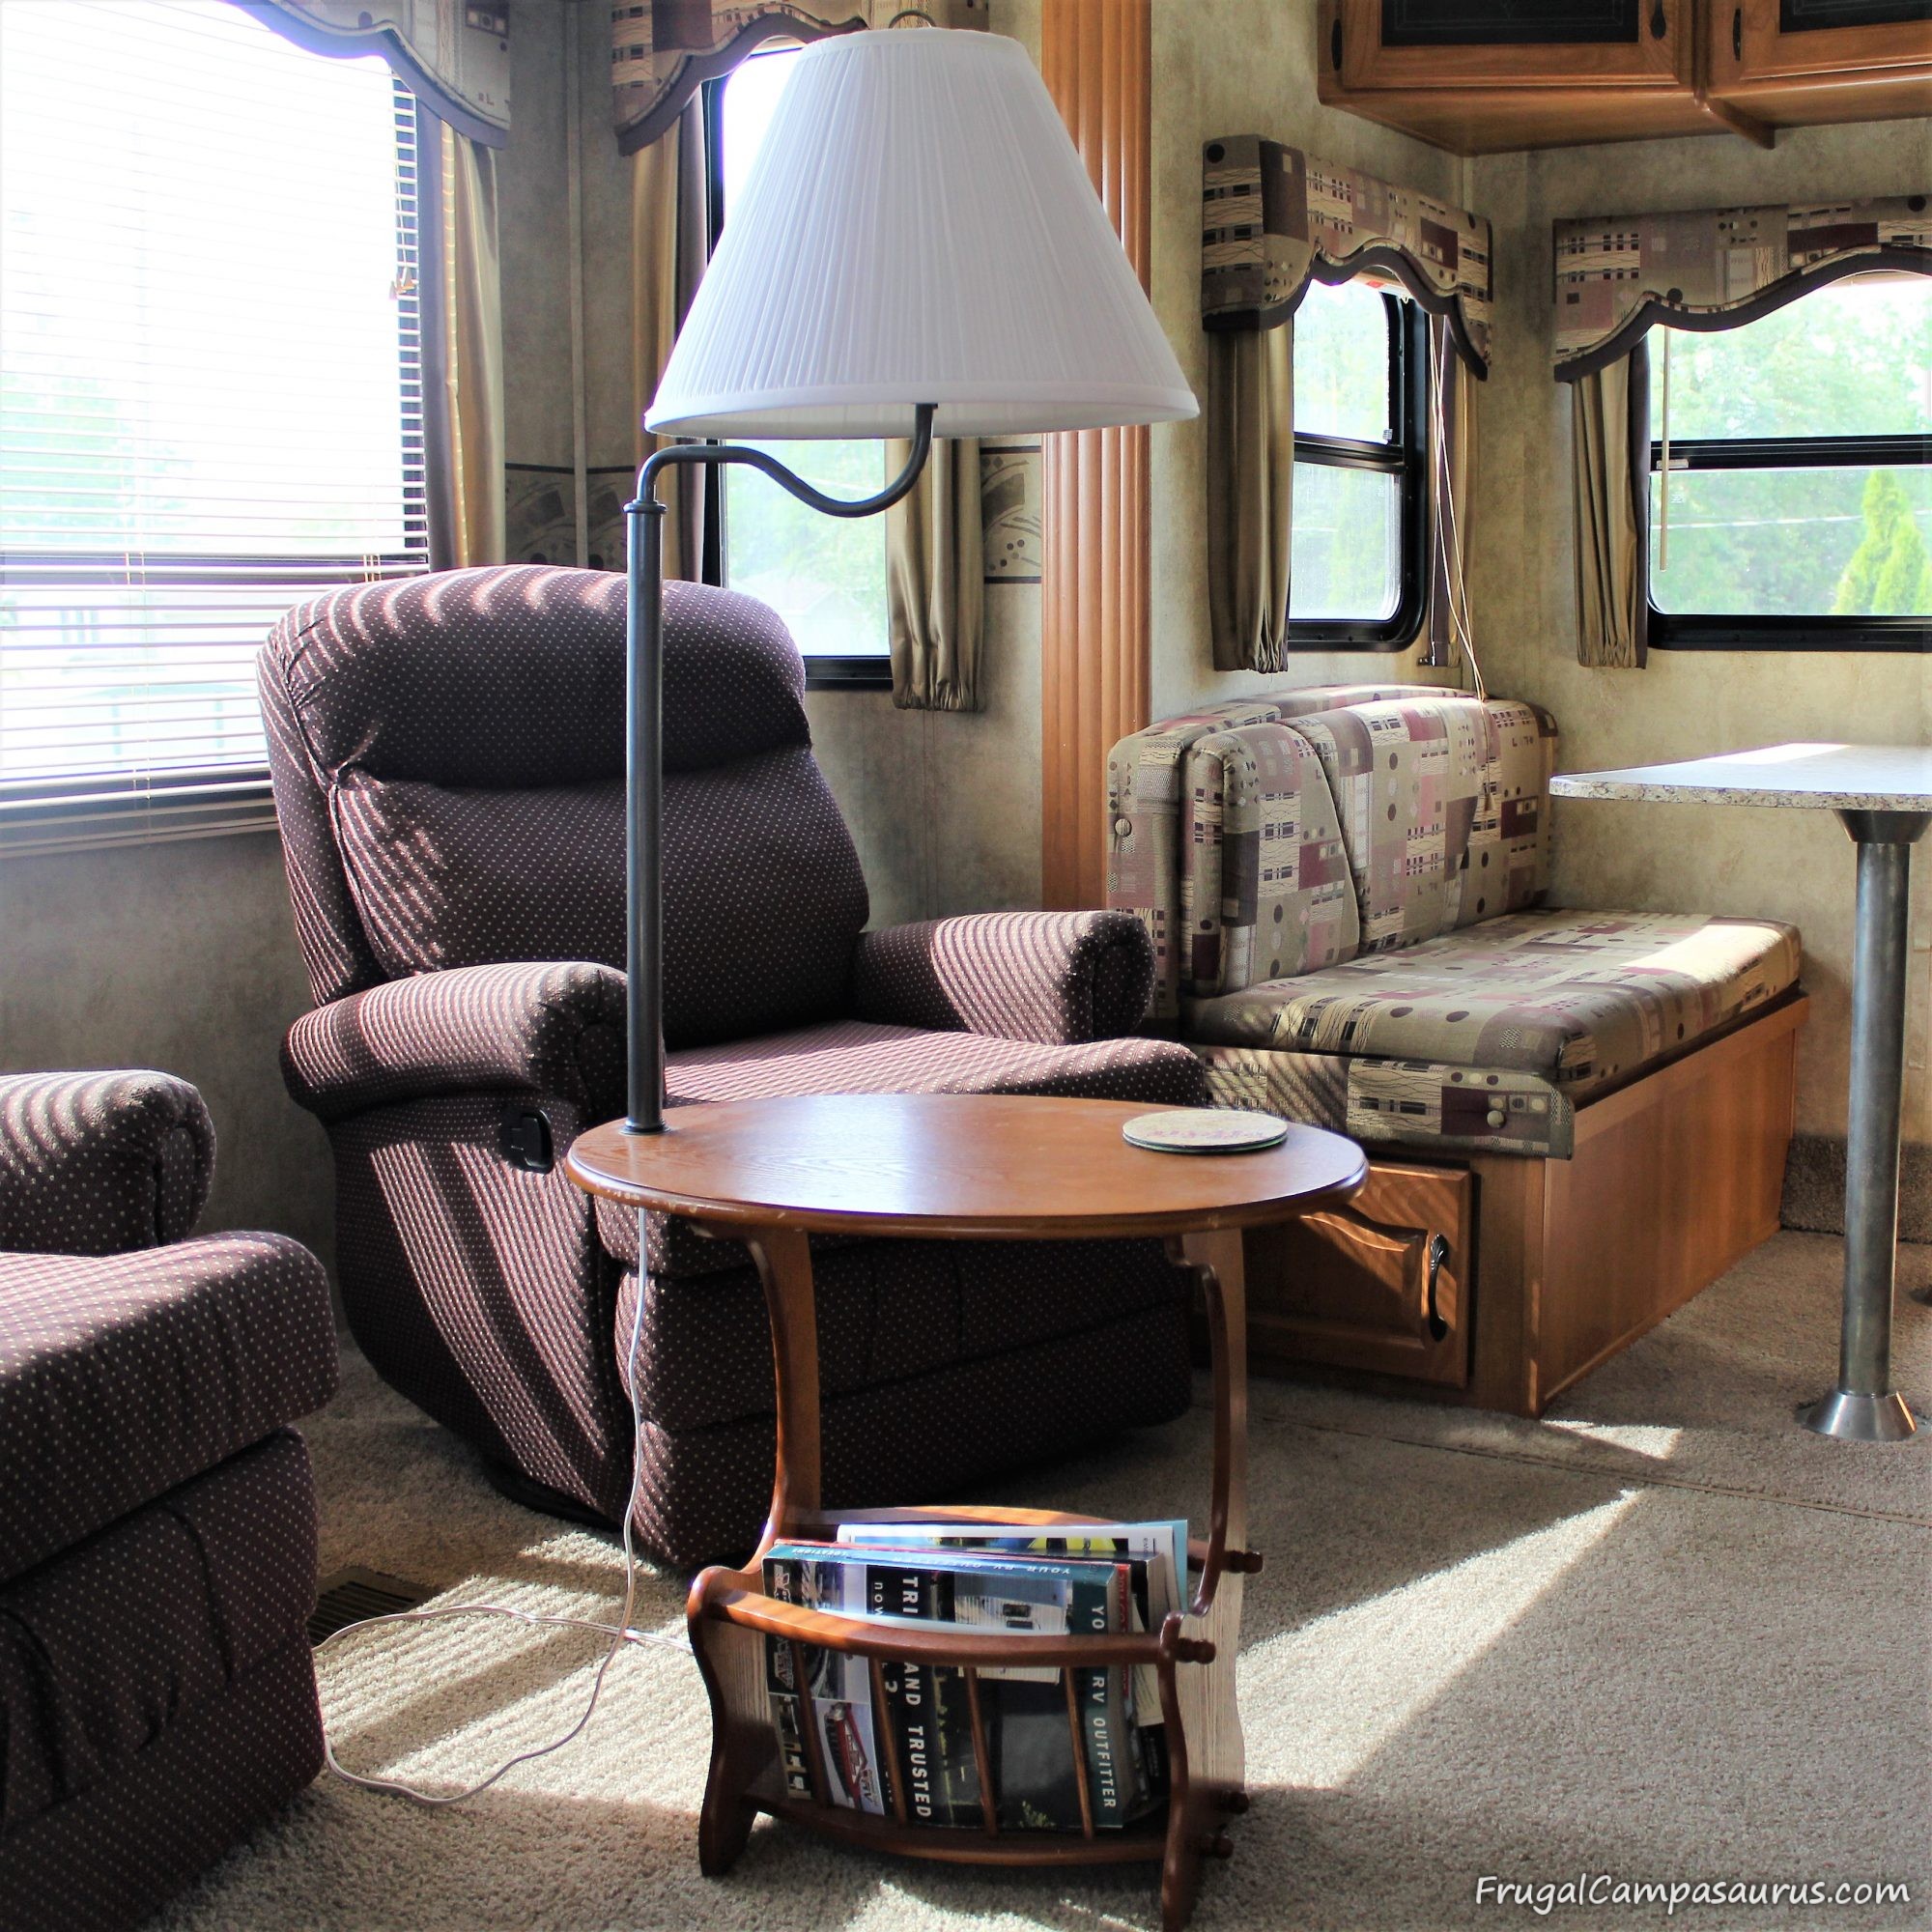
We spray painted and straightened the poles. The dark rubbed bronze paint matches the handles in the camper much better than the brass. The husband did sand down the poles, so the paint would stick better. Good thing he was working on it too, I would have taken the chance of not sanding first and probably needed to respray it.
I love the Minwax wood markers we used on the scratches in the wood top. They are useful for nicks and scratches. You need to match the color to the wood finish, but they have a wide variety of colors to choose from. I use the markers in the house also. They are not for fine antiques, but they are perfect to hide scratches on the tv stand, our $5 auction dresser and of course this end table! You just ‘write’ on the scratch and then wipe it off with a rag. It doesn’t always perfectly match, so try it in an inconspicuous spot first. Sometimes, I re-apply it to darken the scratch.
The husband also replaced the plug-in and wiring, and screwed the spindles back in. He used wood glue on some of the spindles, and this really reduced some of the ‘wiggles’.
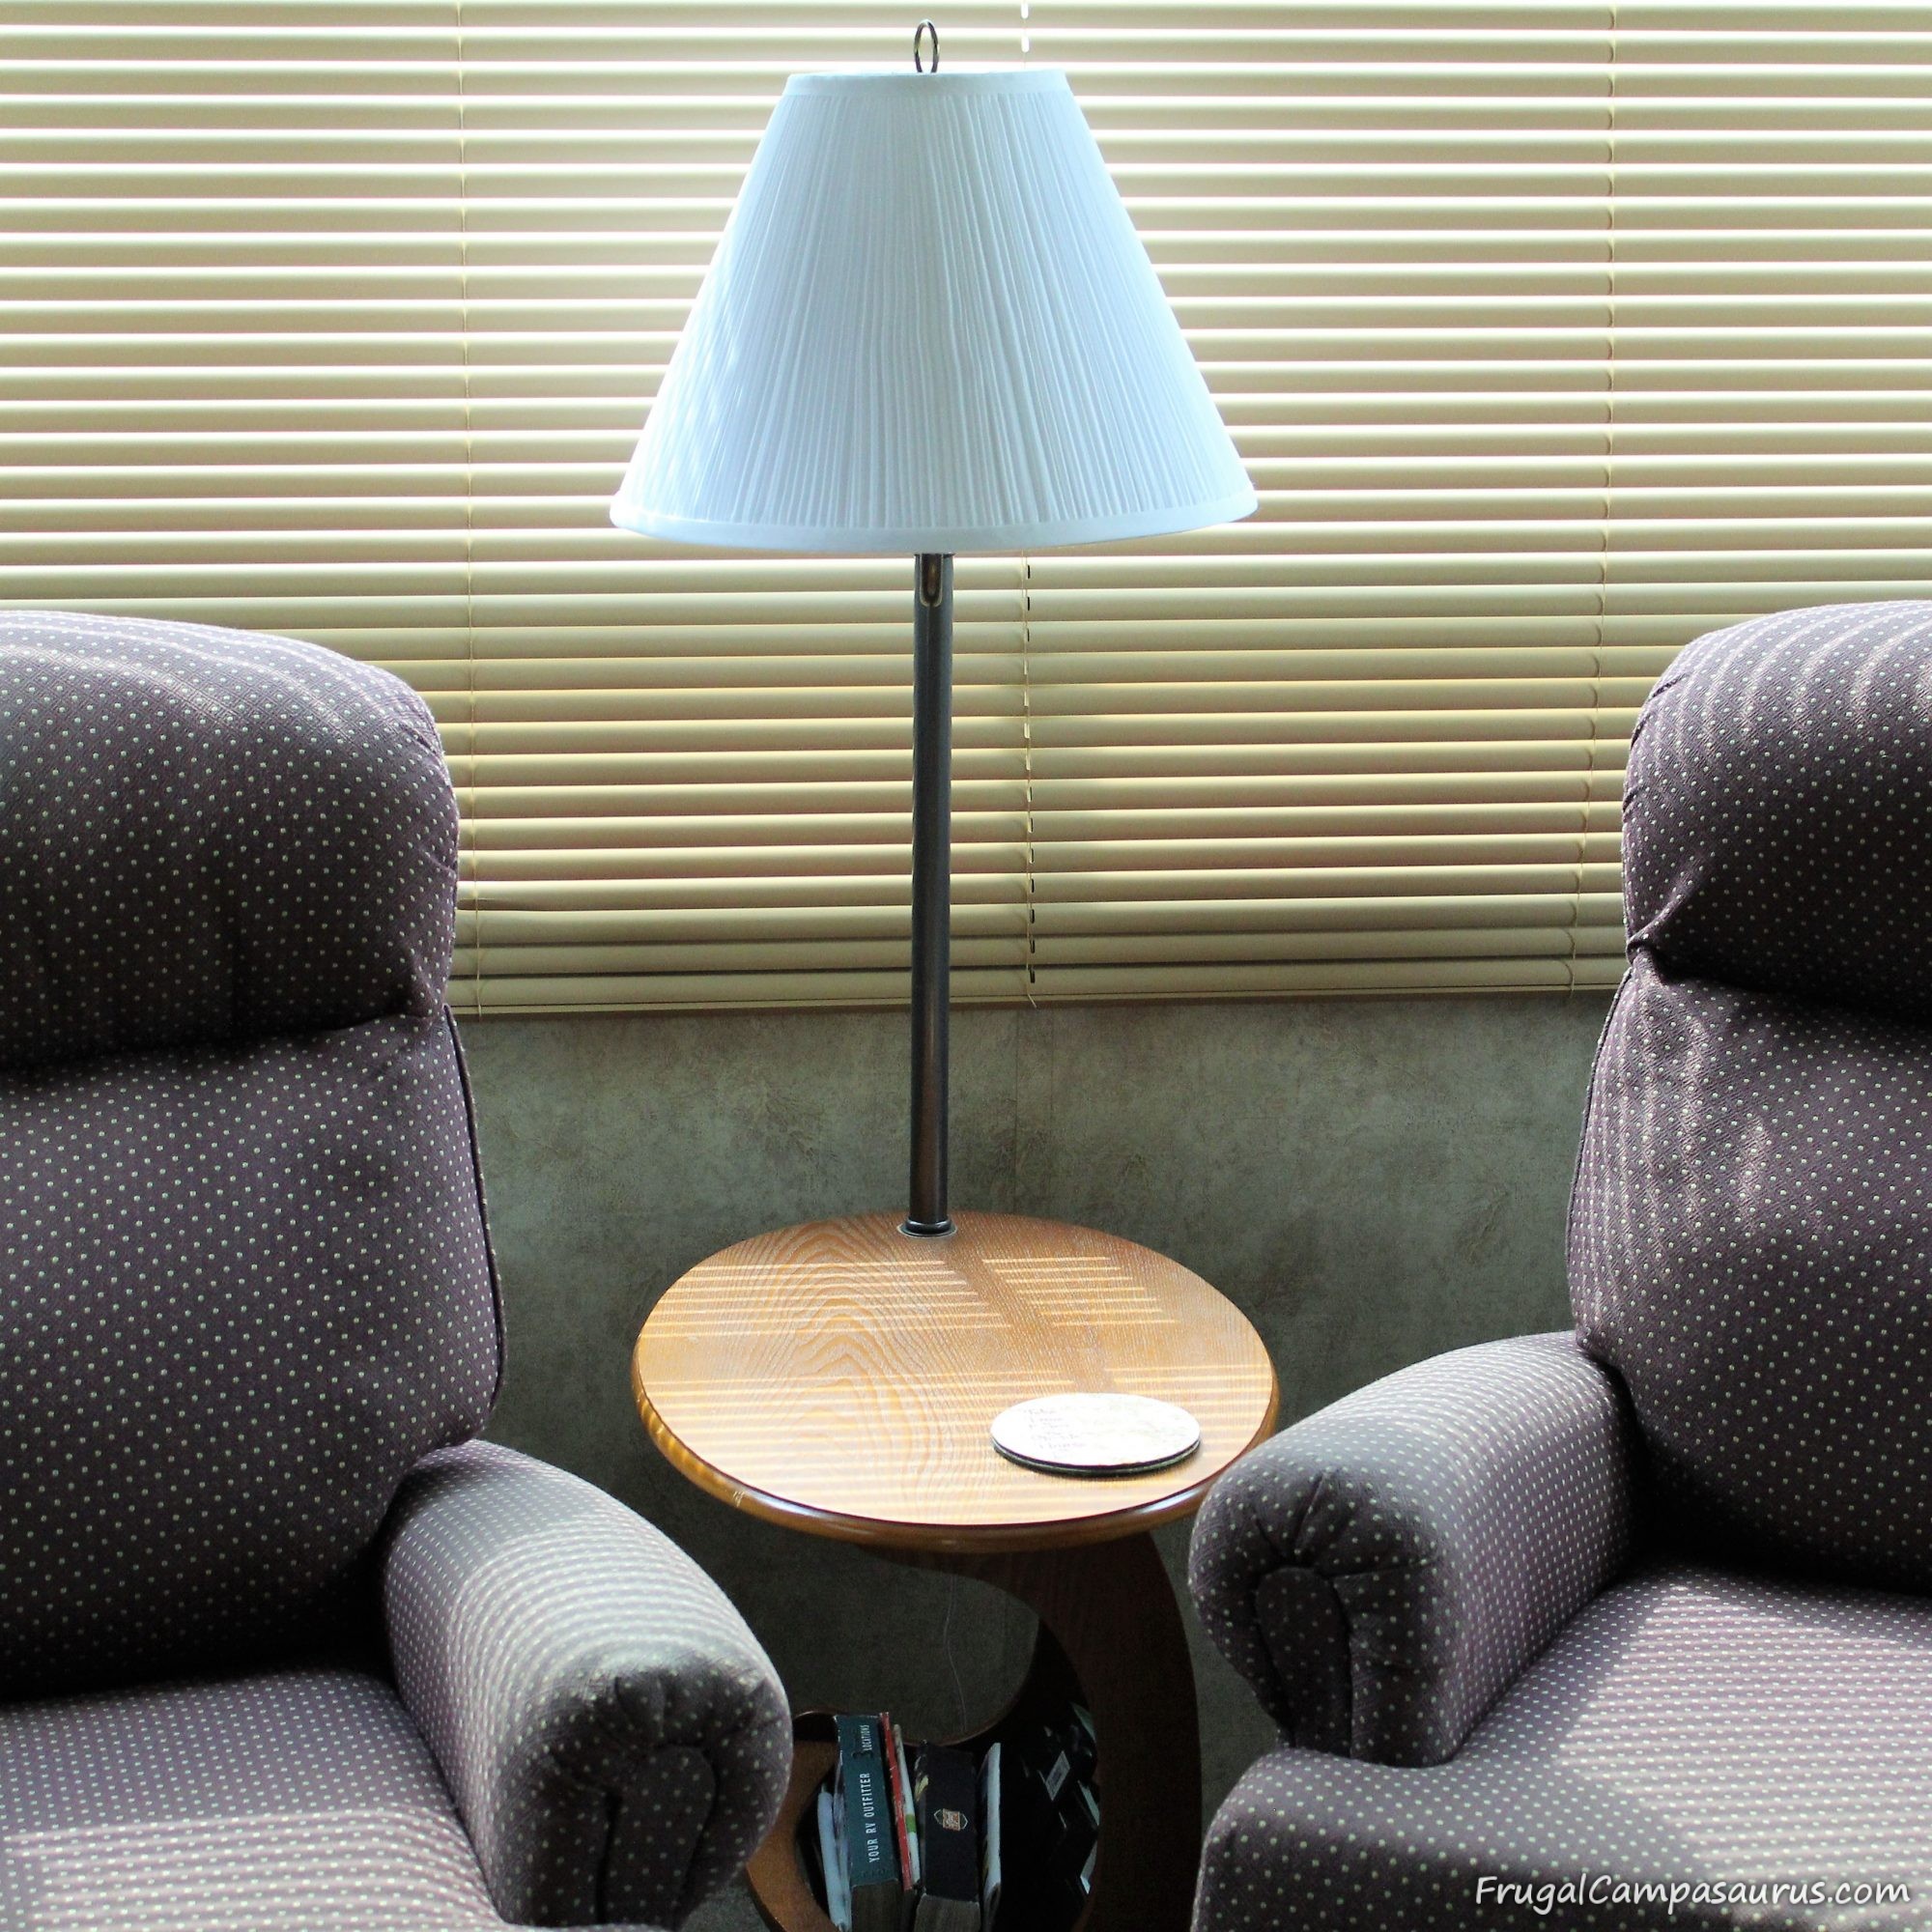
By the time we fixed it up, it probably totaled $40 with the new shade. It is not as frugal as I wanted. I couldn’t believe spray paint can cost $8! But now, the end table matches the camper, looks cute, saves items from the landfill and is exactly what we wanted. No more camping in the dark (or breaking lamps).
Please tell us about your (kind of) frugal projects for your camper.
Happy camping (or frugal diy-ing)!
Frugal Campasaurus