Good morning! I am so happy to finally be able to share these Finish it Friday pictures. I actually did this project the first week of June, but it turned out sooo good that we decided to give it as a Father’s Day present. I didn’t want to ruin the surprise, though it has been so hard to wait to put up the pictures and show the husband.
The youngest was just done with the school year, so he helped me work on the project all morning. He didn’t even mention video games once! It was such a fun morning!
We made sand candles!
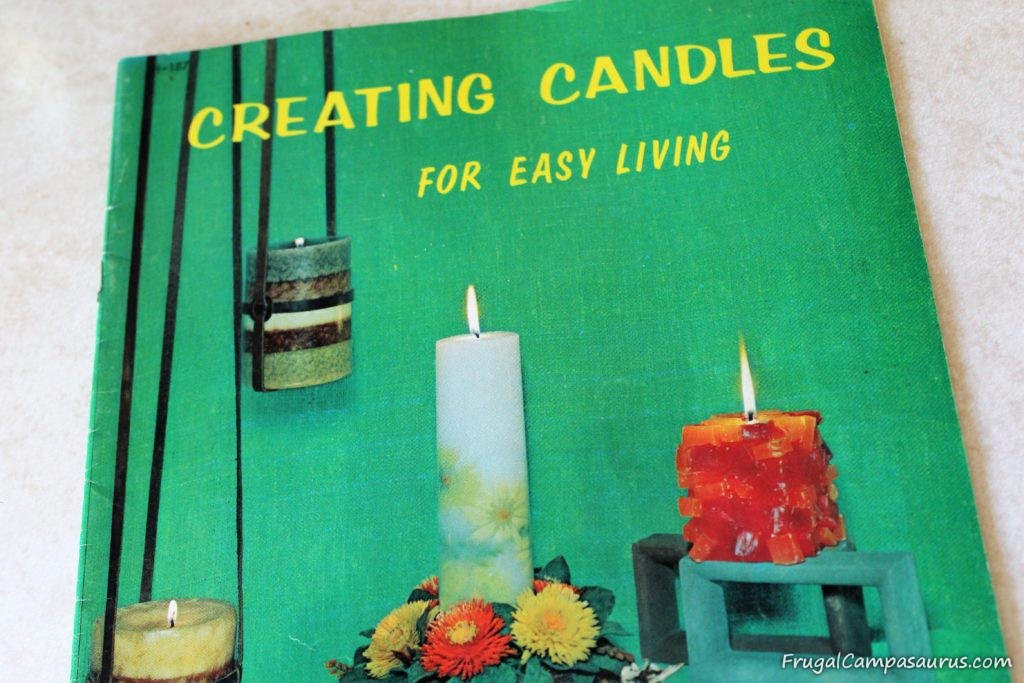
The garage sale book that started it all! 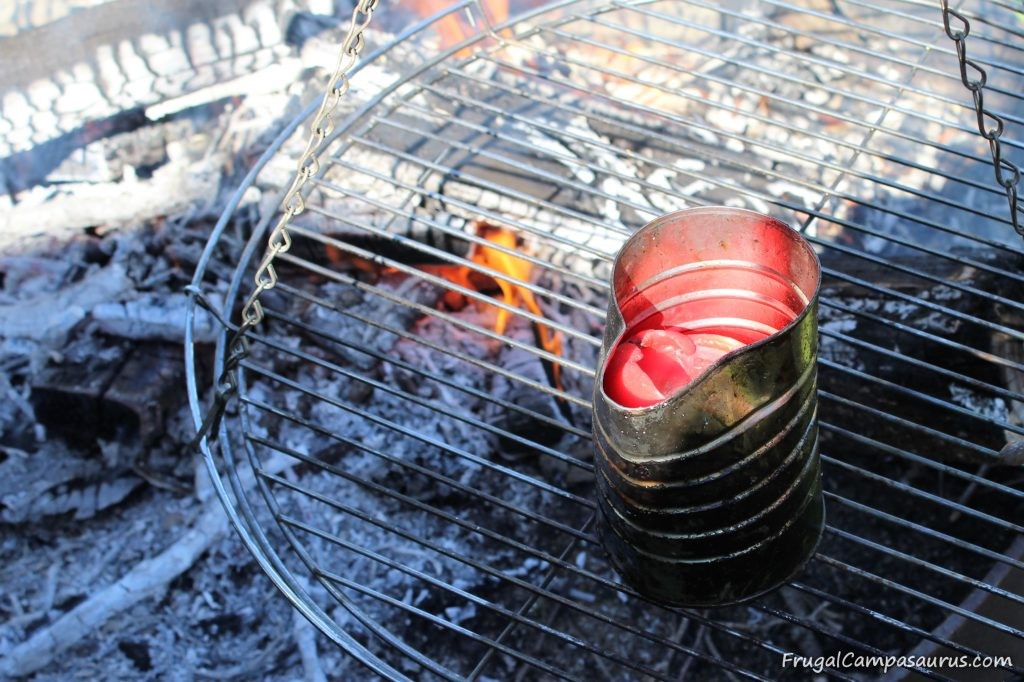
Melting wax outside 
An old washer to weigh down the wick 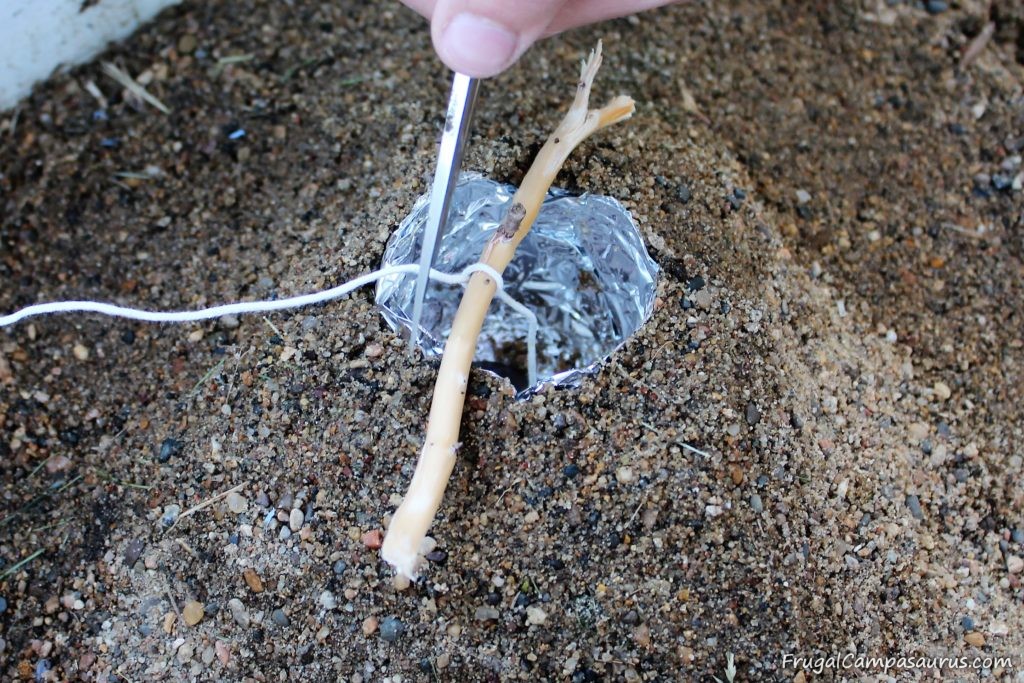
A wick tied and trimmed to keep straight 
Pressing a jar into damp sand for a mold
I have wanted to try this for eons. I found candle wicks and a cool 70’s candle making book at a garage sale over 5 years ago. I wish I had not waited to make the sand candles,they were sooo easy to make. It is hard to type though-I keep writing sand castles.
The youngest looked through the book and wanted to also try making the foil candles. Since they were very similar to the sand candles, we did 2 of each type.
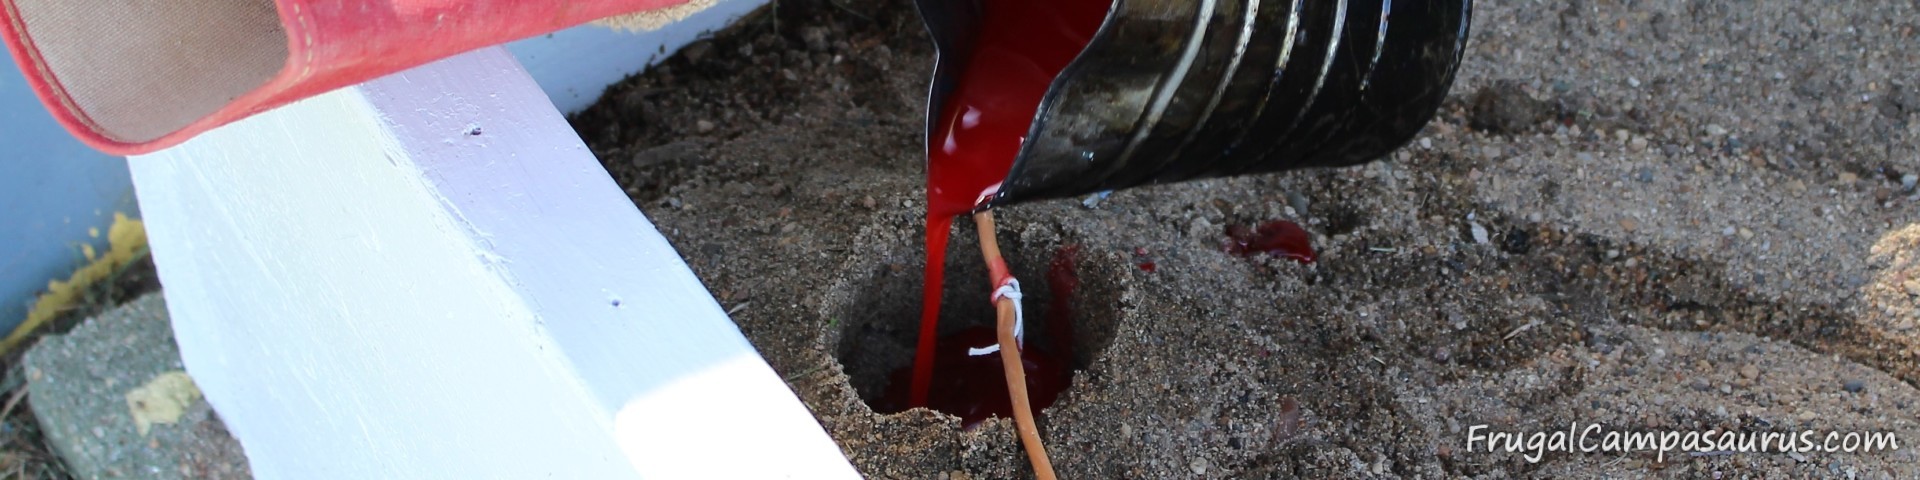
Carefully pouring in wax 
First color done, going to add another layer 
Can’t wait to unwrap the cooled candle!
It was nice that that the youngest is older and could do so much. If he was younger, he would not have been able to be near the hot wax. I never know when I will spill, so I am always cautious. Hot wax is so dangerous. Years ago when we made fire starters, I kept the young children away, in a separate room or I waited until very young ones were asleep before I melted the wax.
To be frugal, I didn’t buy wax. We melted old candles(even stubs or broken taper candles) in a coffee can, instead. Please be very careful and cautious with the hot wax. When we melt wax inside, I use a double boiler. I just stick the can in a pot of water, to melt the wax. This time we were outside, so we set the can right on the tripod rack.
While the wax melted, we got the wicks ready. Old washers, tied to the wick, worked great to weigh the wick down and make it straight. We tied the top of the wicks to thin sticks. The sticks were set near the center of the molds we made.
The molds were fun and easy to make. For the sand candles, we pressed a jar into damp sand. Thankfully, our sandbox is close to the fire pit. A box or bucket with damp sand would also work.
For the foil candles, we molded aluminum foil around an old candle and then pushed it into the damp sand. We removed the old candle, leaving the foil lined mold.
We squished the top of the wax can to help have a pour spout. After the old candles are melted, the youngest used pliers to tip and pour the wax into the prepared molds.
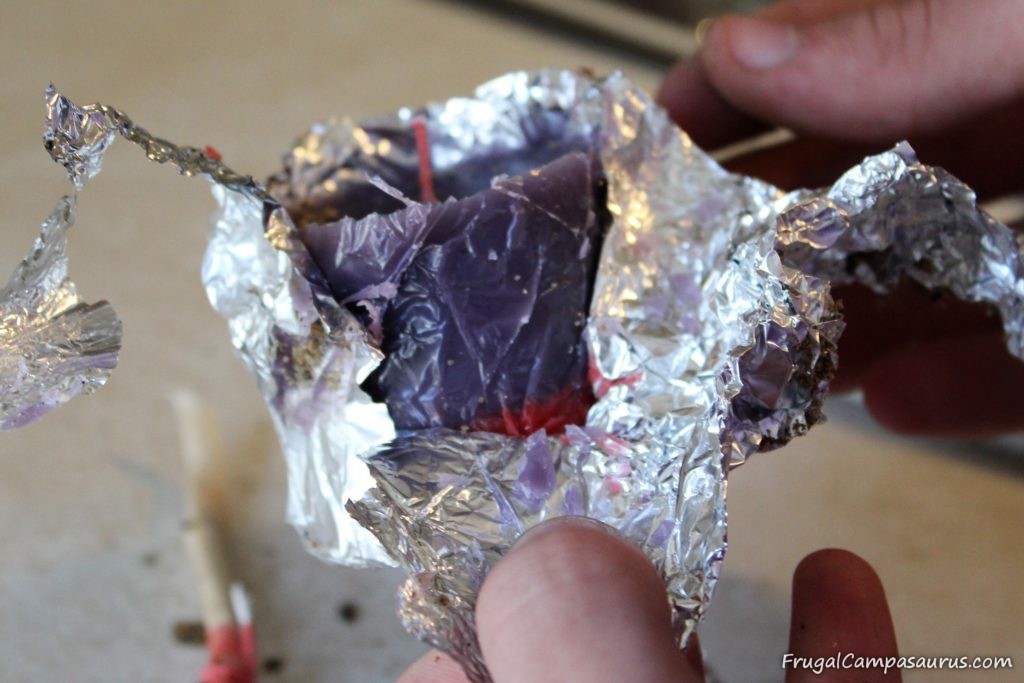
Fun foil texture 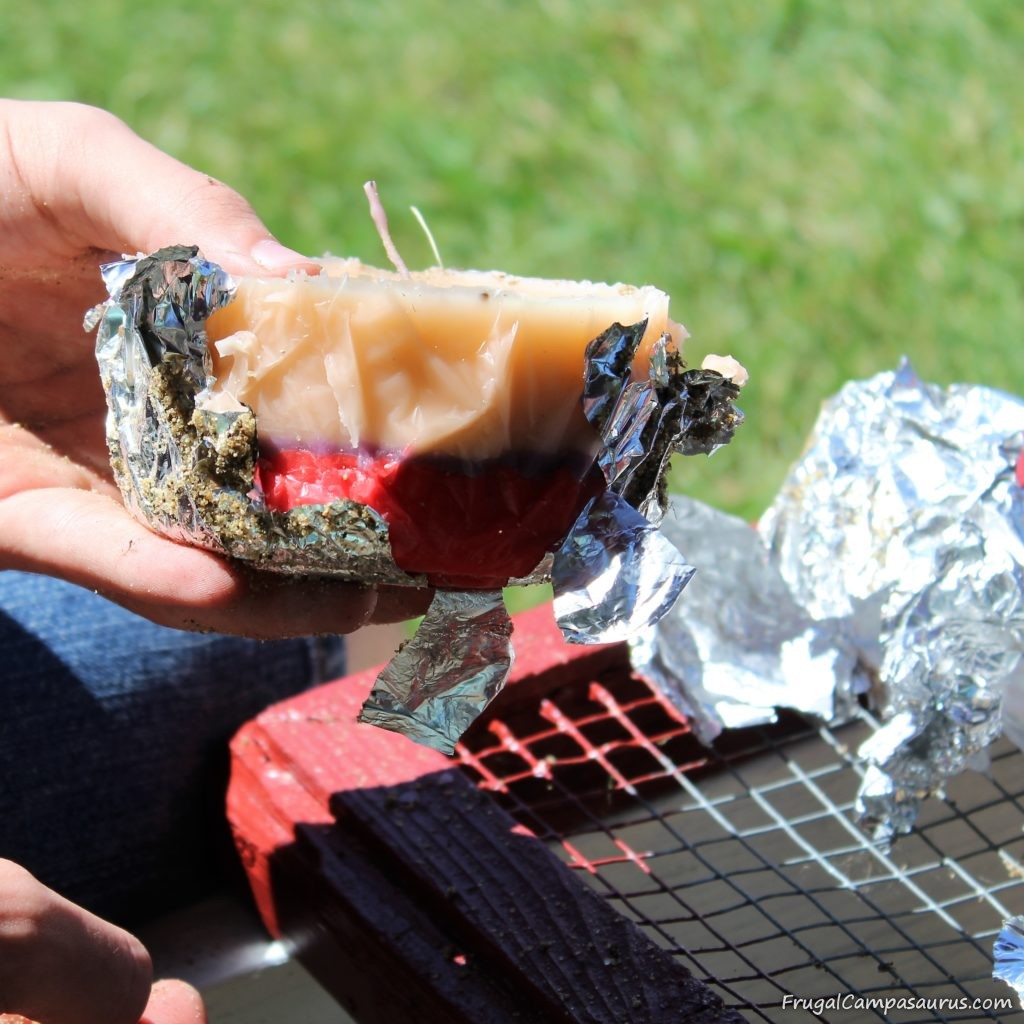
Loved the layers 
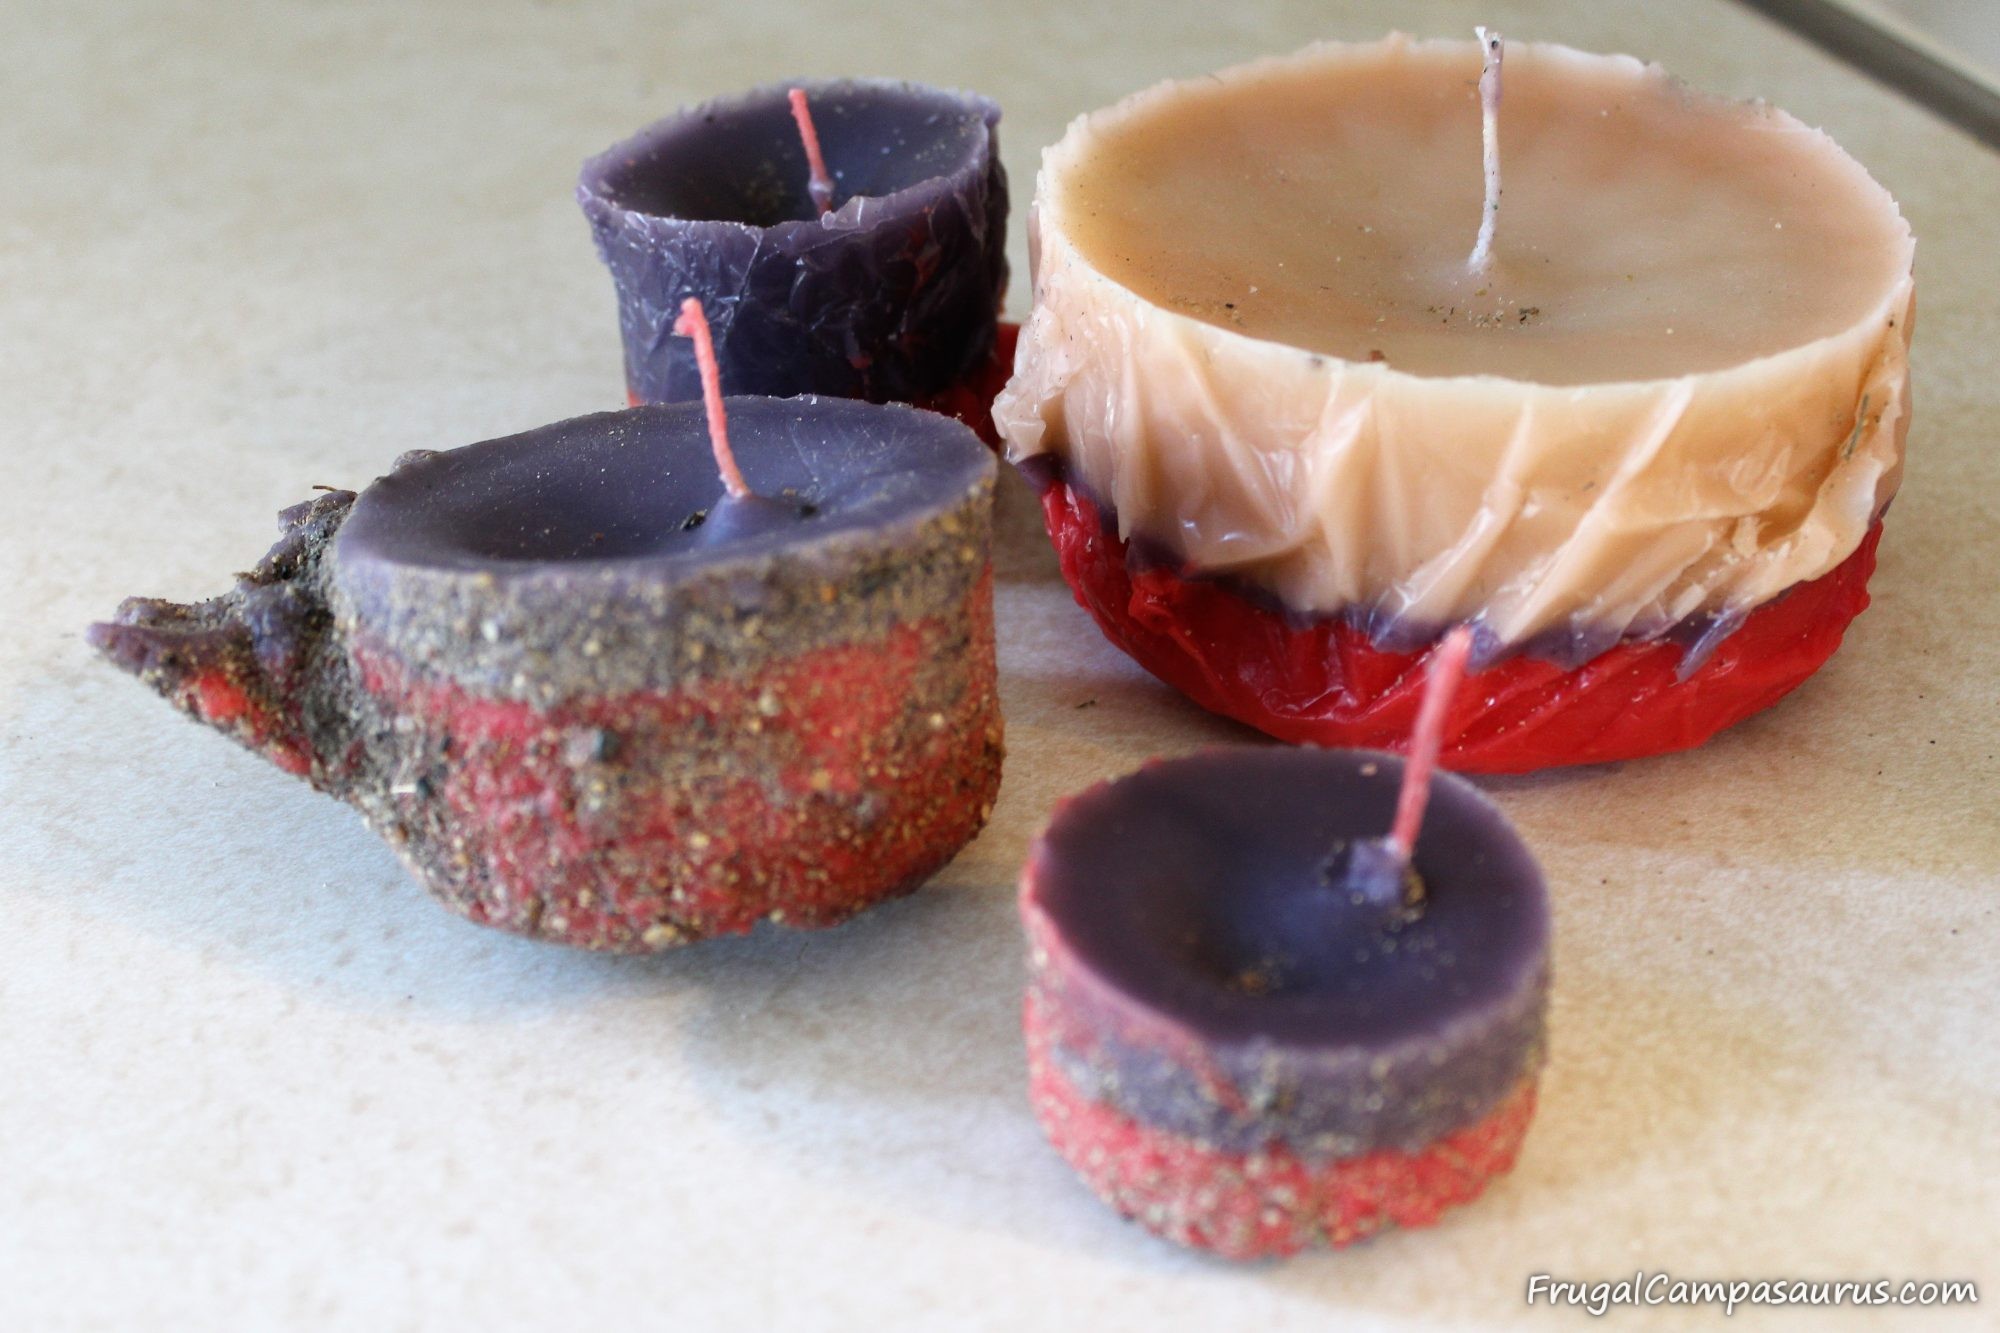
Finished foil candle 
Had a small leak on the side, but still ok 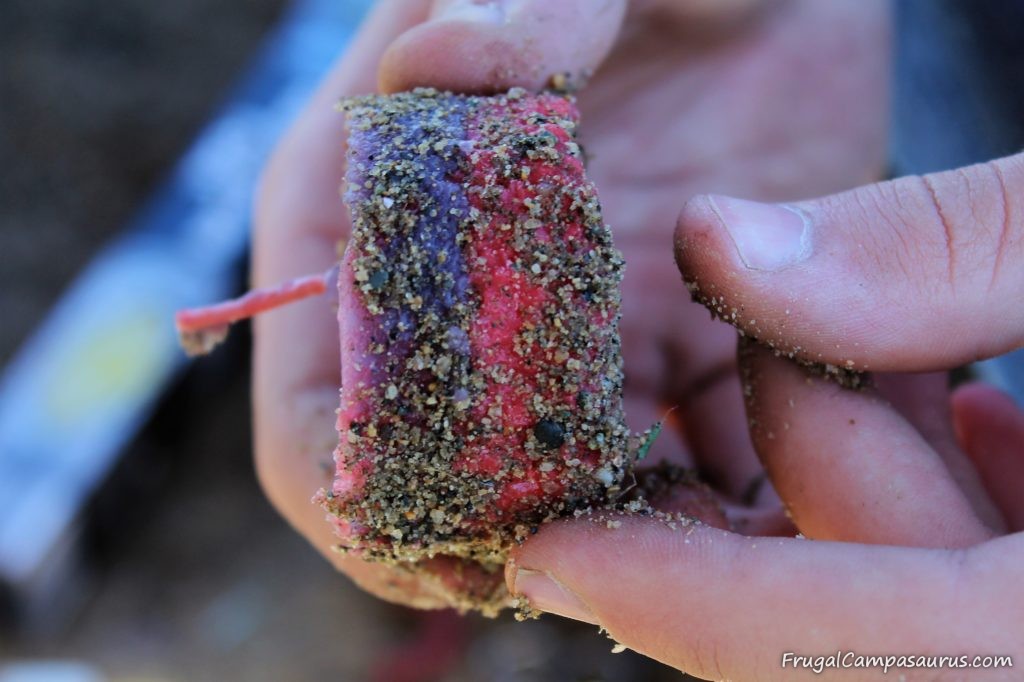
Brushing off the sand is fun
A few different colors of wax made neat layers in the candles. Since we only had one can to melt with, the layers had time to set up before we added a new layer.
Just like with the ice candles, waiting to un-mold them was sooo difficult. The texture of the foil candles was really neat, and we loved the sand layer on the other candles. I did read you could brush off as much sand as you wanted, but we left some on.
I hope you enjoy the pictures as much as we enjoyed making this Finish it Friday Father’s Day present. It was so much fun working with the youngest and making the candles.
It was very hard to wait 3 weeks to share with the husband and with you.

While I know the practical projects need done, I’m so glad that not all the Finish it Friday project are practical like the paint touch ups and the mending. Some can be fun, family projects that have been on my ‘to do’ list for far too long. I hope you can find some projects to finish with your family soon.
Happy Camping (or playing in the sand)!
Frugal Campasaurus