Good morning! I was sooo sad to see inside our camper. I know, I usually start out a post being so excited. I am usually very happy and wound up to try new projects and share them with you. I also usually use too many exclamation points! But one morning this winter, I was sad. Very sad.
After taking something out to the camper, the husband came back into the house and told me to look in the camper door.
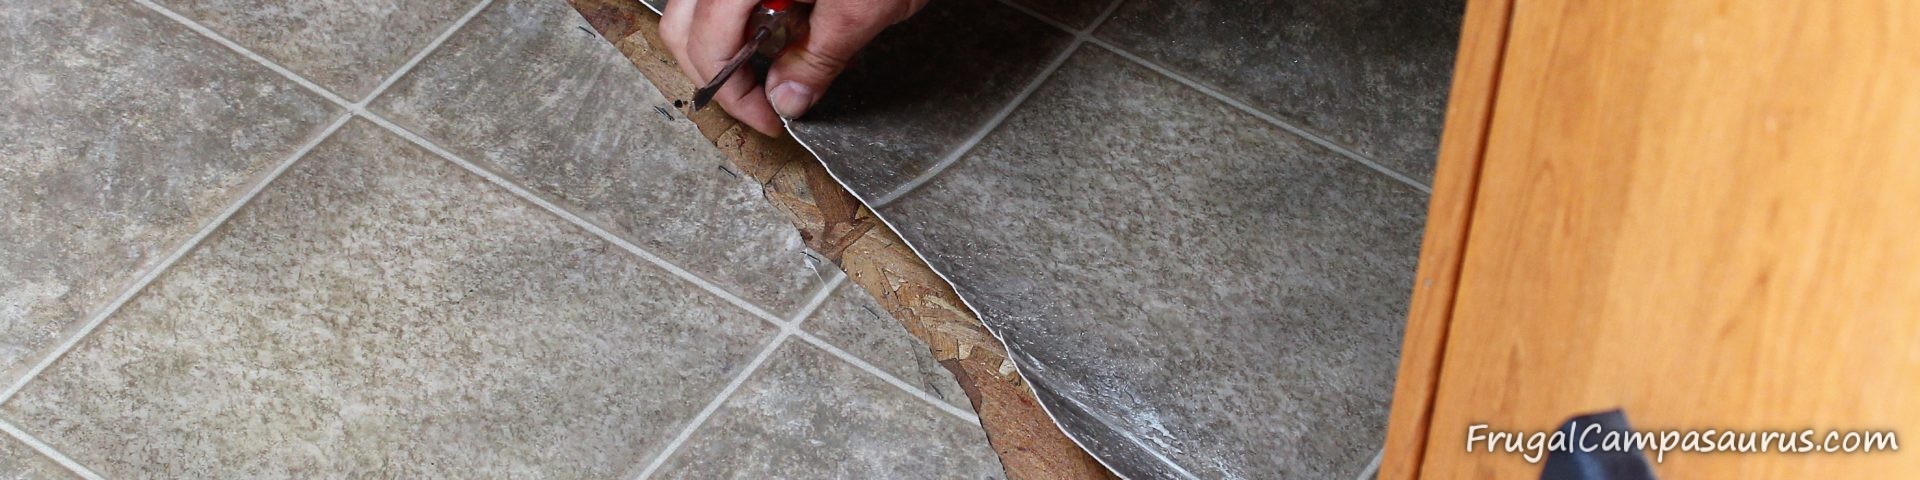
Oh my gersh! I was so sad! From the door, I could see the linoleum split and curled up across the kitchen floor.
The weather temperature had fluctuated wildly last fall, but even with our cold winters, we have never had the flooring split in any of our campers. Maybe we have been lucky over the years. When he researched the linoleum cracking online, it sounded more common than I realized.
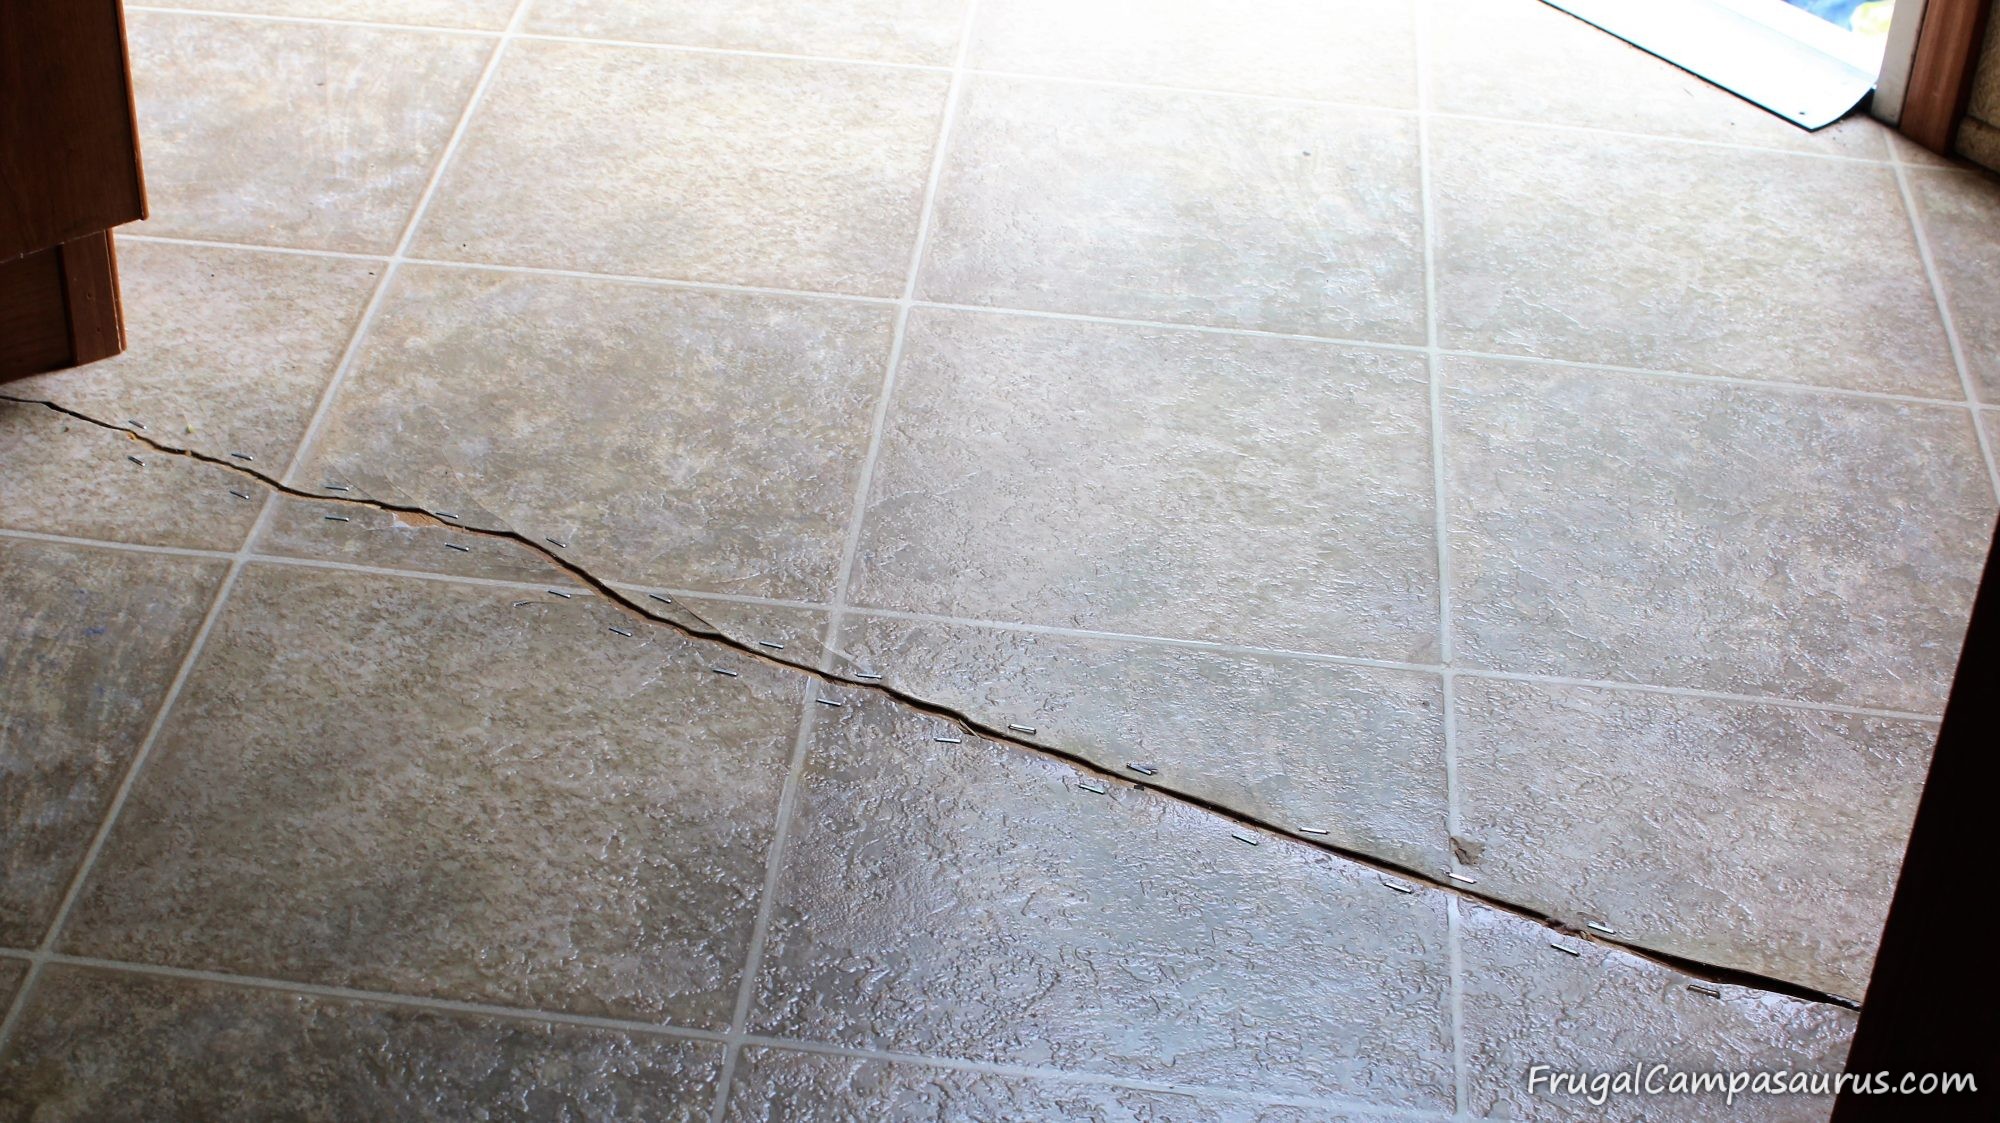
Since we like to go camping in the early spring, before the temperatures rise too much, the husband stapled down the linoleum. I could put a rug over it and it would not be a tripping hazard. But it still did not look nice, and I was still sad.
There are many options for fixing the flooring: have the local RV dealer fix it, install linoleum in a large sheet or install various tiles or planks. After much research, we decided to go with self adhesive vinyl squares. We decided against a large sheet of linoleum since there are many curves and corners. It is also a small, tight area.
Although we are aware the tiles are not recommended to be installed on OSB, we thought it was worth a try. It was much easier for us to install individual tiles and possibly ruin a few as opposed to ruining a large piece of linoleum. Also, while we are not yet extinct campers, we do have older knees and elbows, so it was nice to not always be working on the floor.
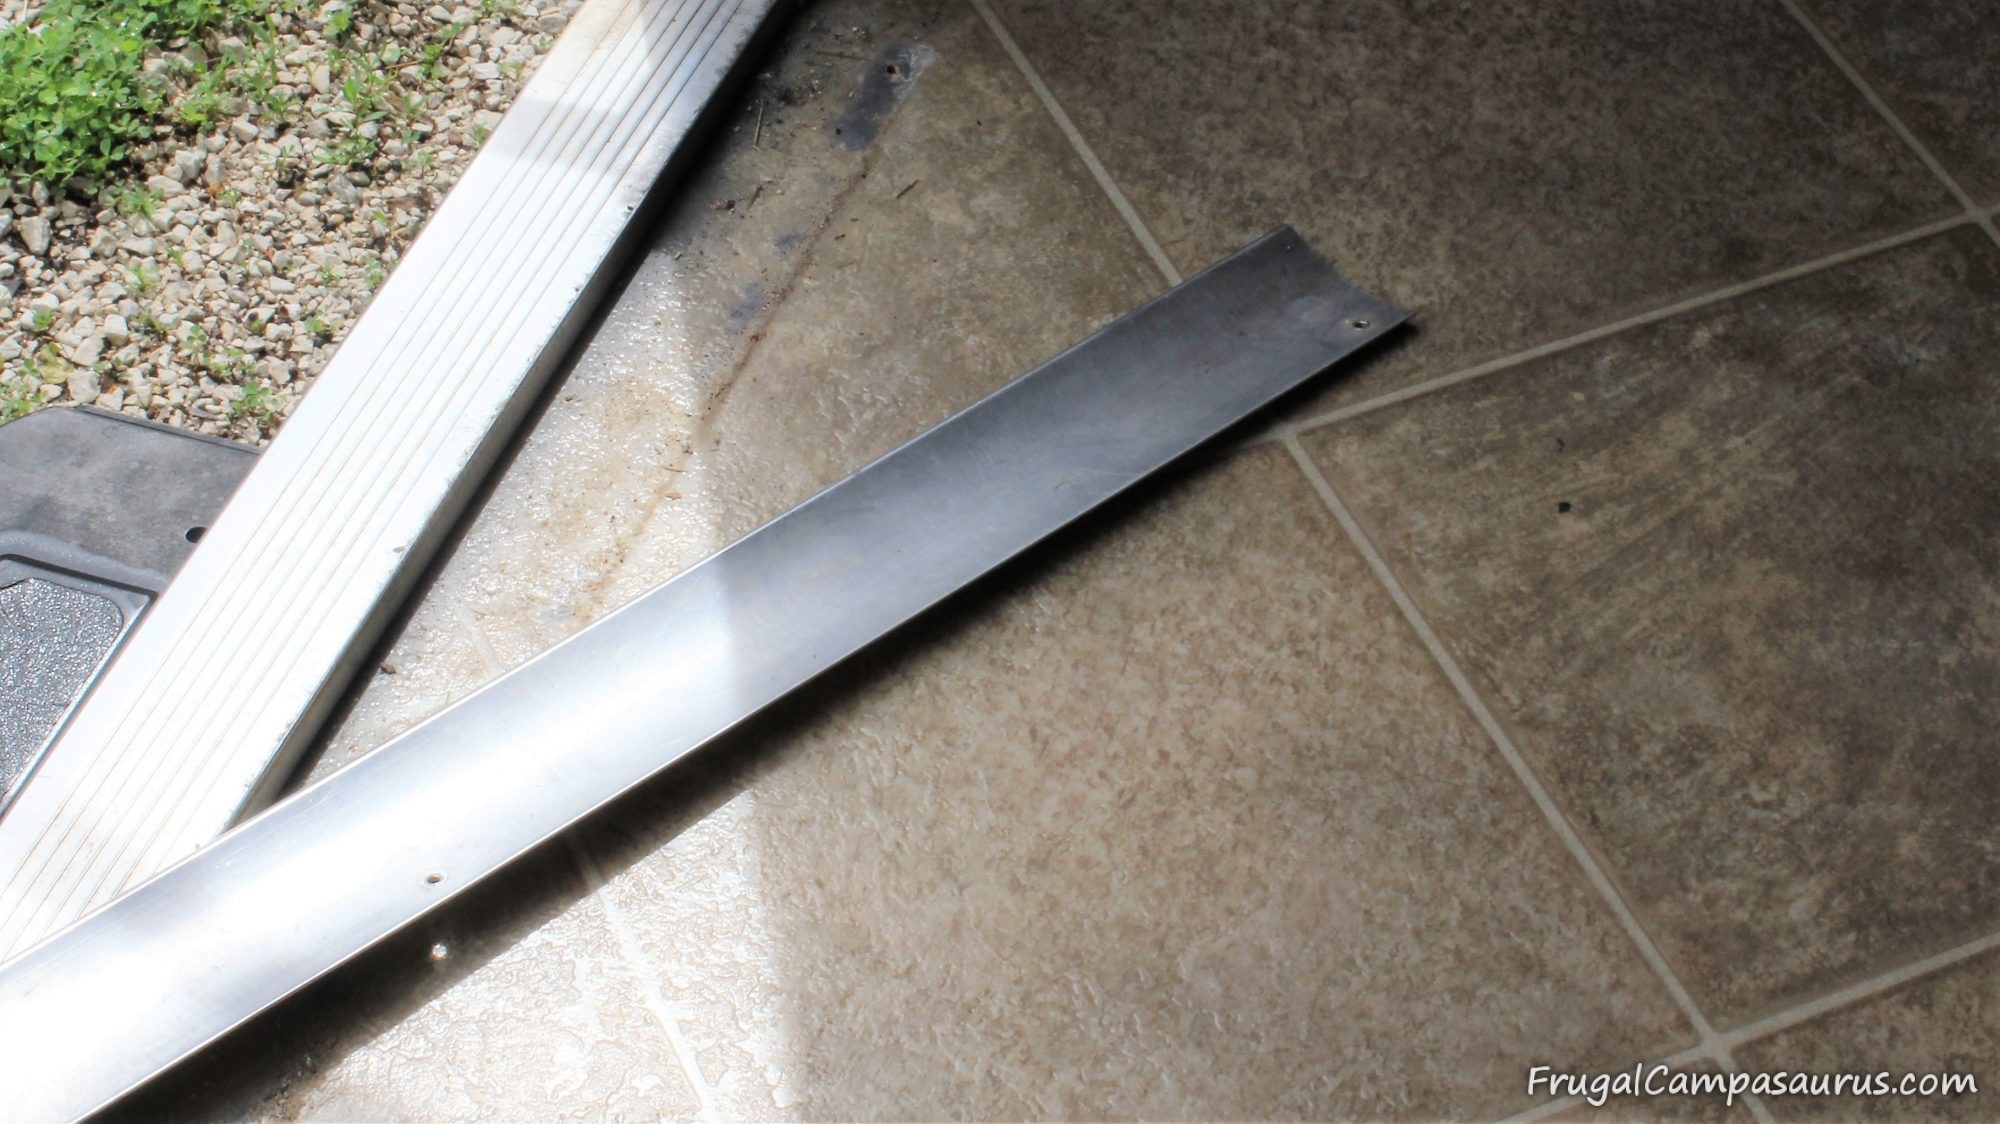
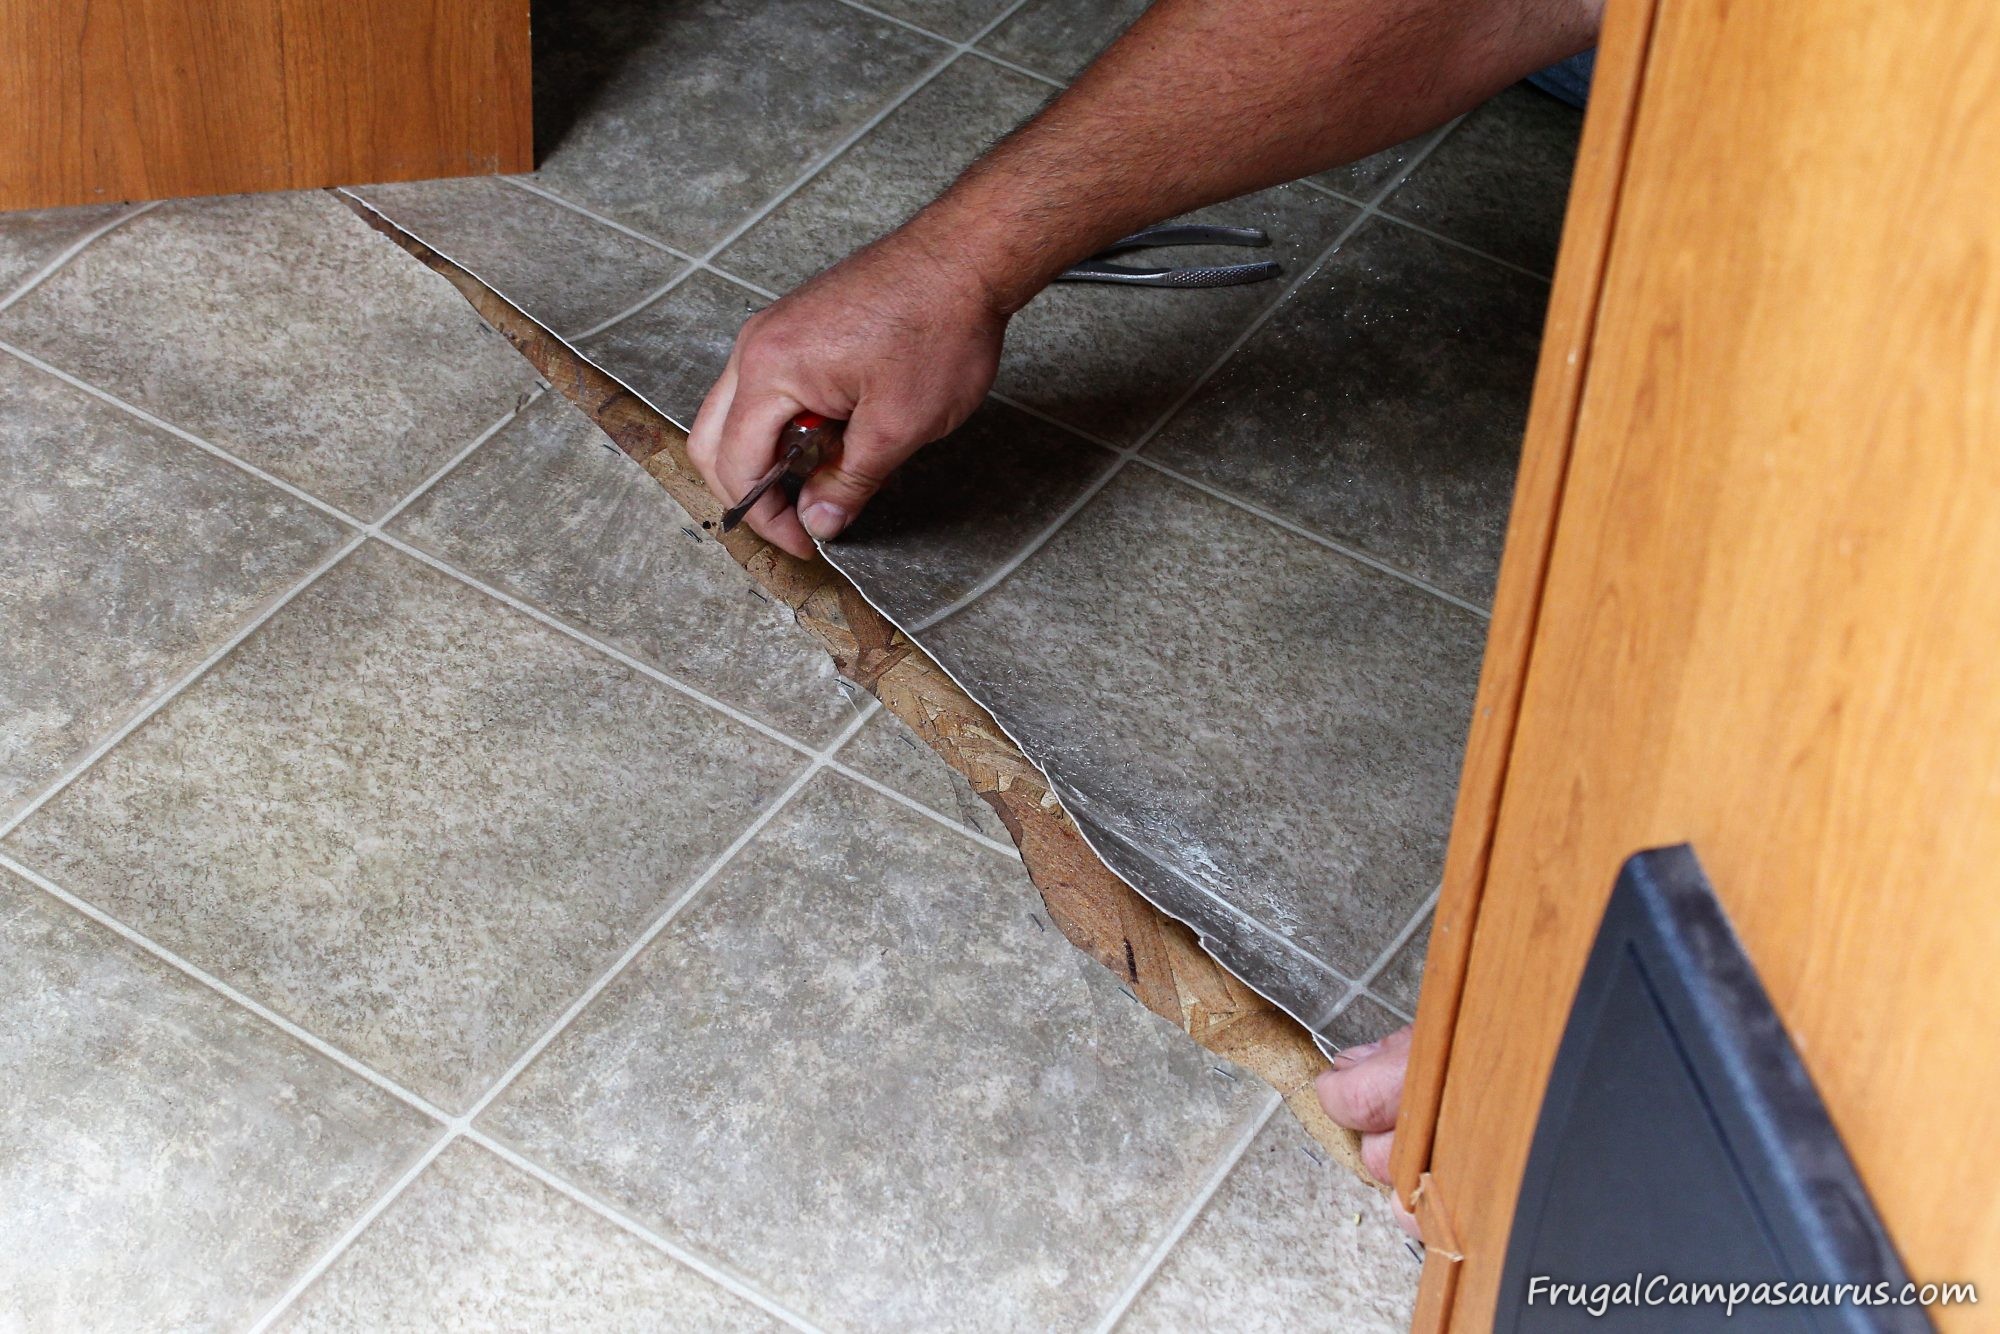
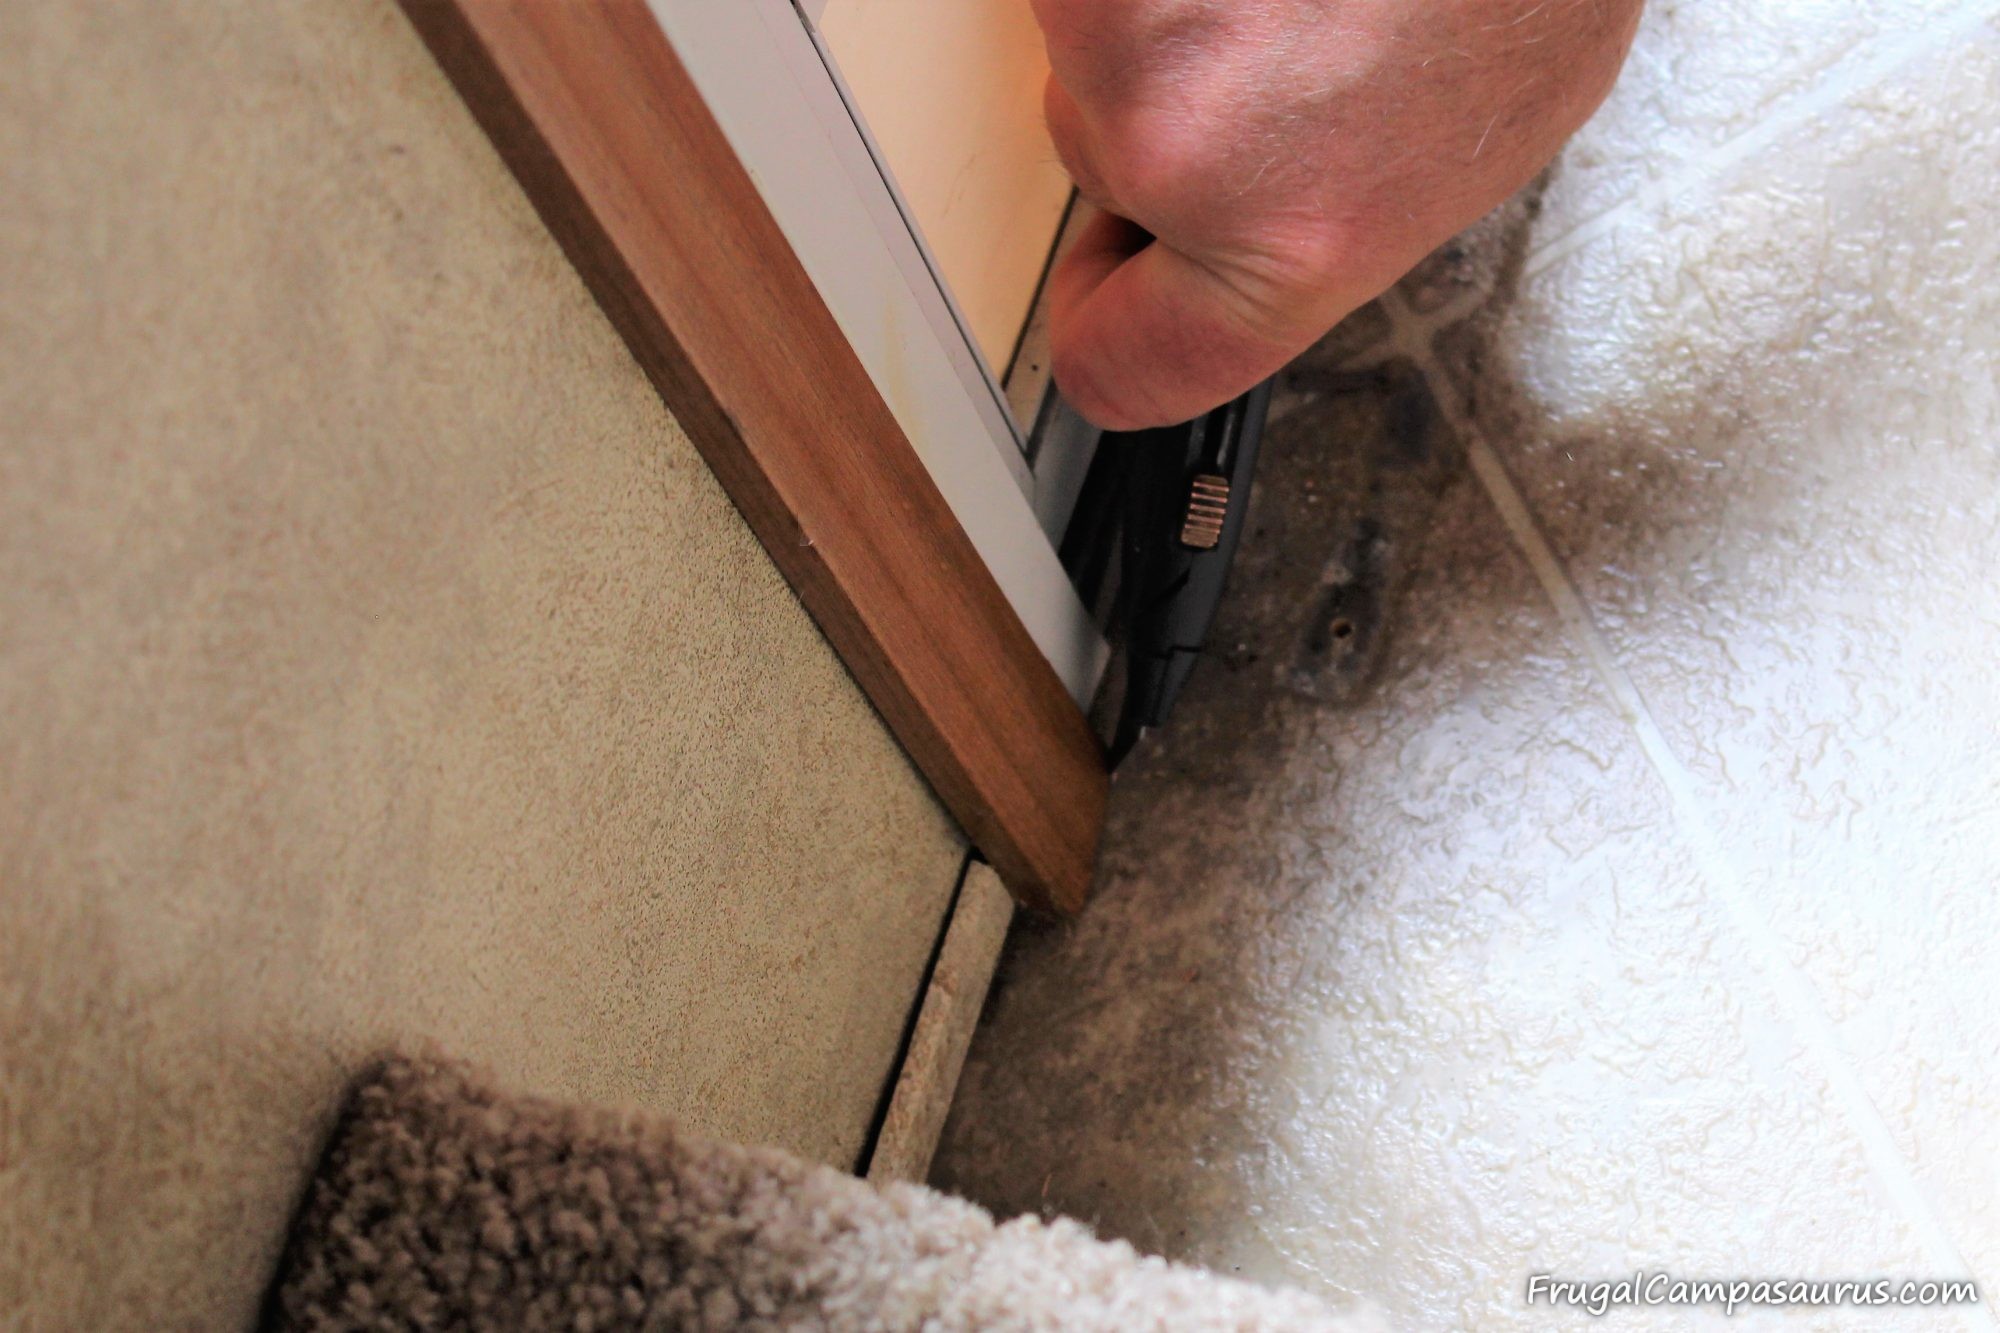
The husband started by removing the door threshold. We were lucky. Some campers have the linoleum glued down over the entire floor, some just around the edges. Ours was the second-yeah!
Then he carefully trimmed around all cabinets, carpet and wall trim. When the campers are built, they usually install linoleum first and place the cabinets on top of it. We were not removing the cabinets, so the husband trimmed flush along the bottom.
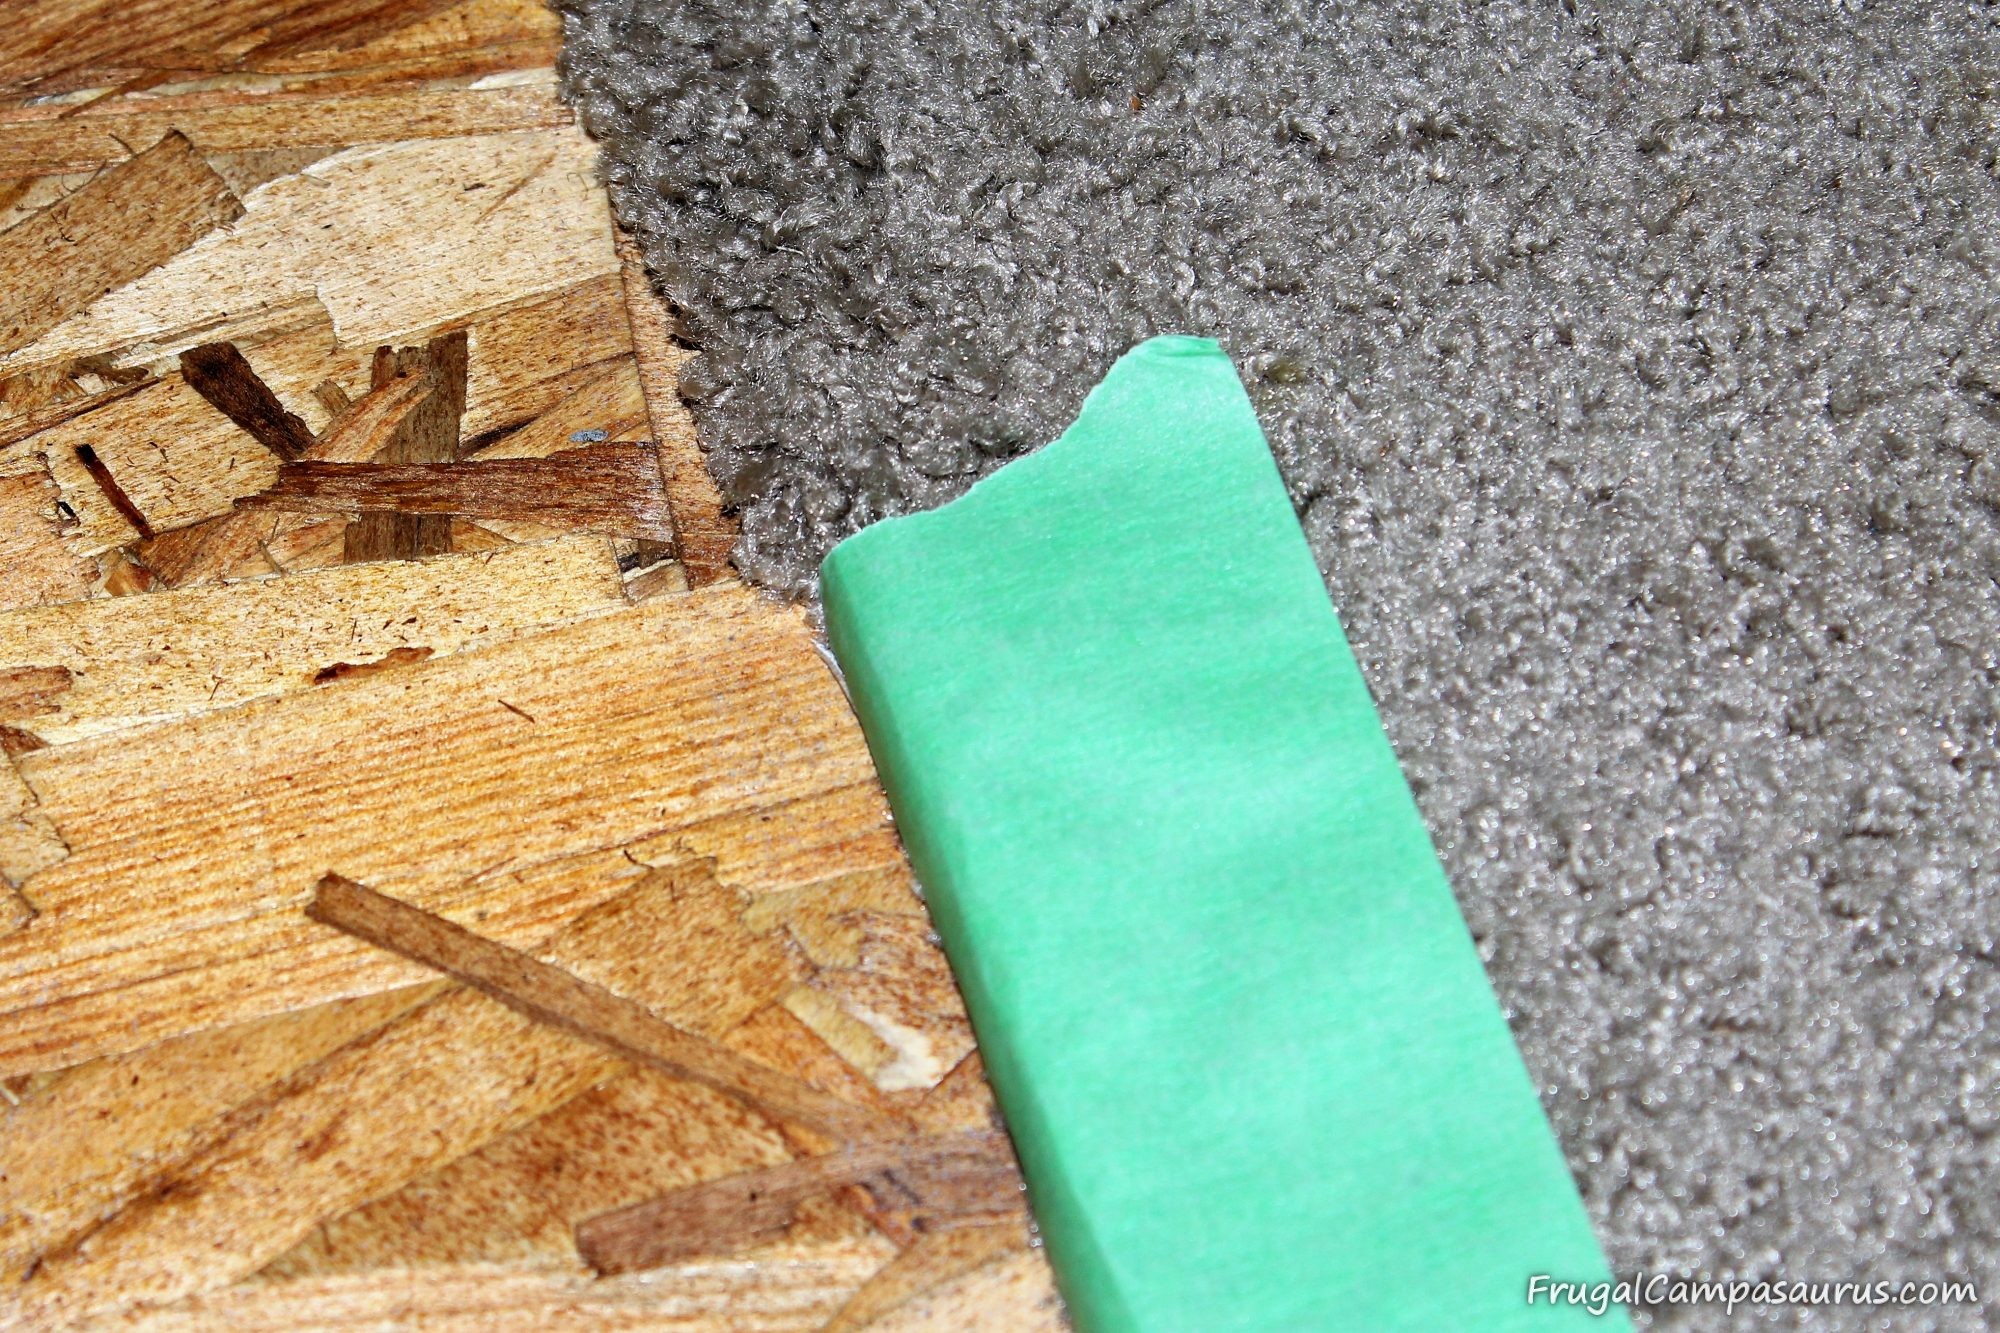
Near the carpet, we were concerned about getting the self adhesive primer on the nap. Painter’s tape worked great to hold it back while we primed and installed the tiles. When we were done, the carpet was fluffy enough to cover the edge of the tile.

Unfortunately, the painter’s tape did not work for the carpet on the stairs. The husband used the door threshold as a straight edge though, and that worked great!
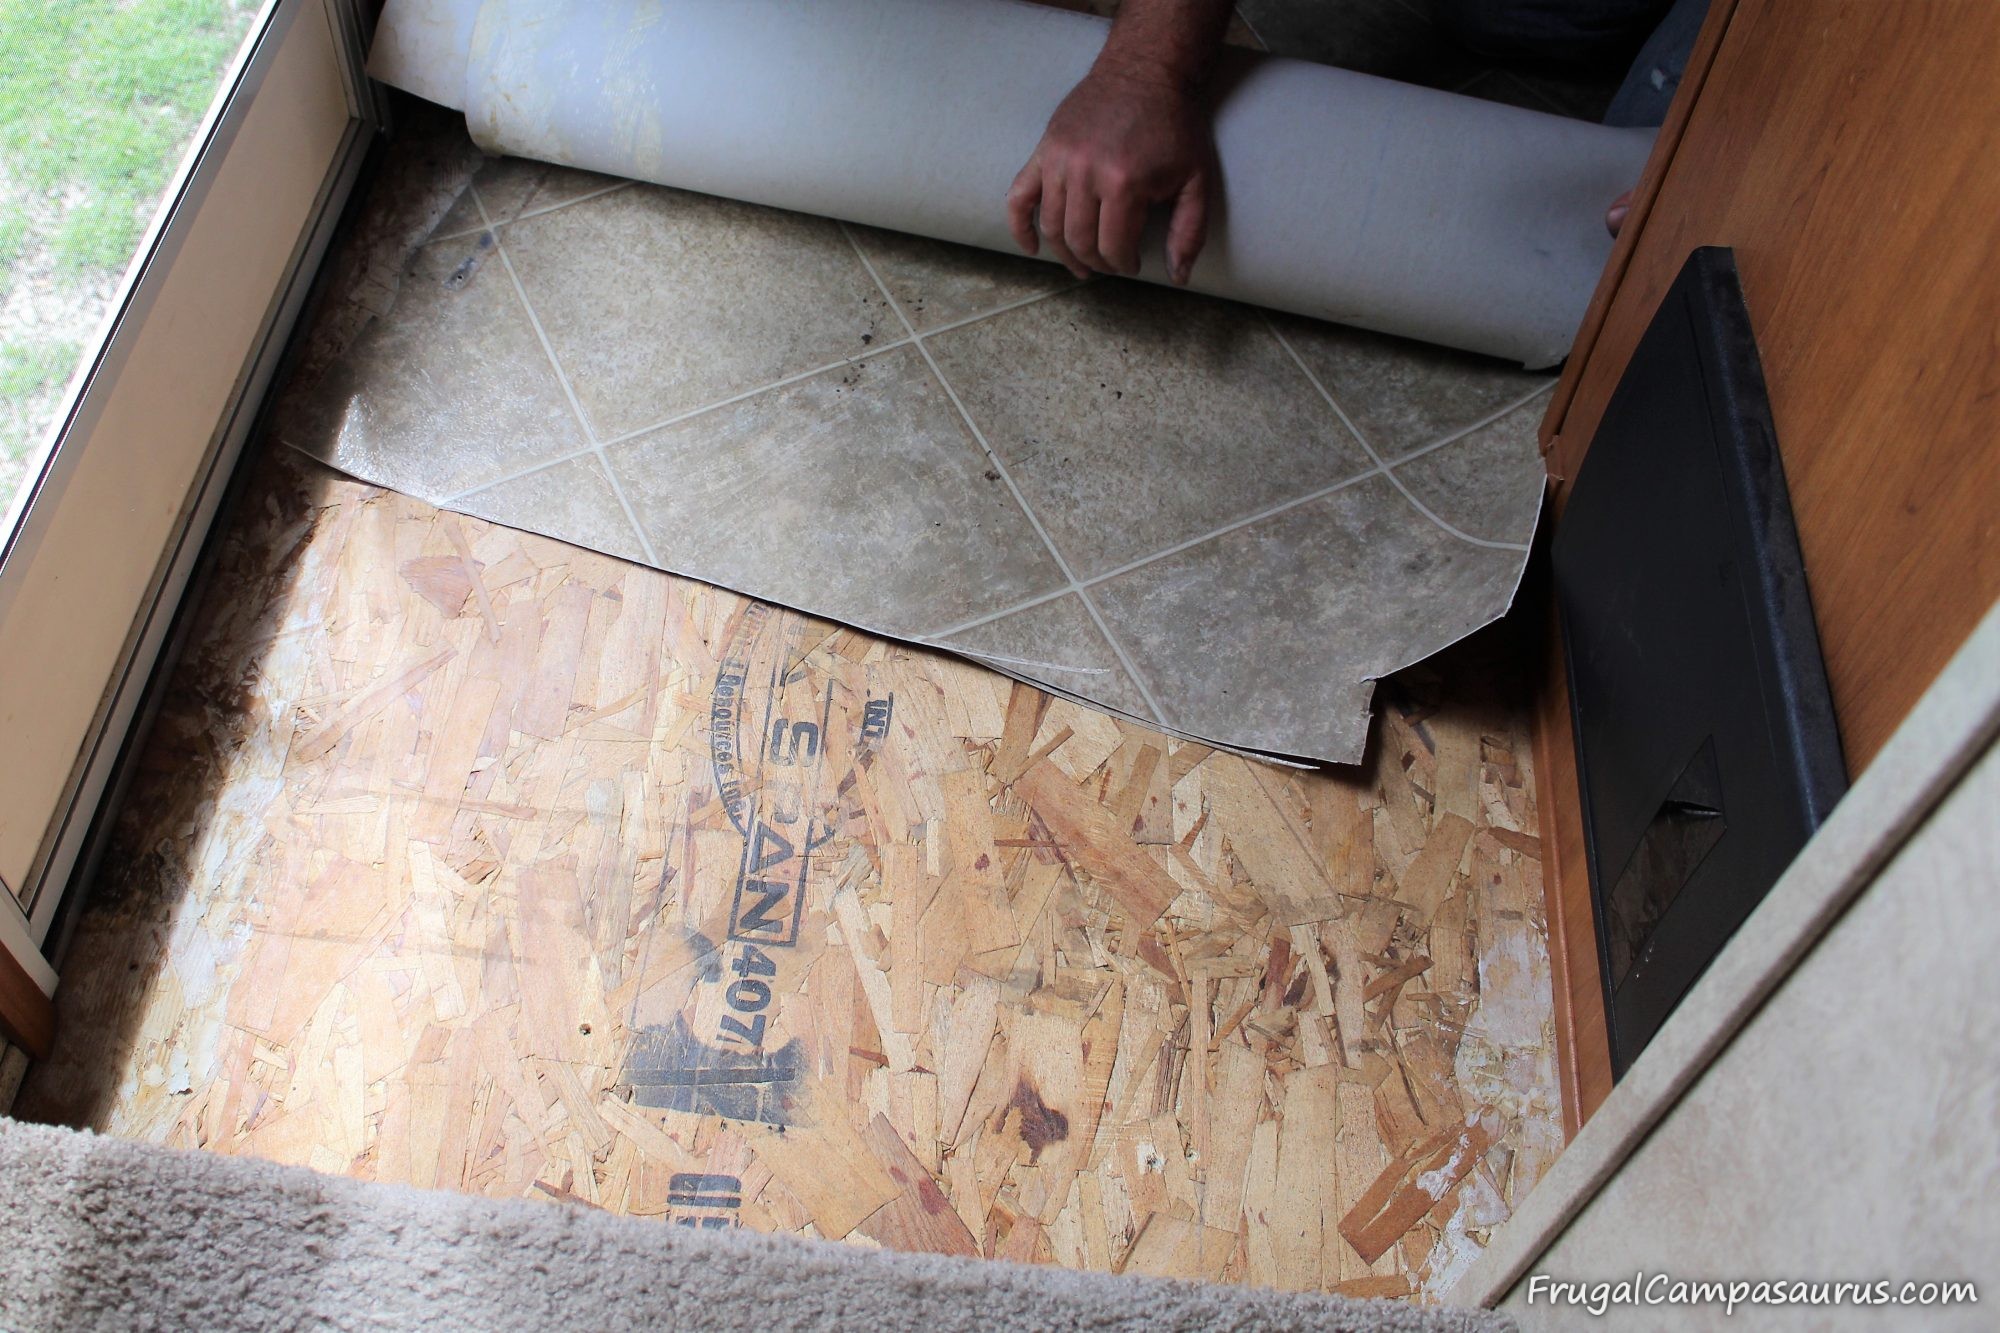
I was excited to get the first piece cut and out, even though I didn’t do any of the cutting. I was able to bother the husband with the camera. I am glad he is a good sport.
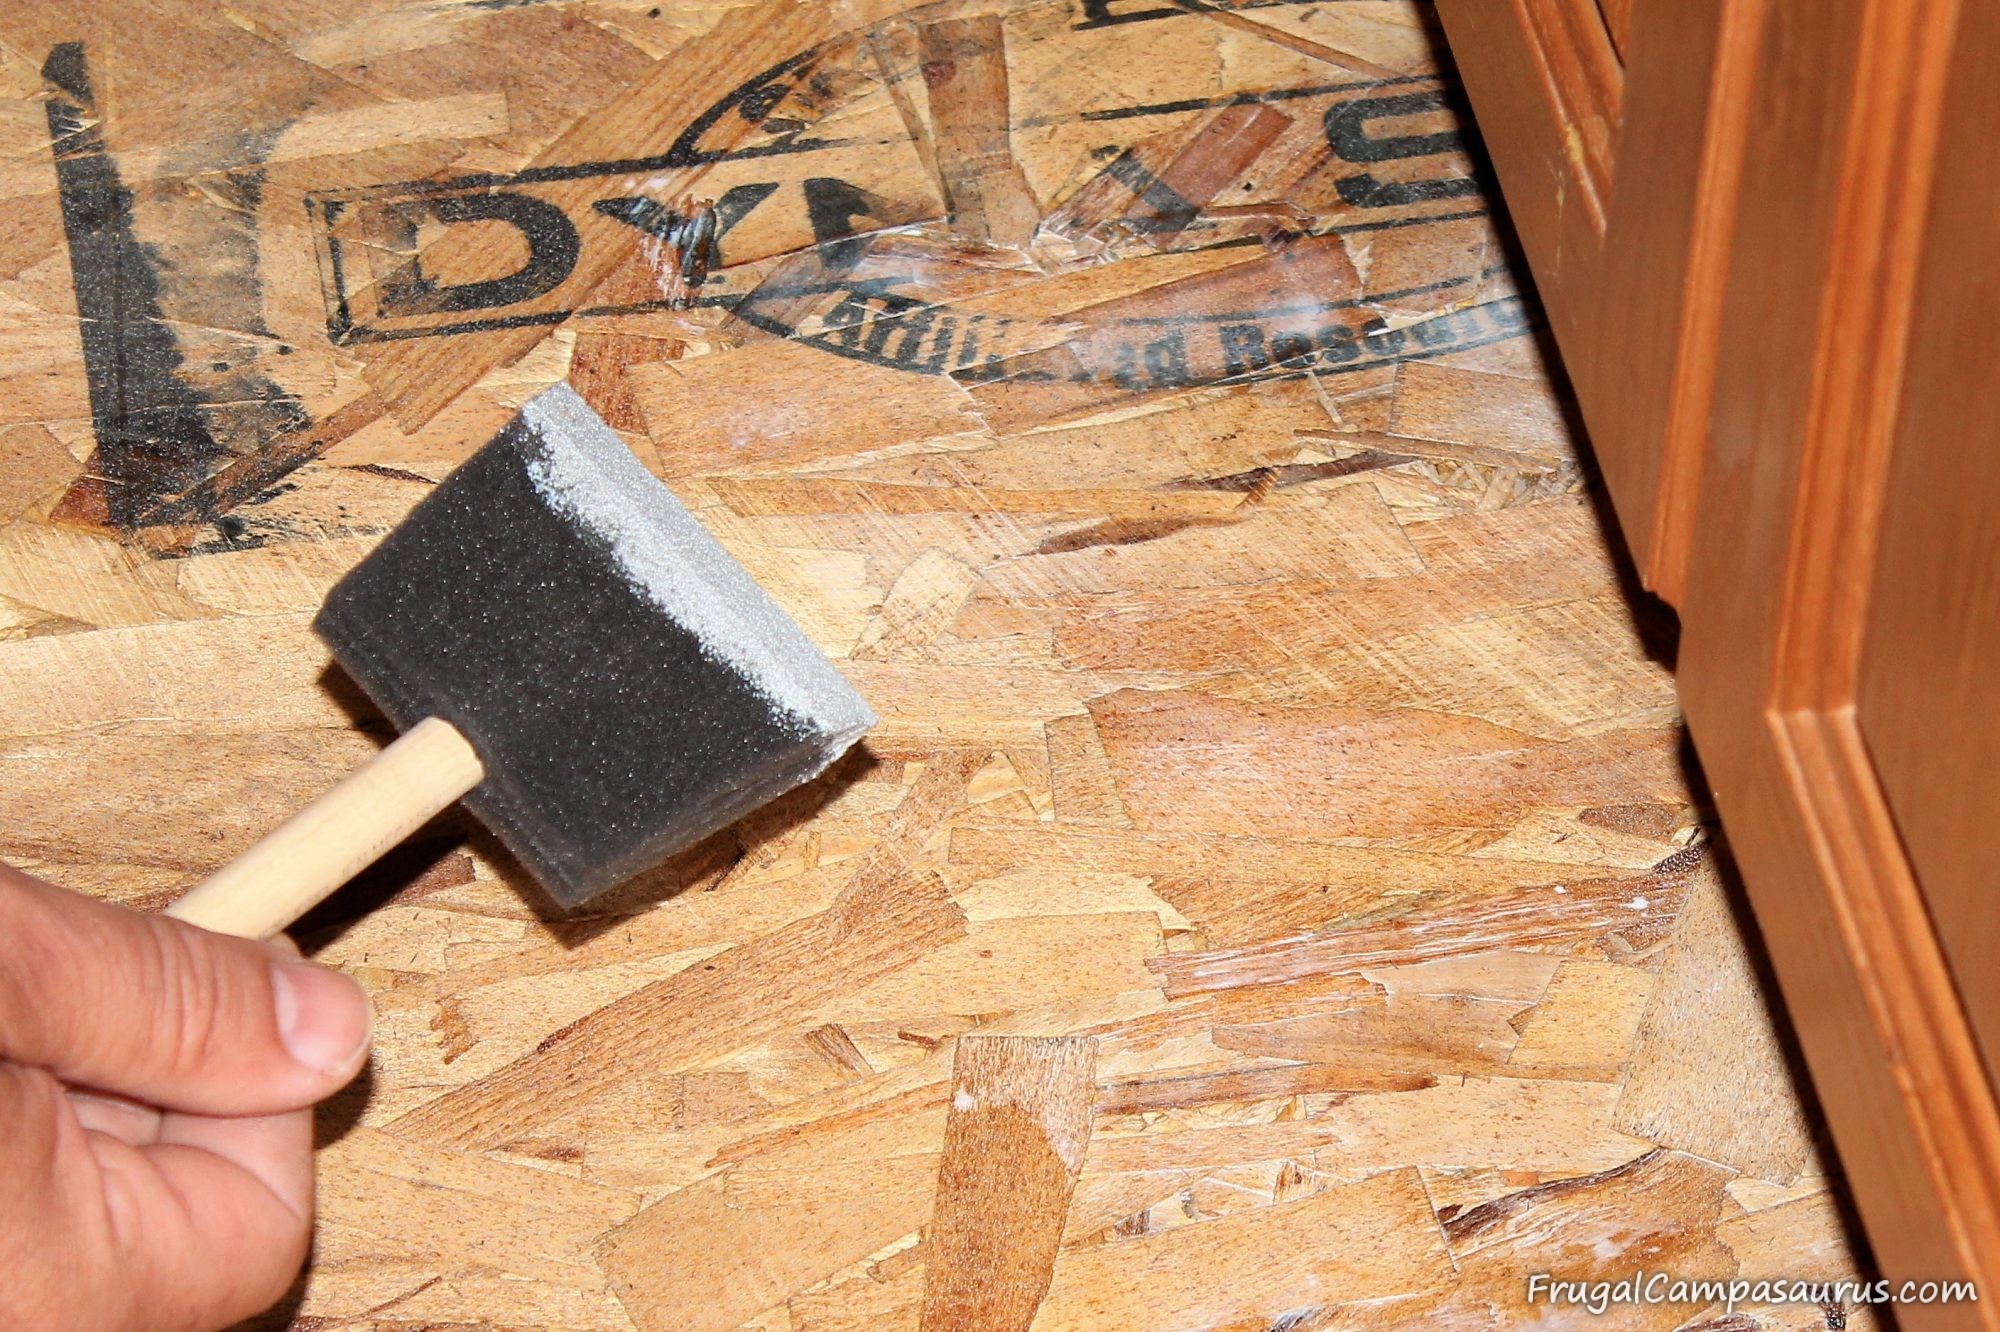
Eventually, all the old linoleum was removed and we were able to prime the OSB. We put on two coats of a special primer for self adhesive tile. We are hoping the heavier tile we bought and the adhesive primer will help them stick. The primer went on milky and very thin, then dried clear. It also dried quick, and we were able to start laying tiles after lunch. I have many pictures of finishing the project, so in the next post we will finish with laying out, cutting and installing the tiles.
I started this post being sad. I am still sad that the camper flooring needed replaced, but I am so happy with the results! And I am happy that we were able to work together and fix it ourselves.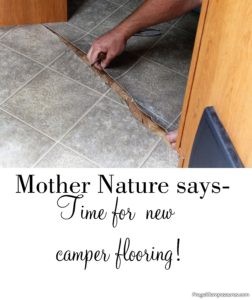
Happy Camping (or working together)
Frugal Campasaurus